
TL;DR: Custom fields add structured data, text, number, currency, date, dropdown, password, to any task, visible in every project view. Custom fields power Table view filtering, feed into automations, and turn any Taskade project into a typed database. Add a field once and every task in the project gets it.
How a custom field flows from definition to typed data your views and automations can use:
Overview
Custom fields in Taskade are data fields that allow you to add specific information to your tasks and projects. With custom fields, you can categorize, prioritize, and track the progress of tasks in a way that makes sense for your project goals.
Note: New to Taskade? Master the basics of the Table view first.
Add Custom Fields
(method 1): Table View
Click the ➕ button next to the last column (scroll right if needed).
(method#1) Choose one of the available presets.
(method #2) Choose Single select to add a custom column.
Note: The custom fields you add in the Table view will be visible in other views within the project. You can also add them at any time using Add-Ons.

(method 2): All Views
Custom fields are part of the task Add-Ons menu. You can add them to any task in your projects, in every project view. Here is how it works:
- Open a project and click ➕ next to a task.
- Chose one of the custom field options at the bottom.

Build Your Own Custom Fields
Taskade gives you several field types to match the kind of data you are tracking. Pick the type below that fits, then set it up in Table view.
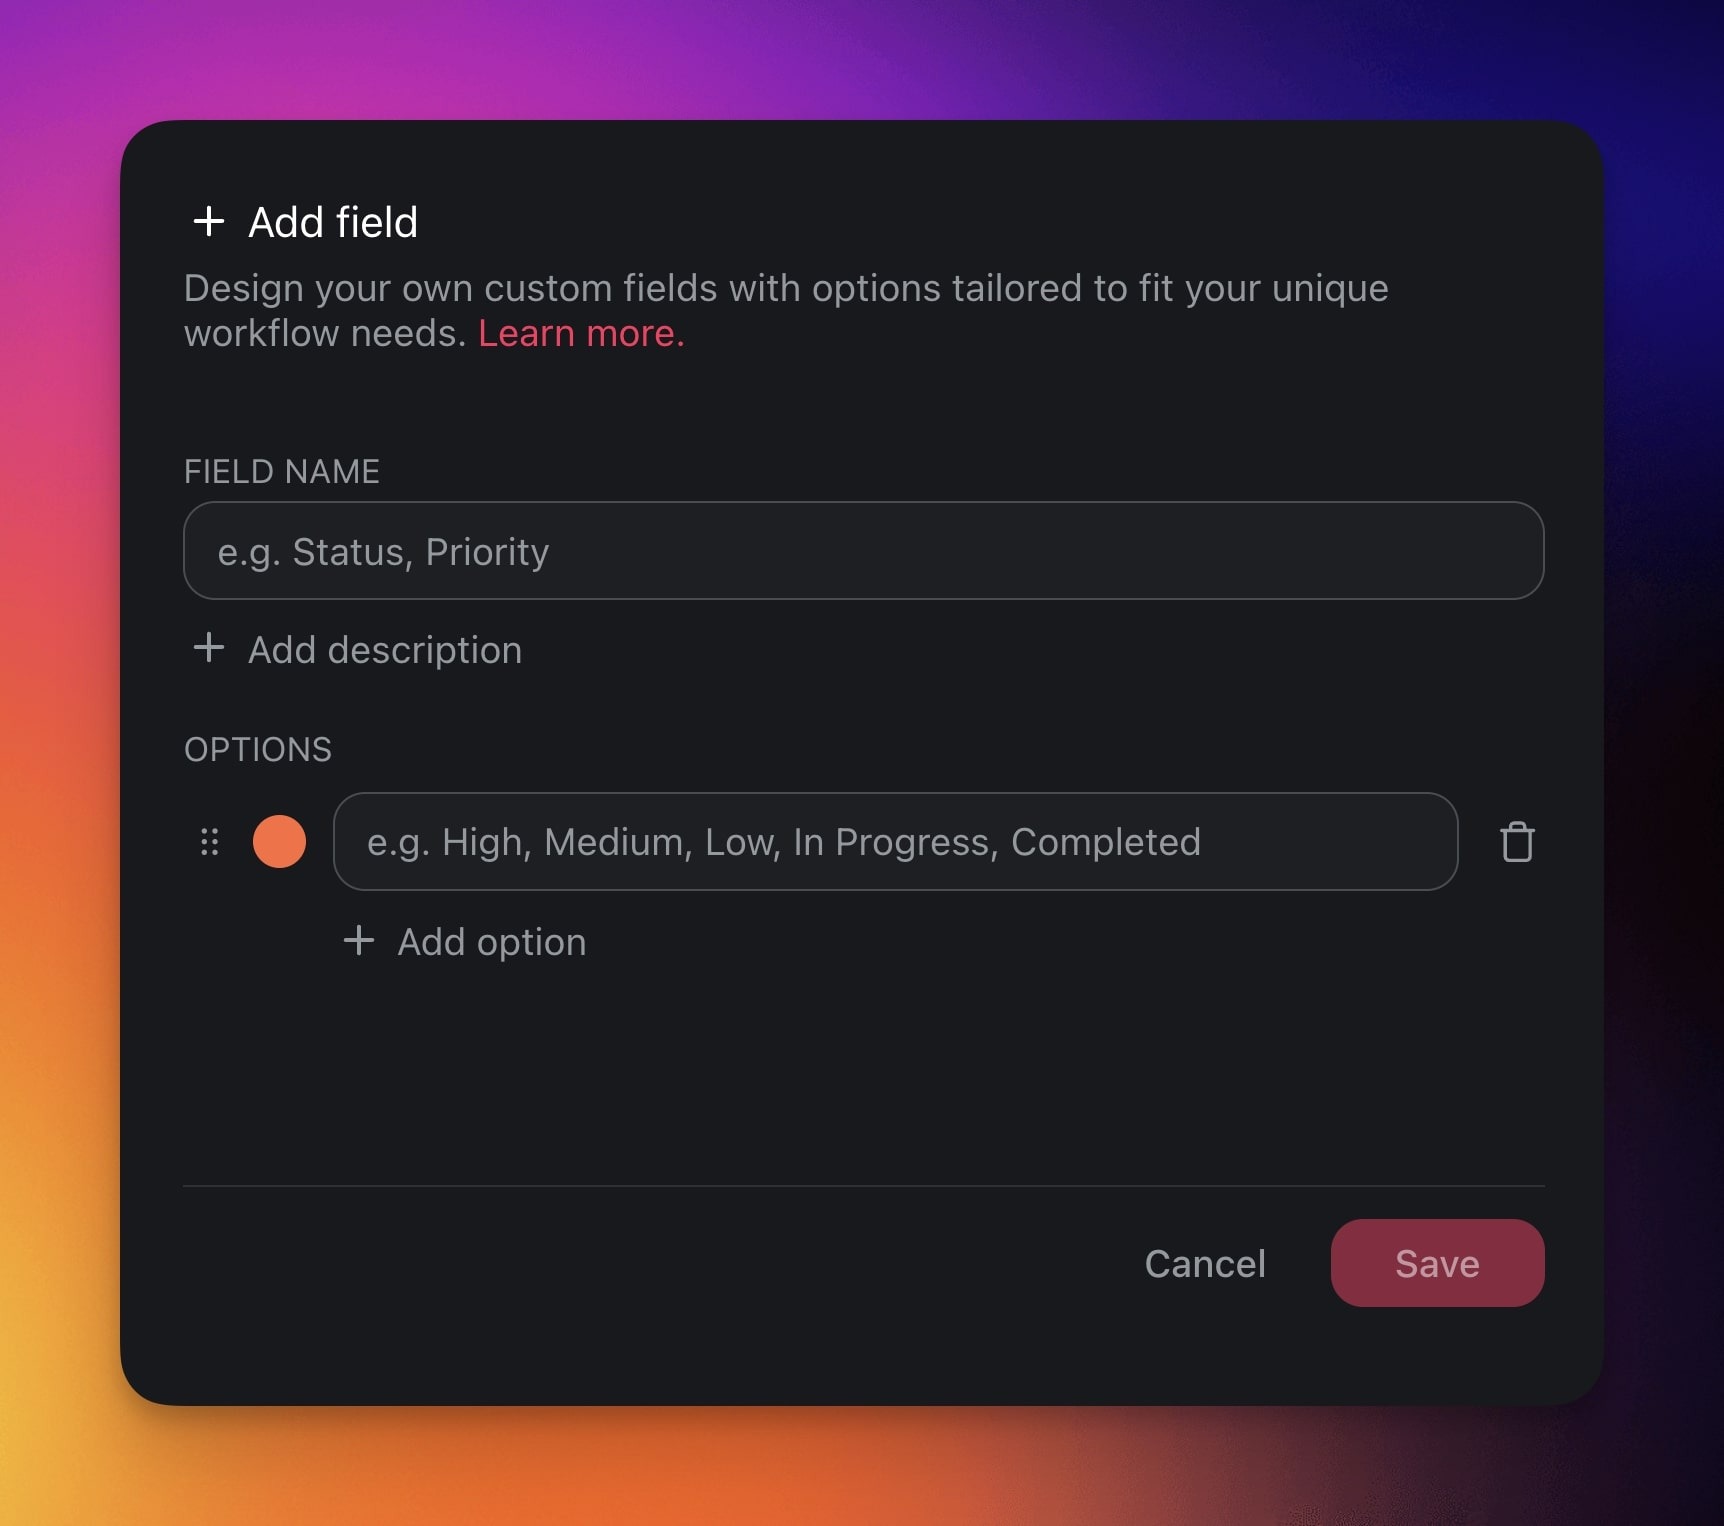
Single Select
The Single select option allows you to create custom fields.
Not sure where to start? Here are a few ideas:
| ⚙️ Preset | 🔤 Description |
|---|---|
| Project Phase | Mark the phase of the project. |
| Milestone | Signify project checkpoints. |
| Client | Associate tasks with specific clients. |
| Location | Specifies the location for tasks. |
| Cost | Lists the budget or actual cost. |
 |
Number
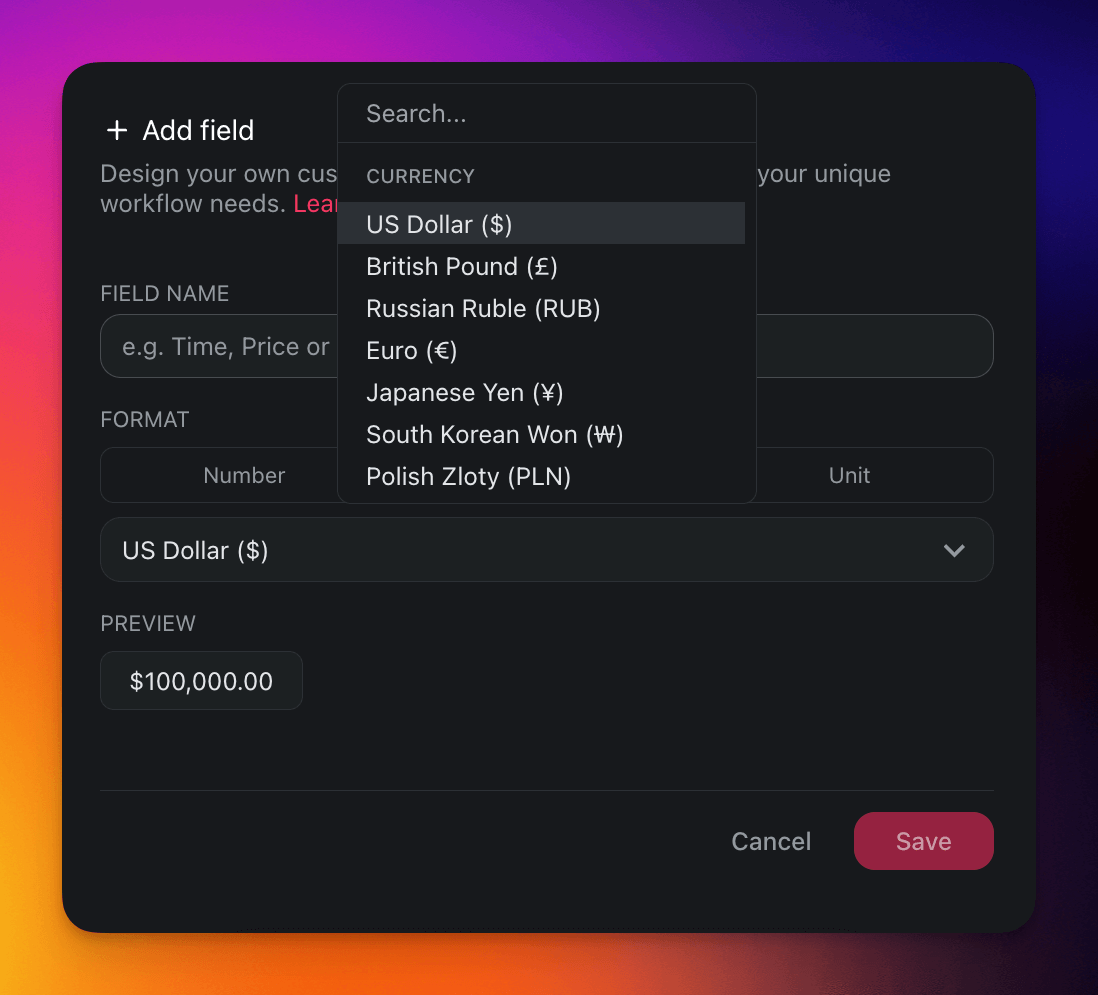
The Number option lets you to handle custom data in three formats.
| 🔢 Number | 💵 Currency | ⚛️ Unit |
|---|---|---|
| Add and work with plain numbers, perfect for quantifications, numerical records, or data analysis. | Add currency values, perfect for financial tracking, budgeting, and cost-related projects. | Represent your data in percentages, perfect for tracking completion rates and performance metrics. |
 |
Text
The Text option allows you to write short-texts within each row.

Password
The Password field type stores a value as a one-way bcrypt hash. Taskade keeps the hash, not the value you typed, so nobody can read the value back, including you. Use it for passwords and access codes that a person types in to sign in, for example the passwords of the App Users of a Taskade Genesis app. The app checks the typed password against the hash.
Security features:
One-way hash with bcrypt. The original value is not stored.
Masked display (always shows as
********)Replace, not reveal: to change a value, type a new one. You cannot view or copy the old one.
Do not use a Password field for an API key, an access token or any other secret that a tool must read back later. A hash cannot give the original value back.
How to add a Password field:
- Open a project and switch to Table View.
- Click the ➕ button next to the last column.
- Select Password from the field type options.
- Enter a field name, for example "Password" or "Access Code".
Note: Password fields are always masked in the table view. Taskade stores only the hash, so a value cannot be copied or viewed in plain text.
Edit Custom Fields
- Enable the Table view.
- Click the ··· three dots next to a column name.
- Choose ✏️ Edit Field from the list.
- Edit the field name and available options.


Automate Custom Fields
Triggers
Kickstart your automations with custom fields automation triggers.
Note: Visit our guide to custom fields actions to learn more.
Go to the Automations tab in your workspace or folder.
Click ➕ Add automation
(method 1) Select an existing automation.
(method 2) Create a new automation flow.
Click ➕ Add Trigger and choose one of the custom fields triggers.

Actions
Automate tasks and projects with custom fields automation actions.
Note: Visit our guide to custom fields actions to learn more.
Go to the Automations tab in your workspace or folder.
Click ➕ Add automation
(method 1) Select an existing automation.
(method 2) Create a new automation flow.
Click ➕ Add Action and choose one of the custom fields actions.
Edit Custom Fields (iOS/Android)
Open a project → tap a task to select it (1).
Tap ➕ in the toolbar (2) → select the Custom Fields button (3).
(1) Tap Manage Fields to edit existing custom fields.
(2) Choose one of the pre-defined custom fields.
(3) Tap Single select to define your own custom fields.
Related guides
- Table View: Default home for custom fields
- Project Views: Custom fields appear in every view
- Task Add-ons: Add fields from any view
- Custom Fields Action (Automation): Write field values from automations
- Field Updated Trigger: React to field changes
- Projects & Databases: How custom fields power Taskade Genesis databases