
TL;DR: Assign a task to any workspace member by typing
@nameor opening Add-Ons → Assign. Assignees show up in My Tasks, get notified immediately, and trigger any automations watching the Assignee field. Works across all 7 project views.
Here is what happens after you assign a task.
Overview
Assigning projects and tasks in Taskade ensures every team member knows exactly what they are responsible for. Assigned items appear in each person's My Tasks dashboard, making it easy to track work across multiple workspaces and folders.
Assign a Project
To assign a Project, navigate to a Workspace or Folder, click the 👤 Assign button located underneath the title of your Project, and select the person you'd like to assign.
💡 Note: To filter by assignee, click the assignee's name (below the project title) in a workspace/folder. You can also use the Filter menu for advanced filtering options.
Assign a Task
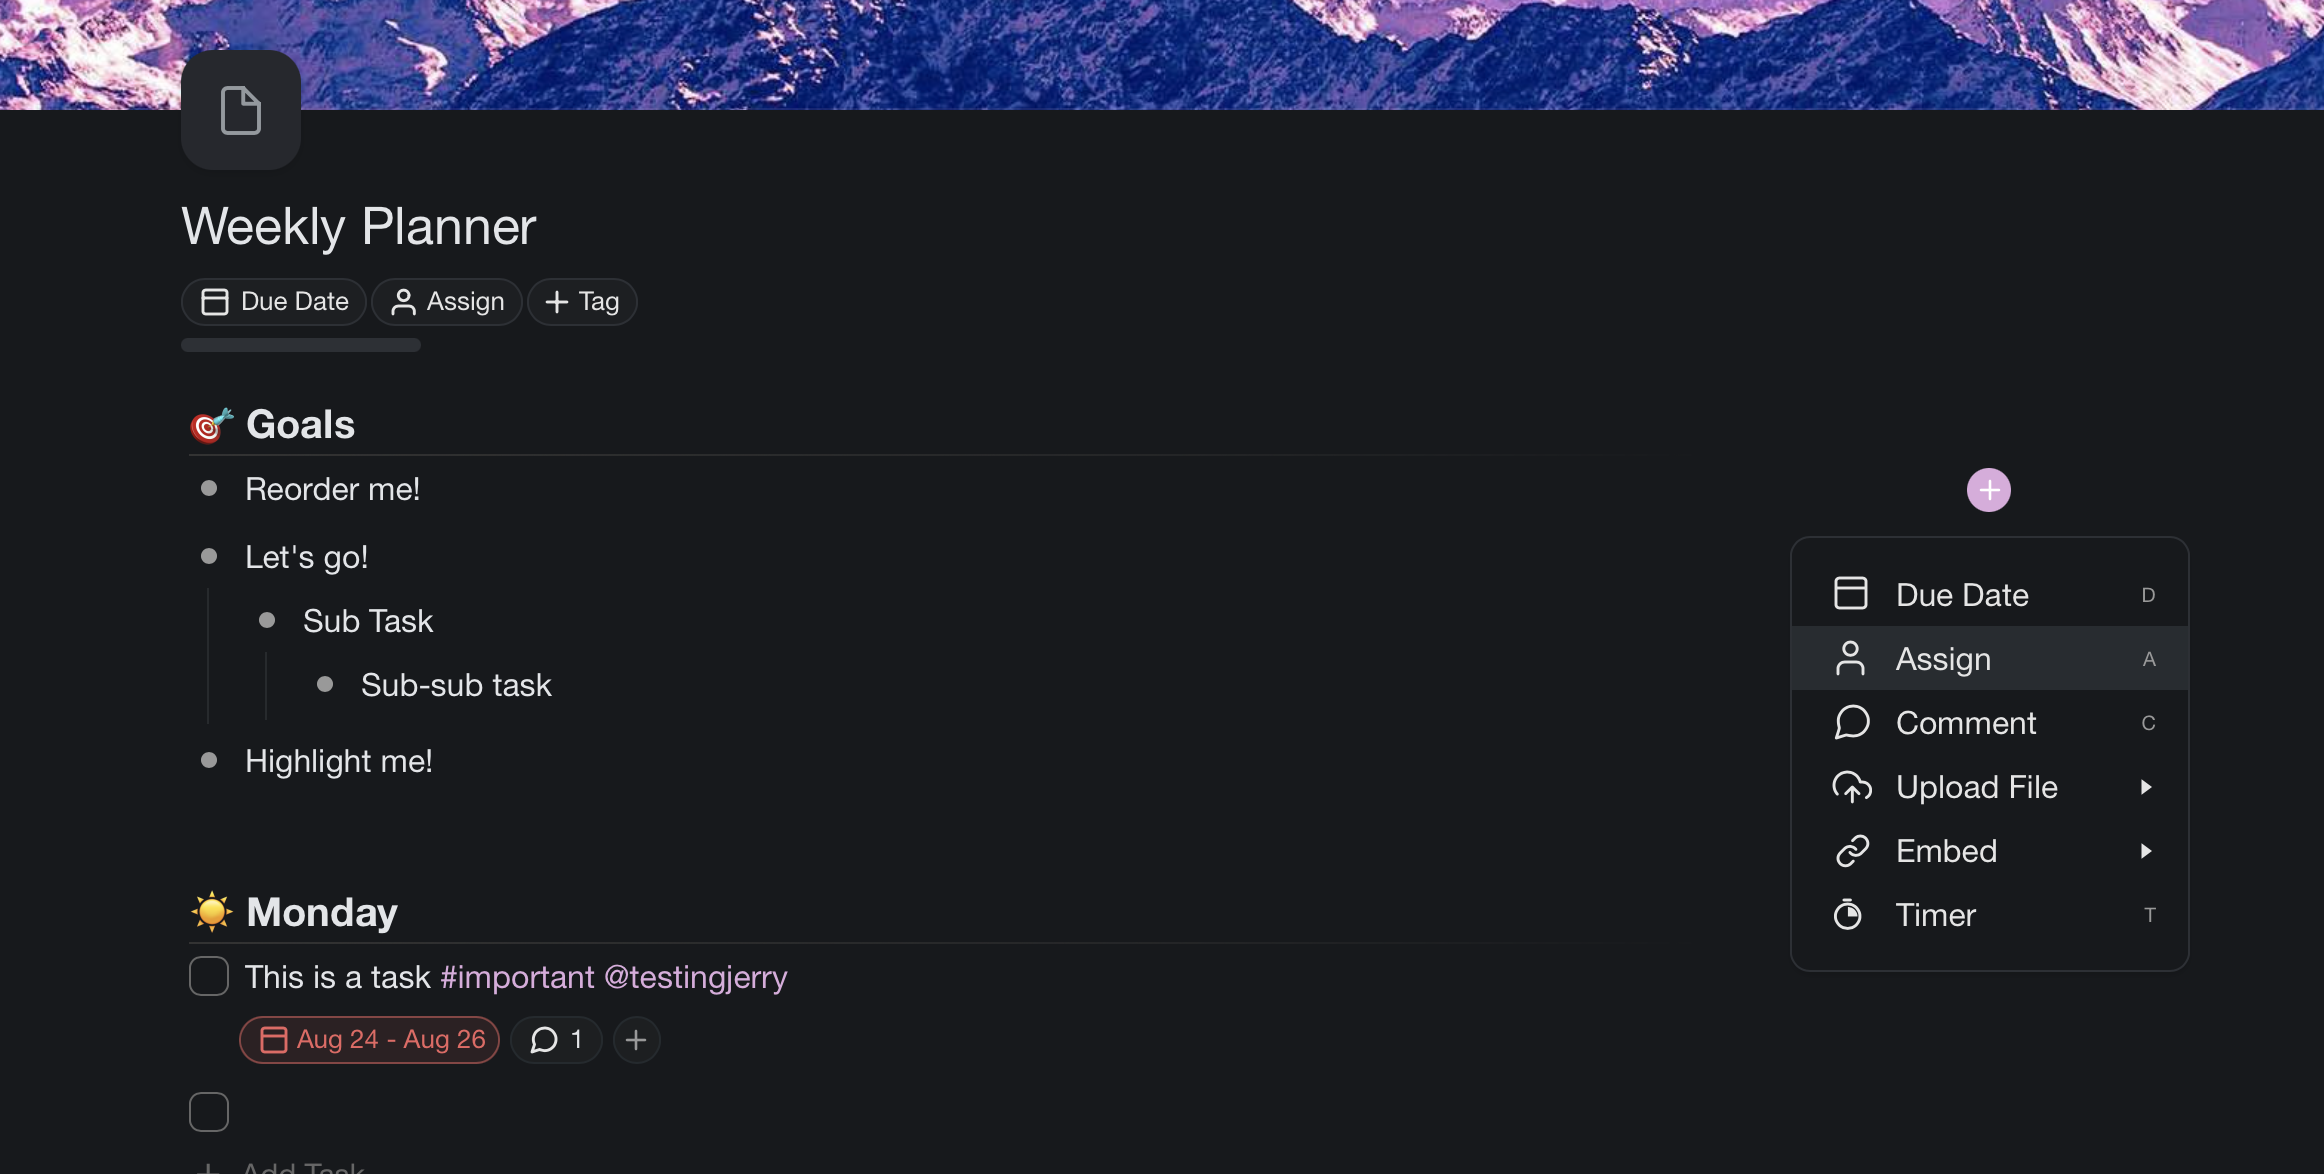
To assign a task, click on the ➕ icon to the right of your task and select 👤 Assign. You can also click the small plus icon next to an existing due date.
💡 Note: Use Keyboard Shortcuts and Bulk Assign to assign tasks even faster.
Unassign a Task
To unassign a task, left-click the assignee's profile picture underneath a task/sub-task and select that user from the drop-down list to remove it.
Mention and Filter
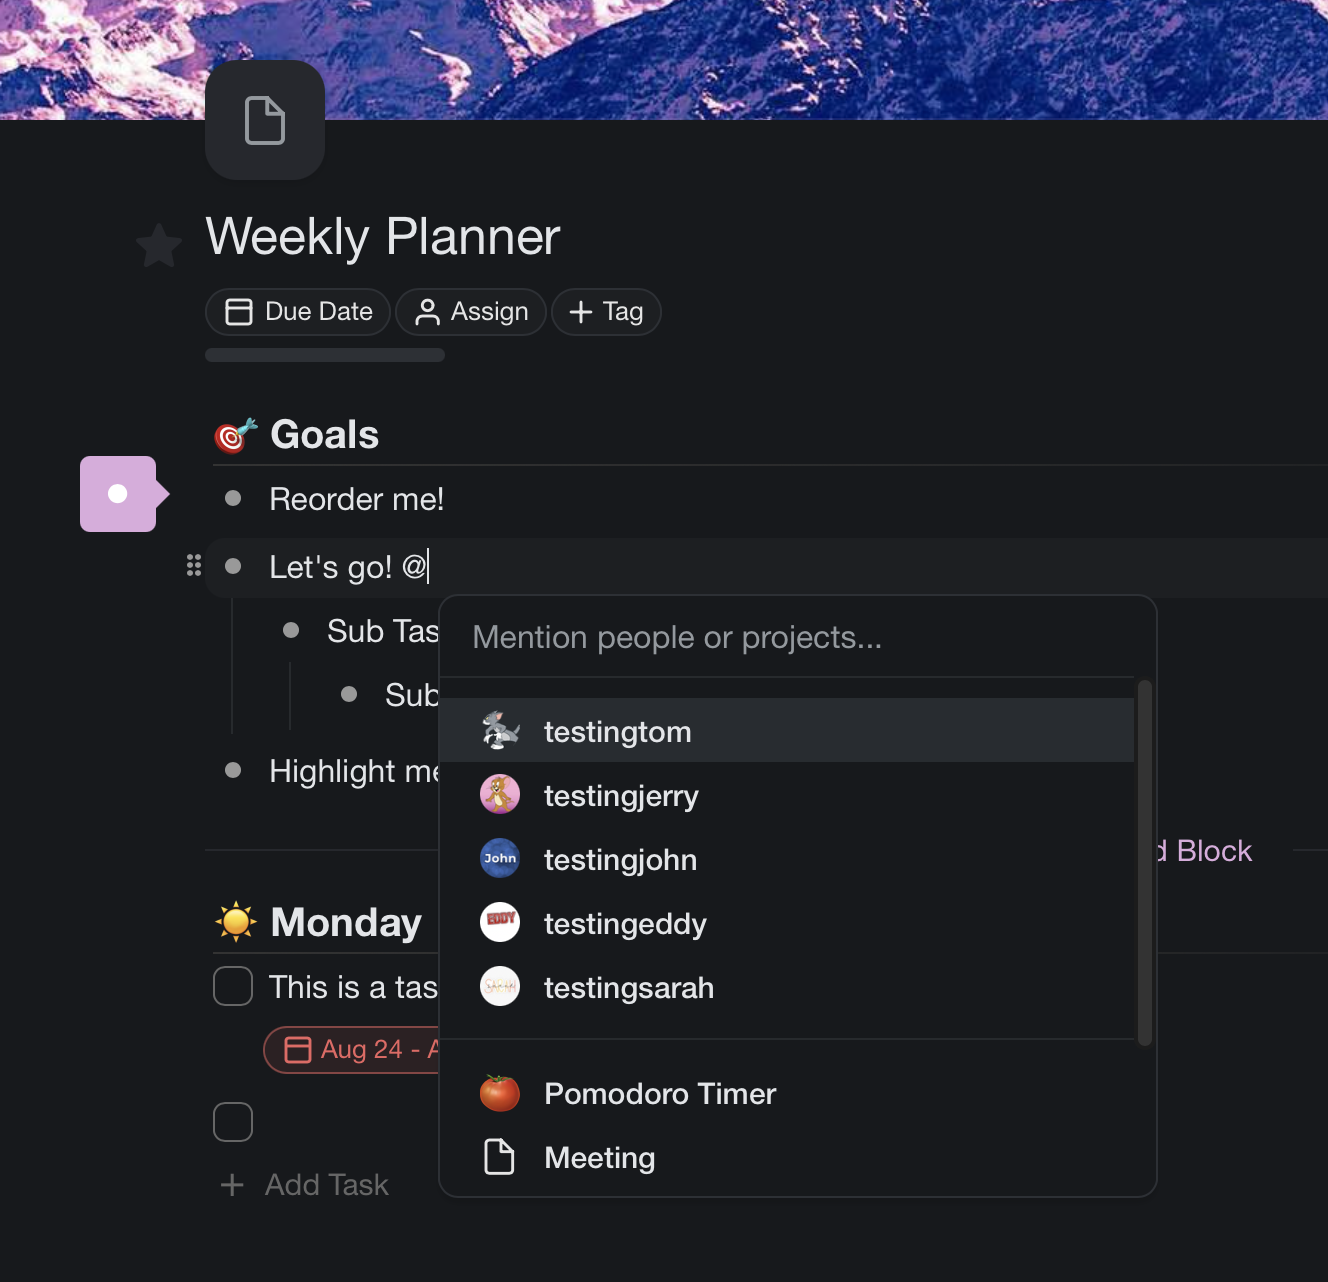
@mention someone and click their username to filter by tasks in which they're mentioned.
💡 Note: Visit Project Links (Crosslinking) to link projects globally.
Tips
- Assign multiple people to the same task when collaboration is needed — each assignee will see the task in their My Tasks view.
- Pair assignments with Reminders so assignees receive notifications before due dates.
- Use the Calendar view to visualize who is working on what and when.
- In the Board view, assignee avatars appear on each card for quick visual tracking.