
TL;DR: Table view turns any project into a spreadsheet with filtering, grouping, sorting, and custom fields (text, number, currency, date, dropdown, password). Shipped in v5.157 (March 2025), it's one of 7 project views and the default for database projects.
Overview
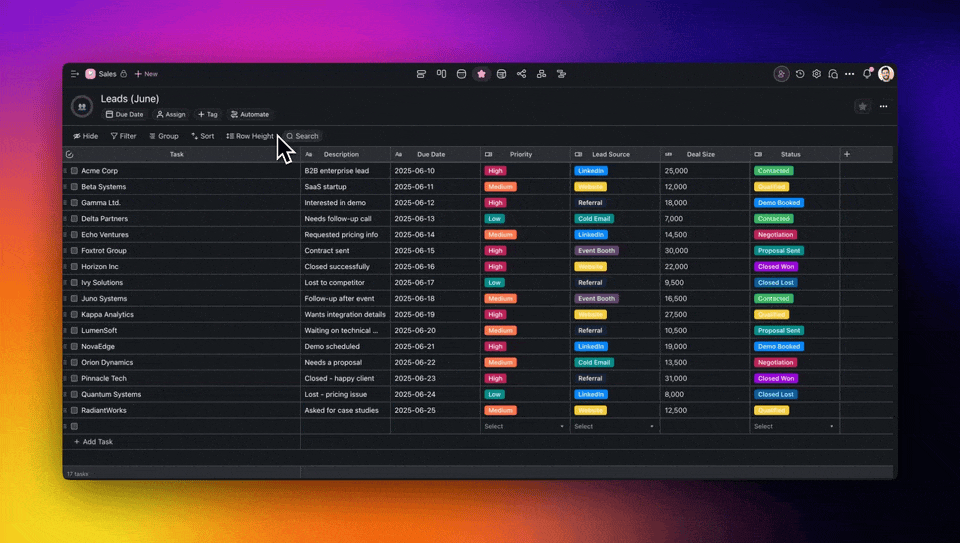
The Table view is one of seven project views available in Taskade. It lets you manage tasks in a table organized into customizable columns.
This workflow is perfect for:
- Managing personal task lists
- Assigning tasks to team members
- Tracking project progress
- Managing customer relationships
- (optional) Browse our free task management templates for more ideas
Note: Only the List view is supported on Mobile. Visit Project Views to learn more about other workflows in Taskade.
Enable the Table View
- Click the 4th icon in the top navigation bar to enable the Table view.
- Click the icon again to set the view as default.

💡 Note: Changing project views doesn't affect project contents.
Manage Table Columns
In the Table view, you can adjust columns to fit your project.
Here is how a Table view is laid out: a sticky Task column on the left, then custom-field columns (a single-select Status, a Due Date add-on, and a Number Budget), with a + Add field button at the end of the header.
┌──────────────────────────────────────────────────────────┐
│  Table view  ·  Product Launch                           │
├──────────────────────────────────────────────────────────┤
│  Task             Status      Due Date   Budget     [ + ]│
│  ───────────────  ──────────  ─────────  ────────        │
│  Draft brief      ● Done      Jun 10     $1,200          │
│  Design mockups   ◐ Doing     Jun 18     $3,500          │
│  User testing     ○ To Do     Jun 24     $  800          │
│  ›  Add task                                             │
└──────────────────────────────────────────────────────────┘
Resize Column
- Click and hold a column divider and drag it to the left or to the right.
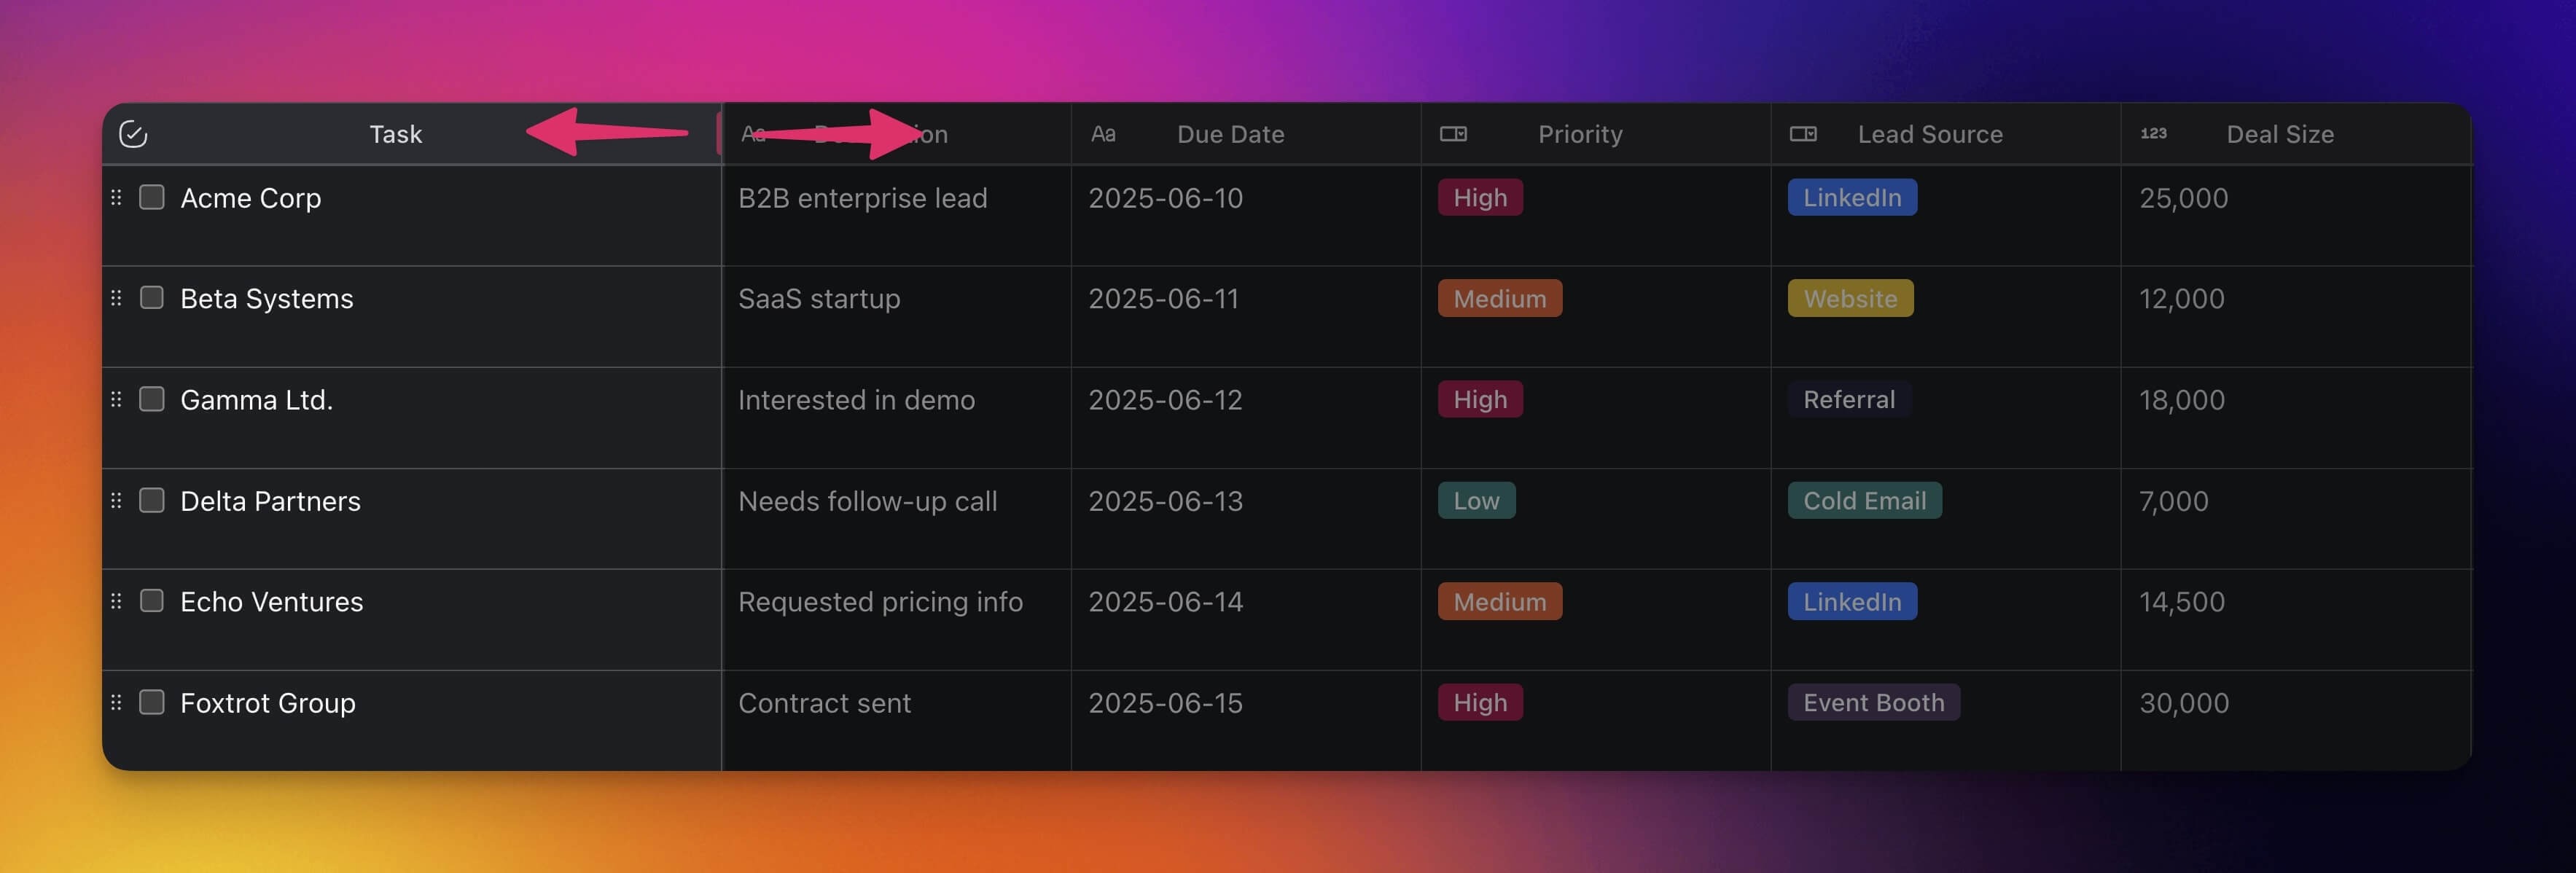
Reorder Column
- Click and hold a column header and drag it to the left or right.

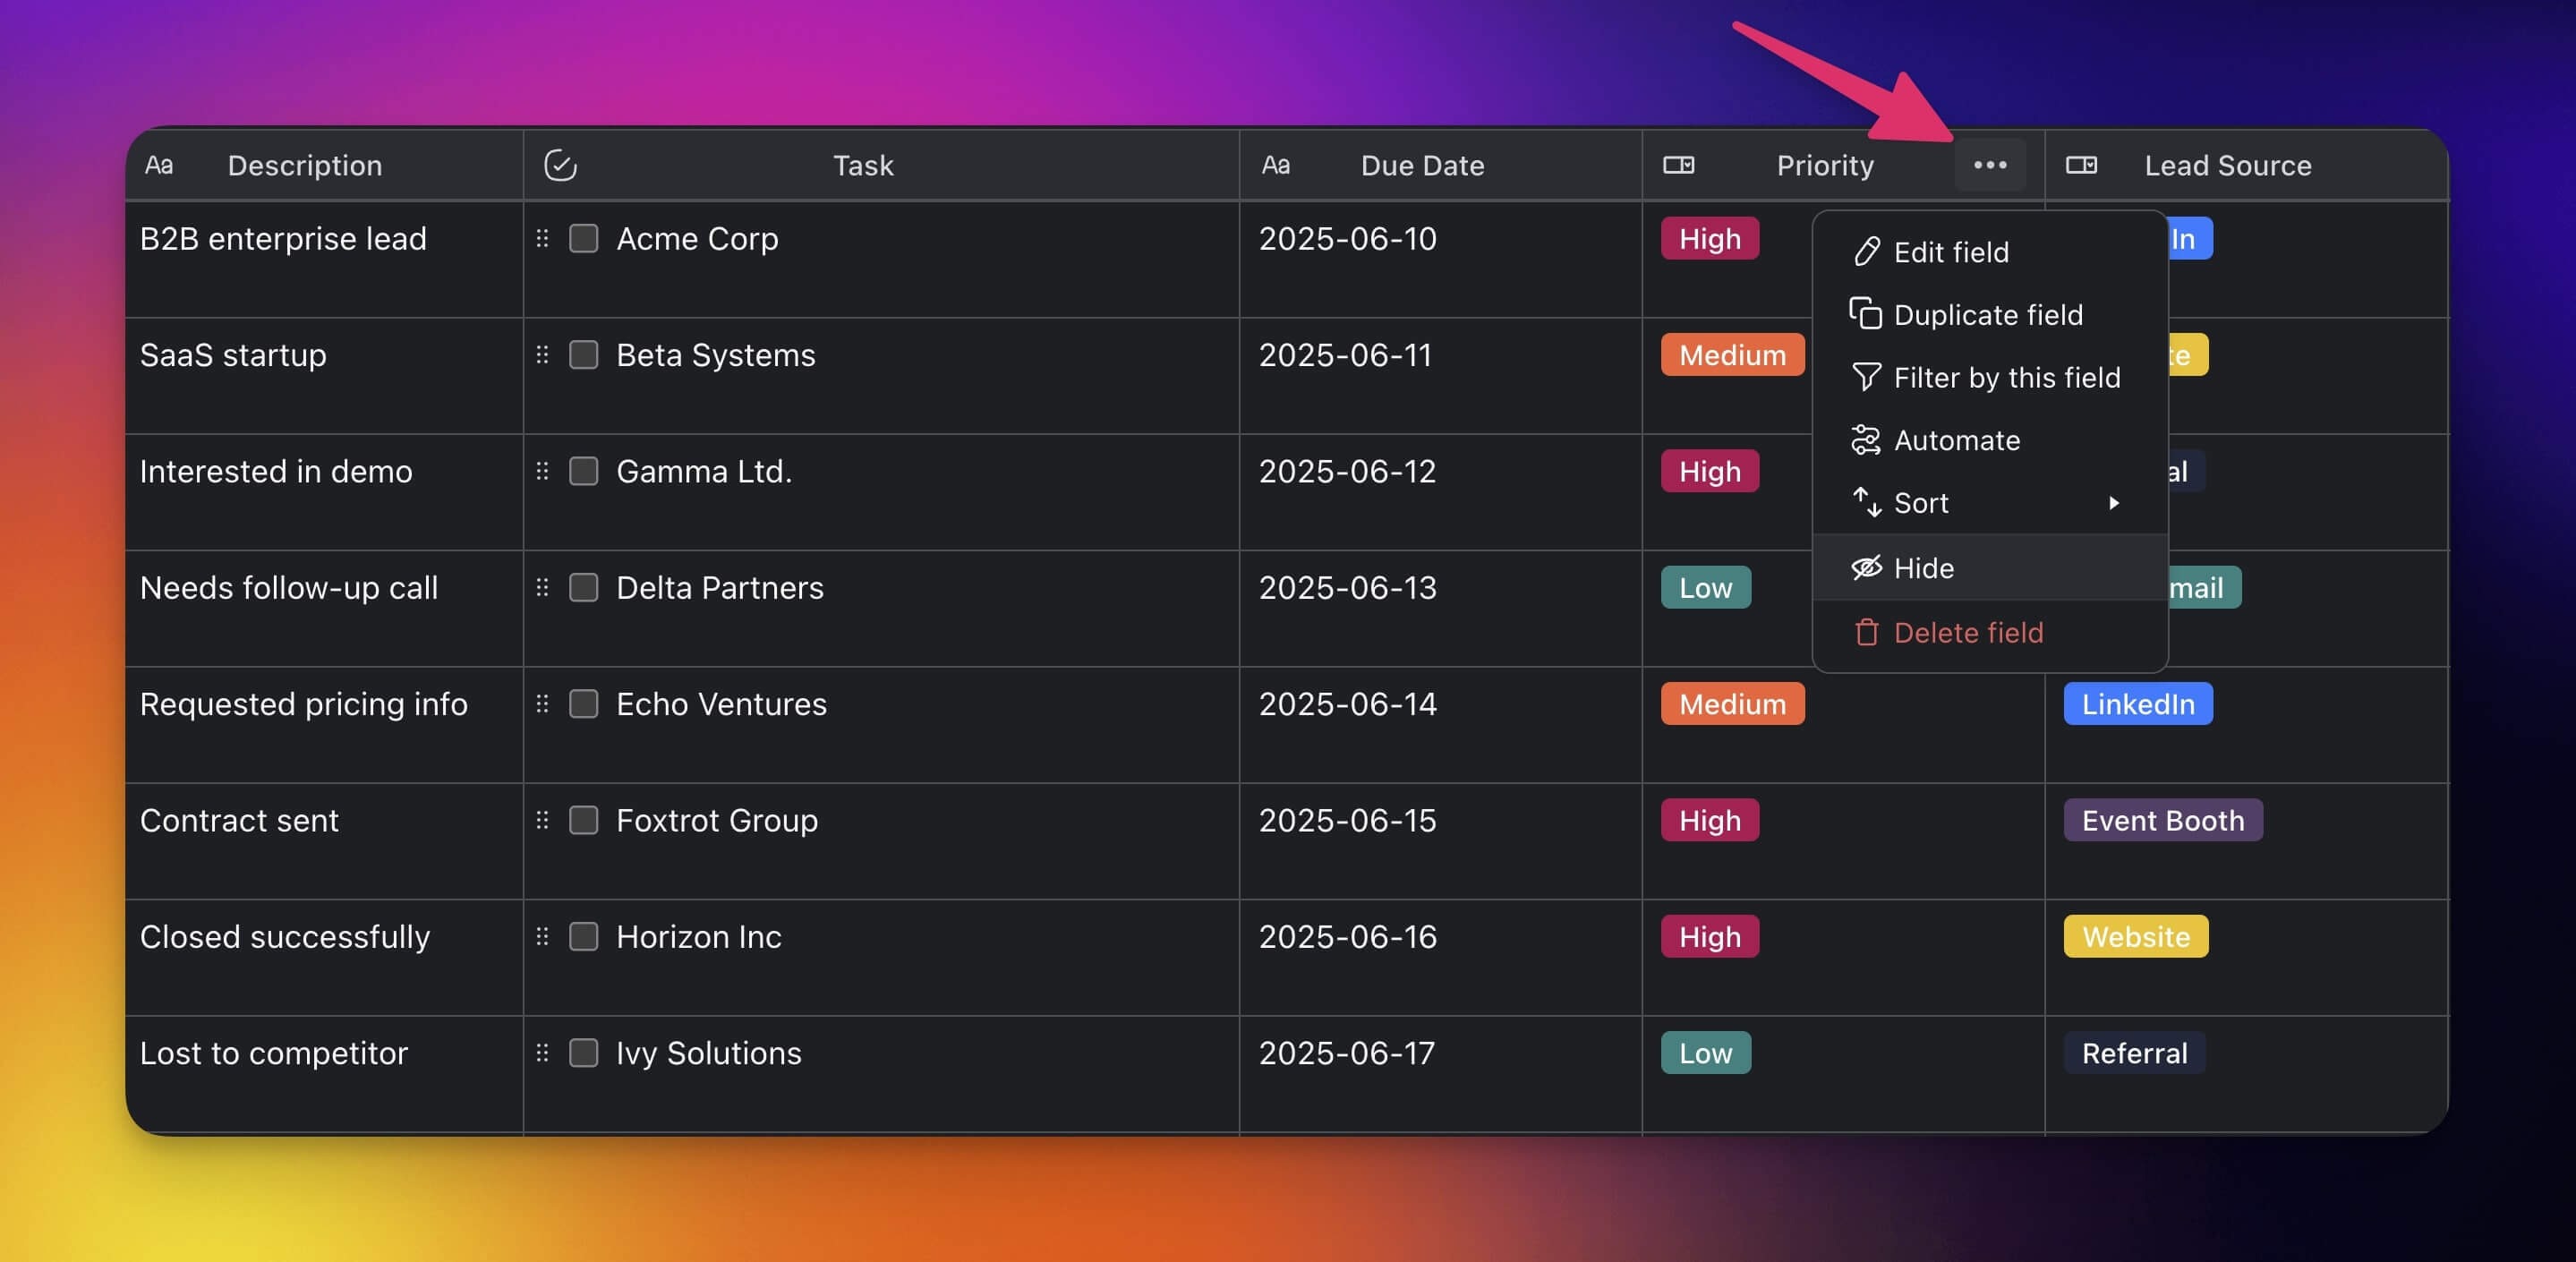
Hide/Show Columns
Hide: Click ··· next to a column header → Hide.
You can also hide columns by unchecking them under ➕ (see below).
Show : Click the ➕ button at the end of a table to add columns again.
You may need to scroll to the right to see the ➕ button.
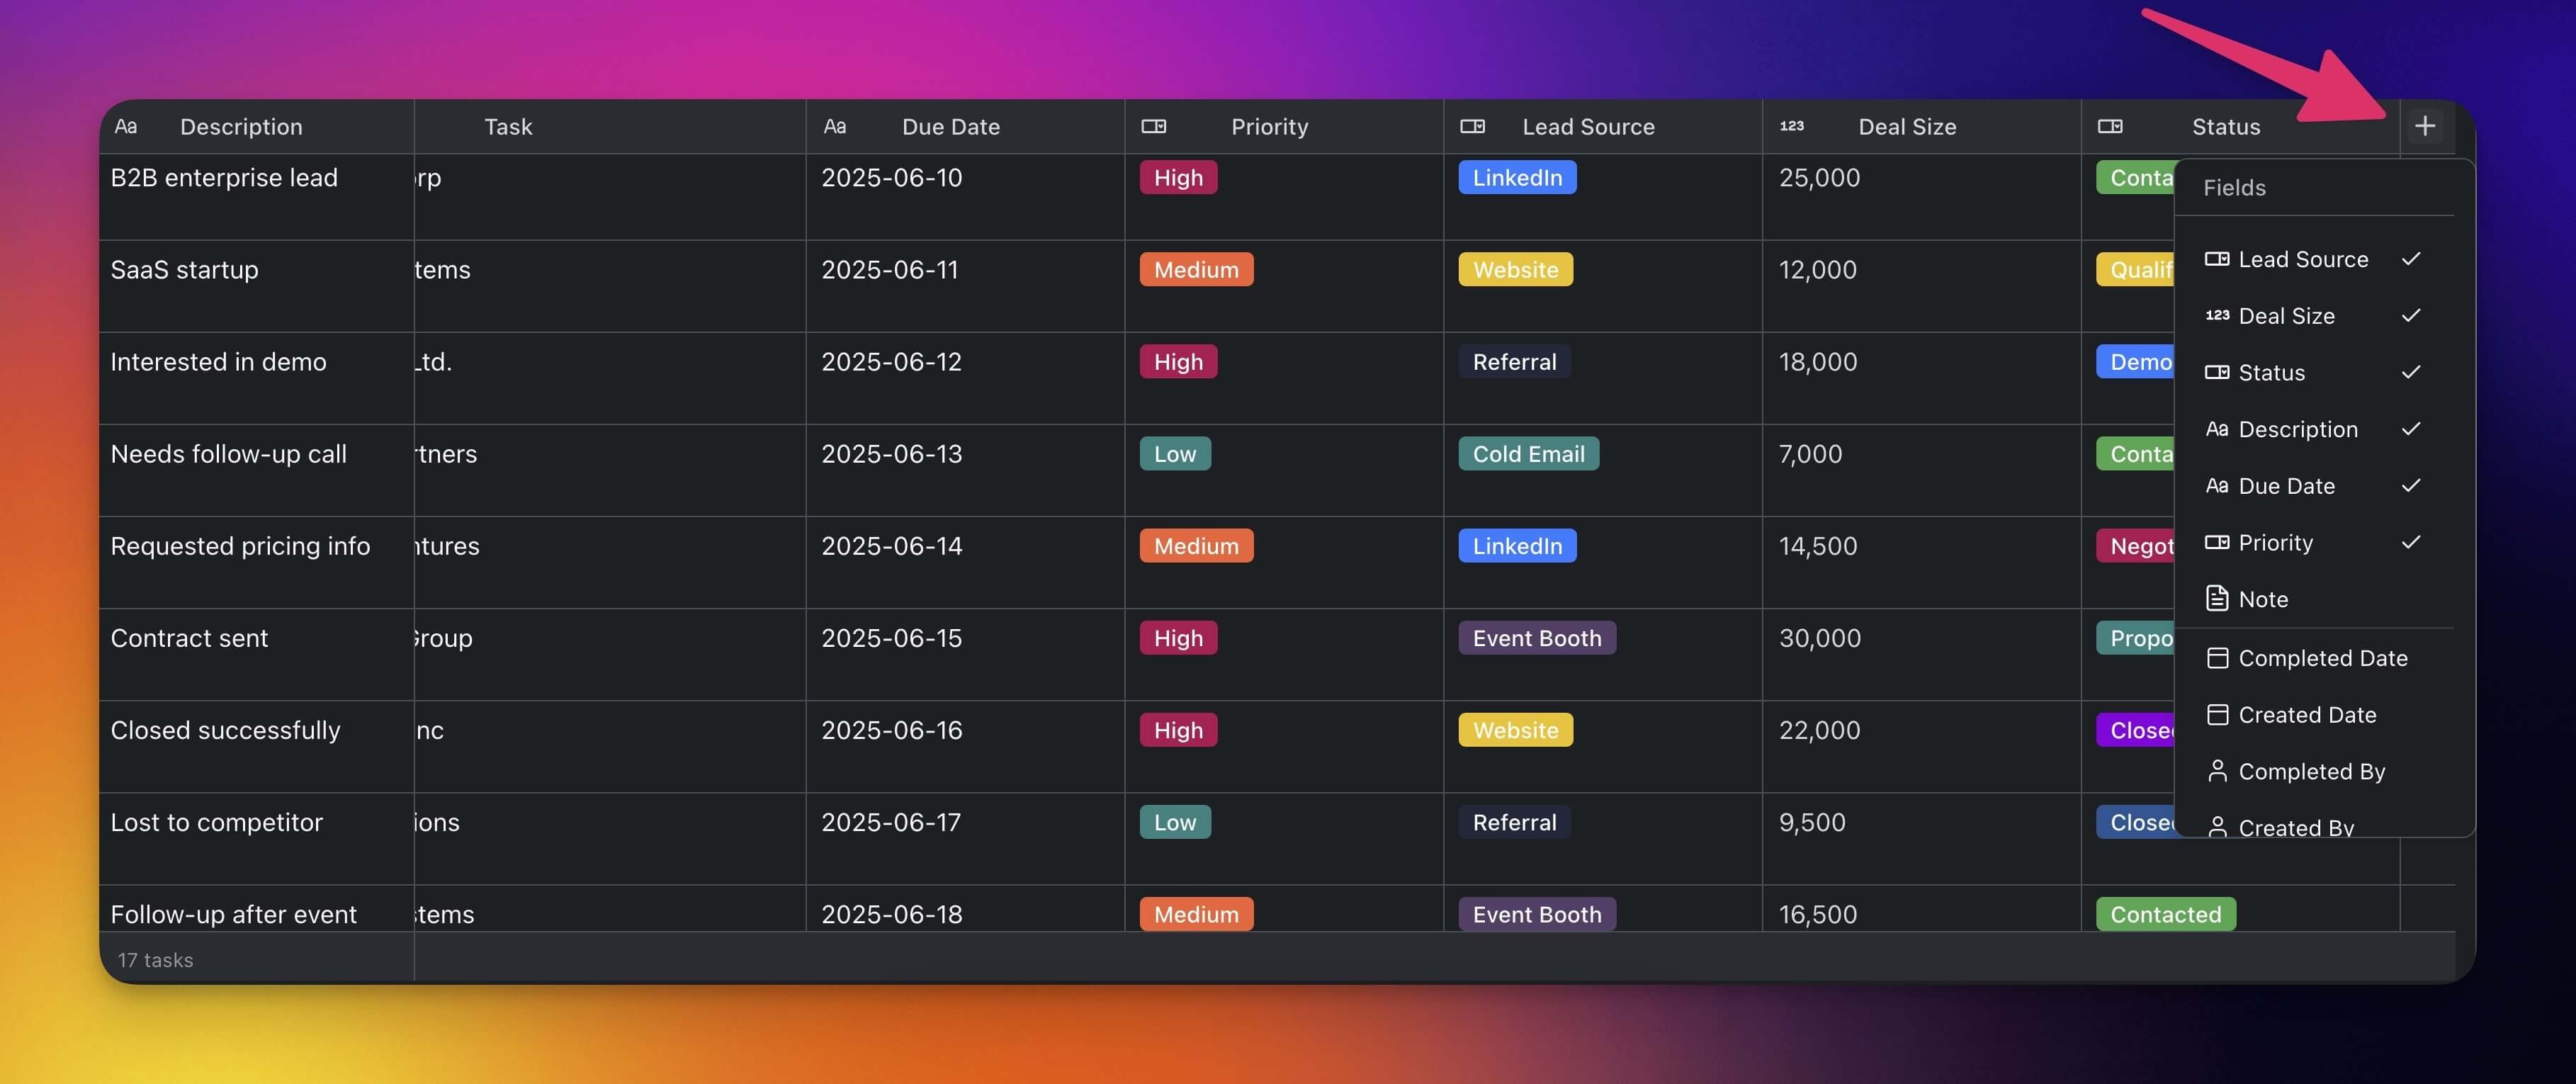
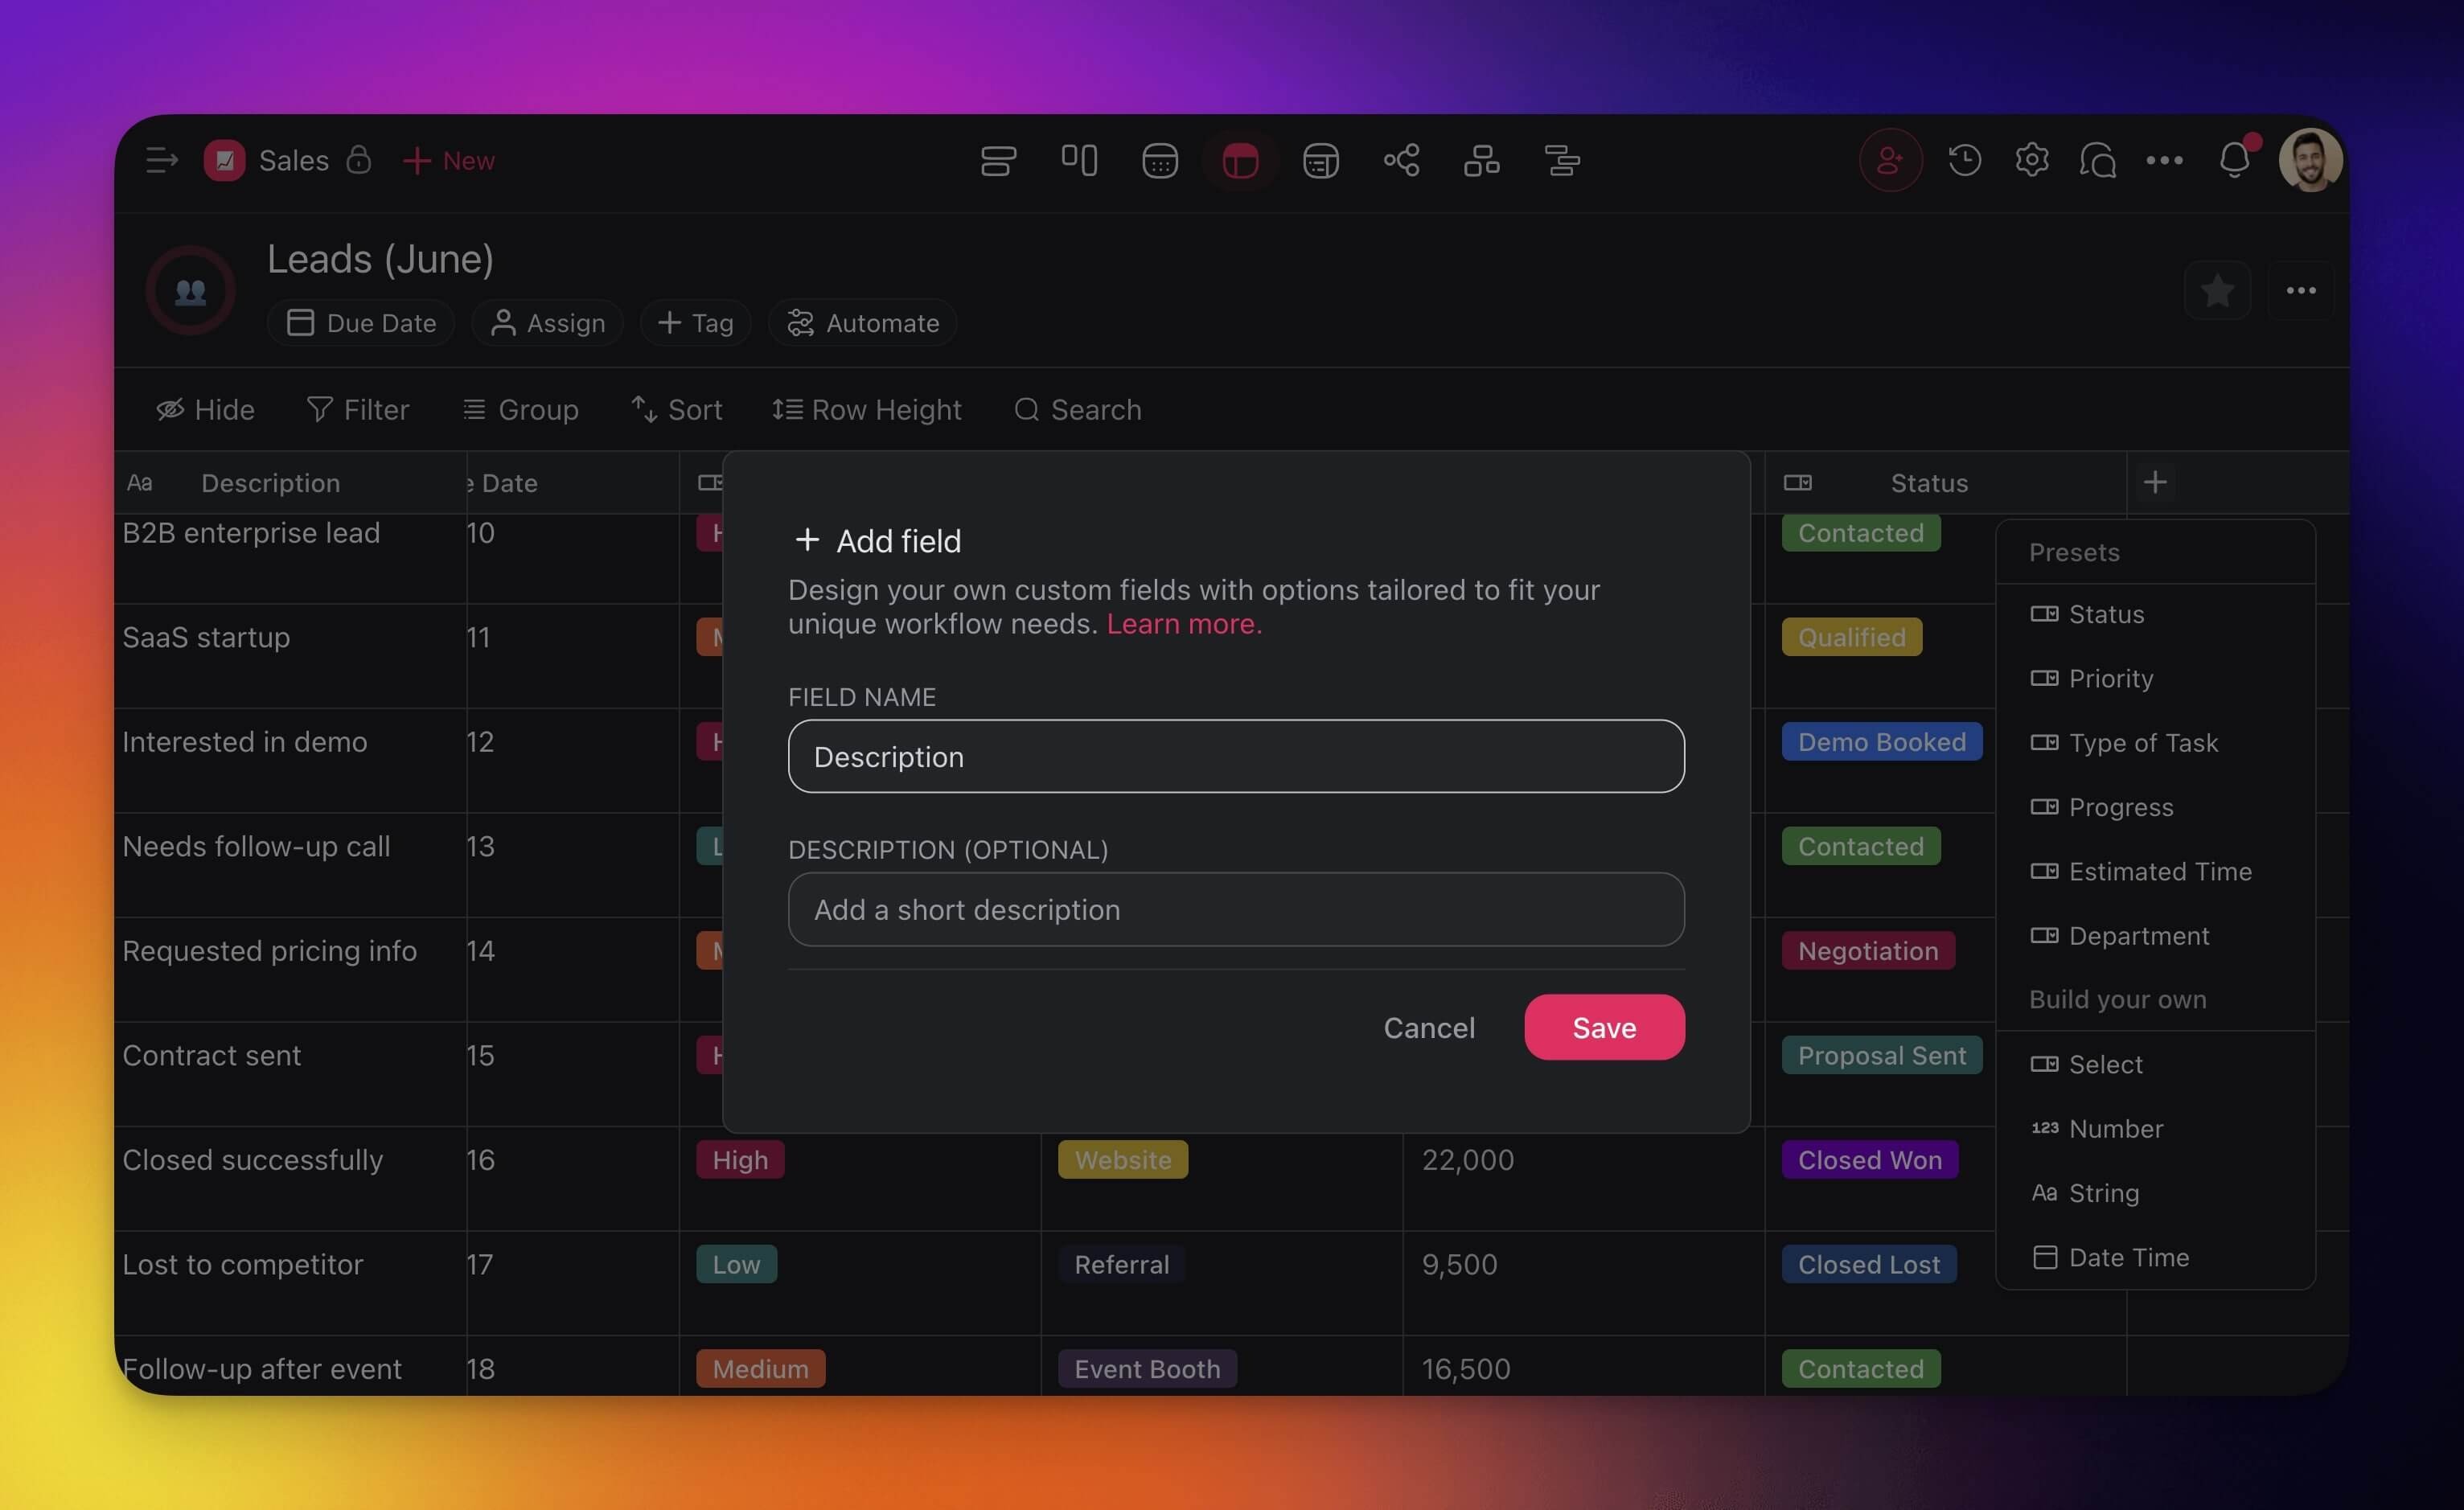
Add Custom Fields
Click the ➕ button next to the last column (you may need to scroll right).
Choose one of the available options (scroll down for details).
💡 Note: The custom fields you add in the Table view will be visible in other views within the project. You can also add them at any time using Add-Ons.

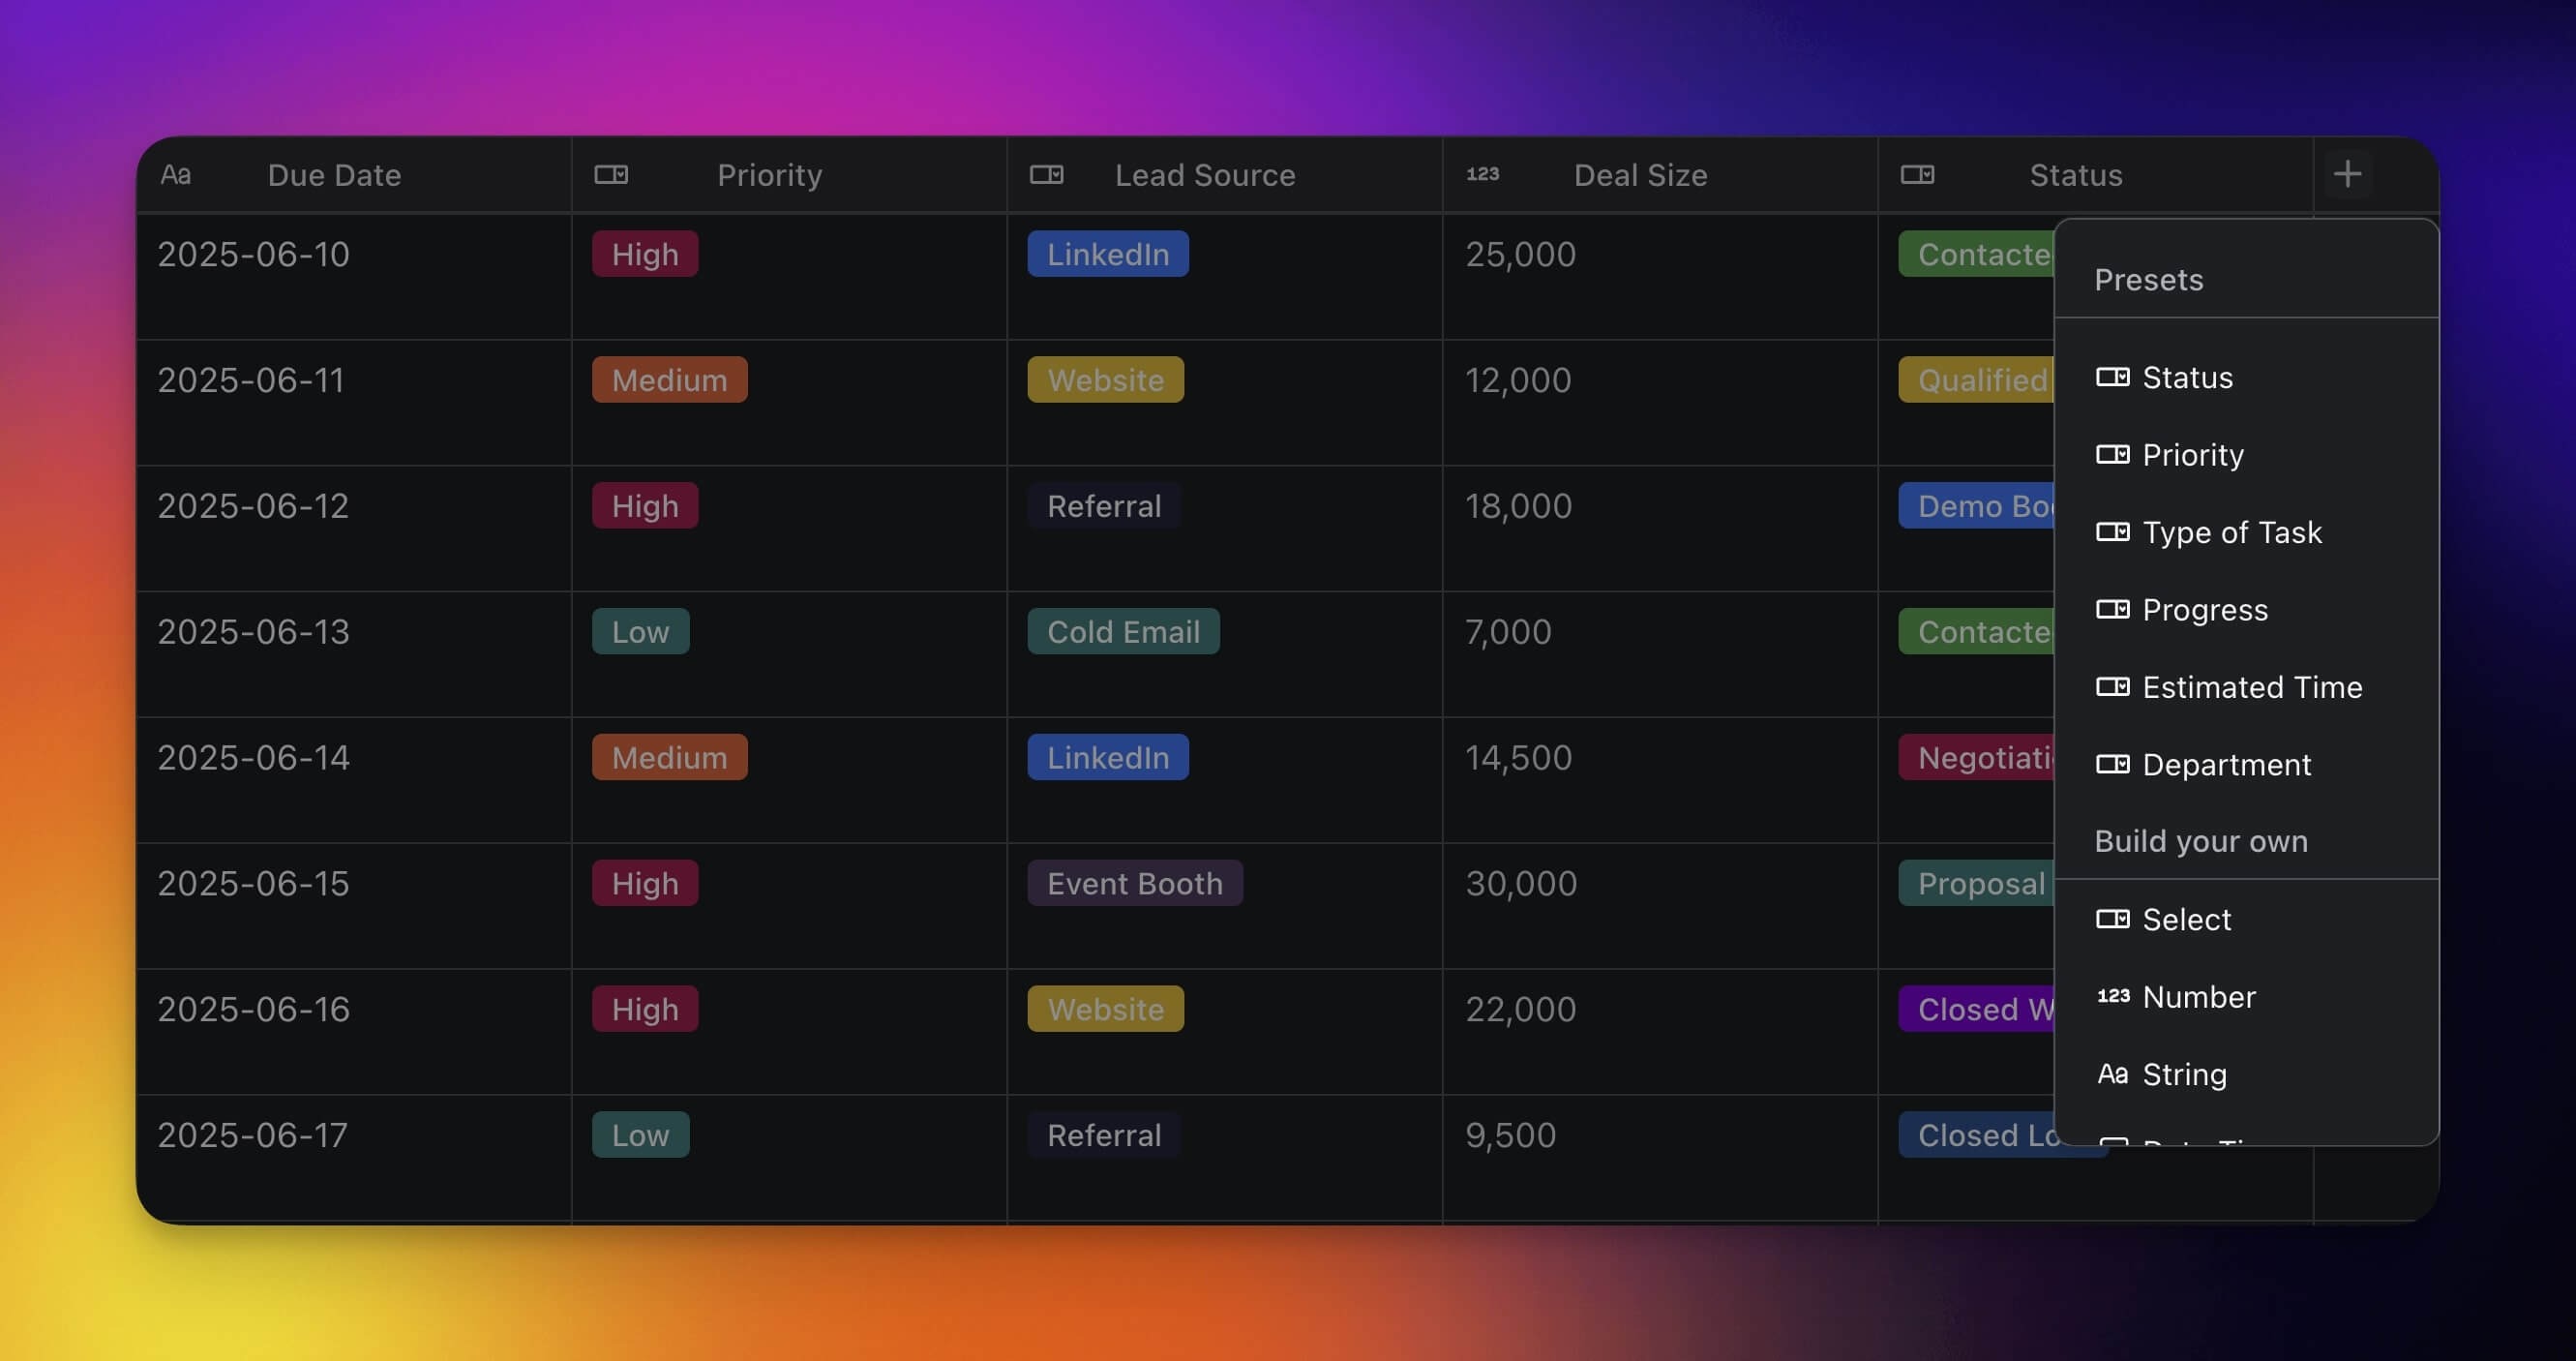
Use Presets
Presets offer pre-defined field types to help you organize your work more effectively. Each preset is fully customizable to match the needs of your project.
Note: Table presets work across views, including Lists and Boards.
| ⚙️ Preset | 🔤 Description |
|---|---|
| Status | Tracks the progress of tasks. |
| Priority | Indicates the importance or urgency. |
| Type of Task | Categorizes tasks by their nature. |
| Progress | Shows the current progress of a task. |
| Estimated Time | Indicates the estimated task duration. |
| Department | Organizes tasks by team/department. |
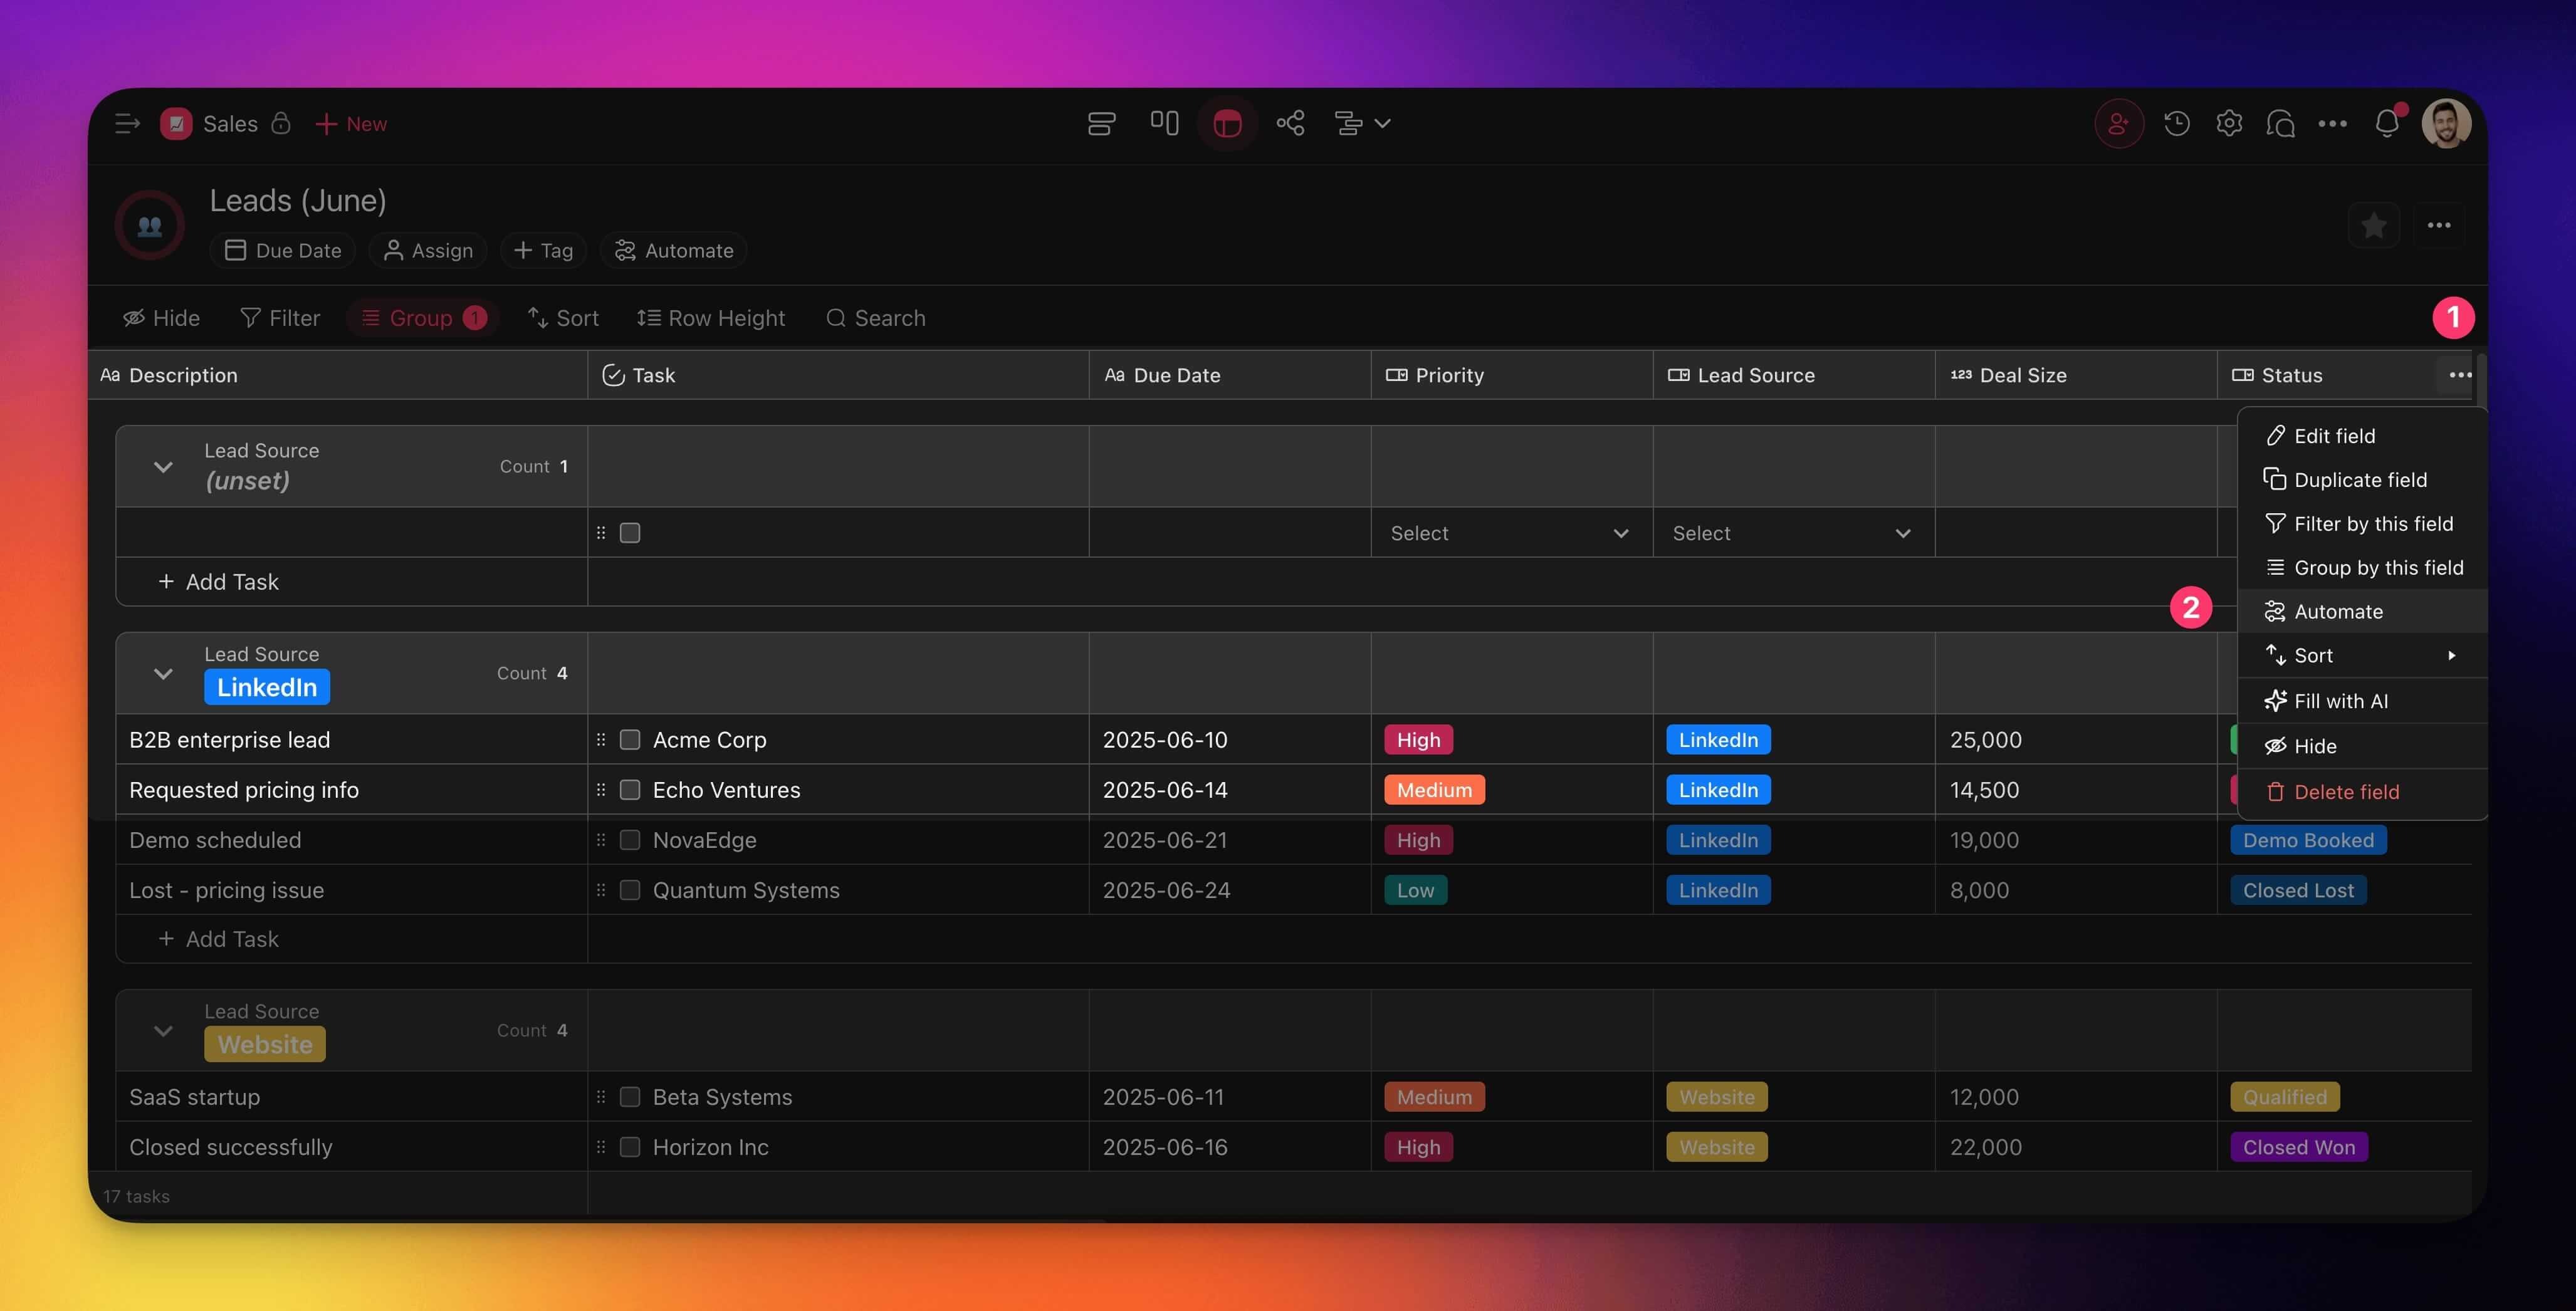
Edit Columns & Fields
- Click the ··· three dots next to a field name.
- Choose ✏️ Edit field from the list.
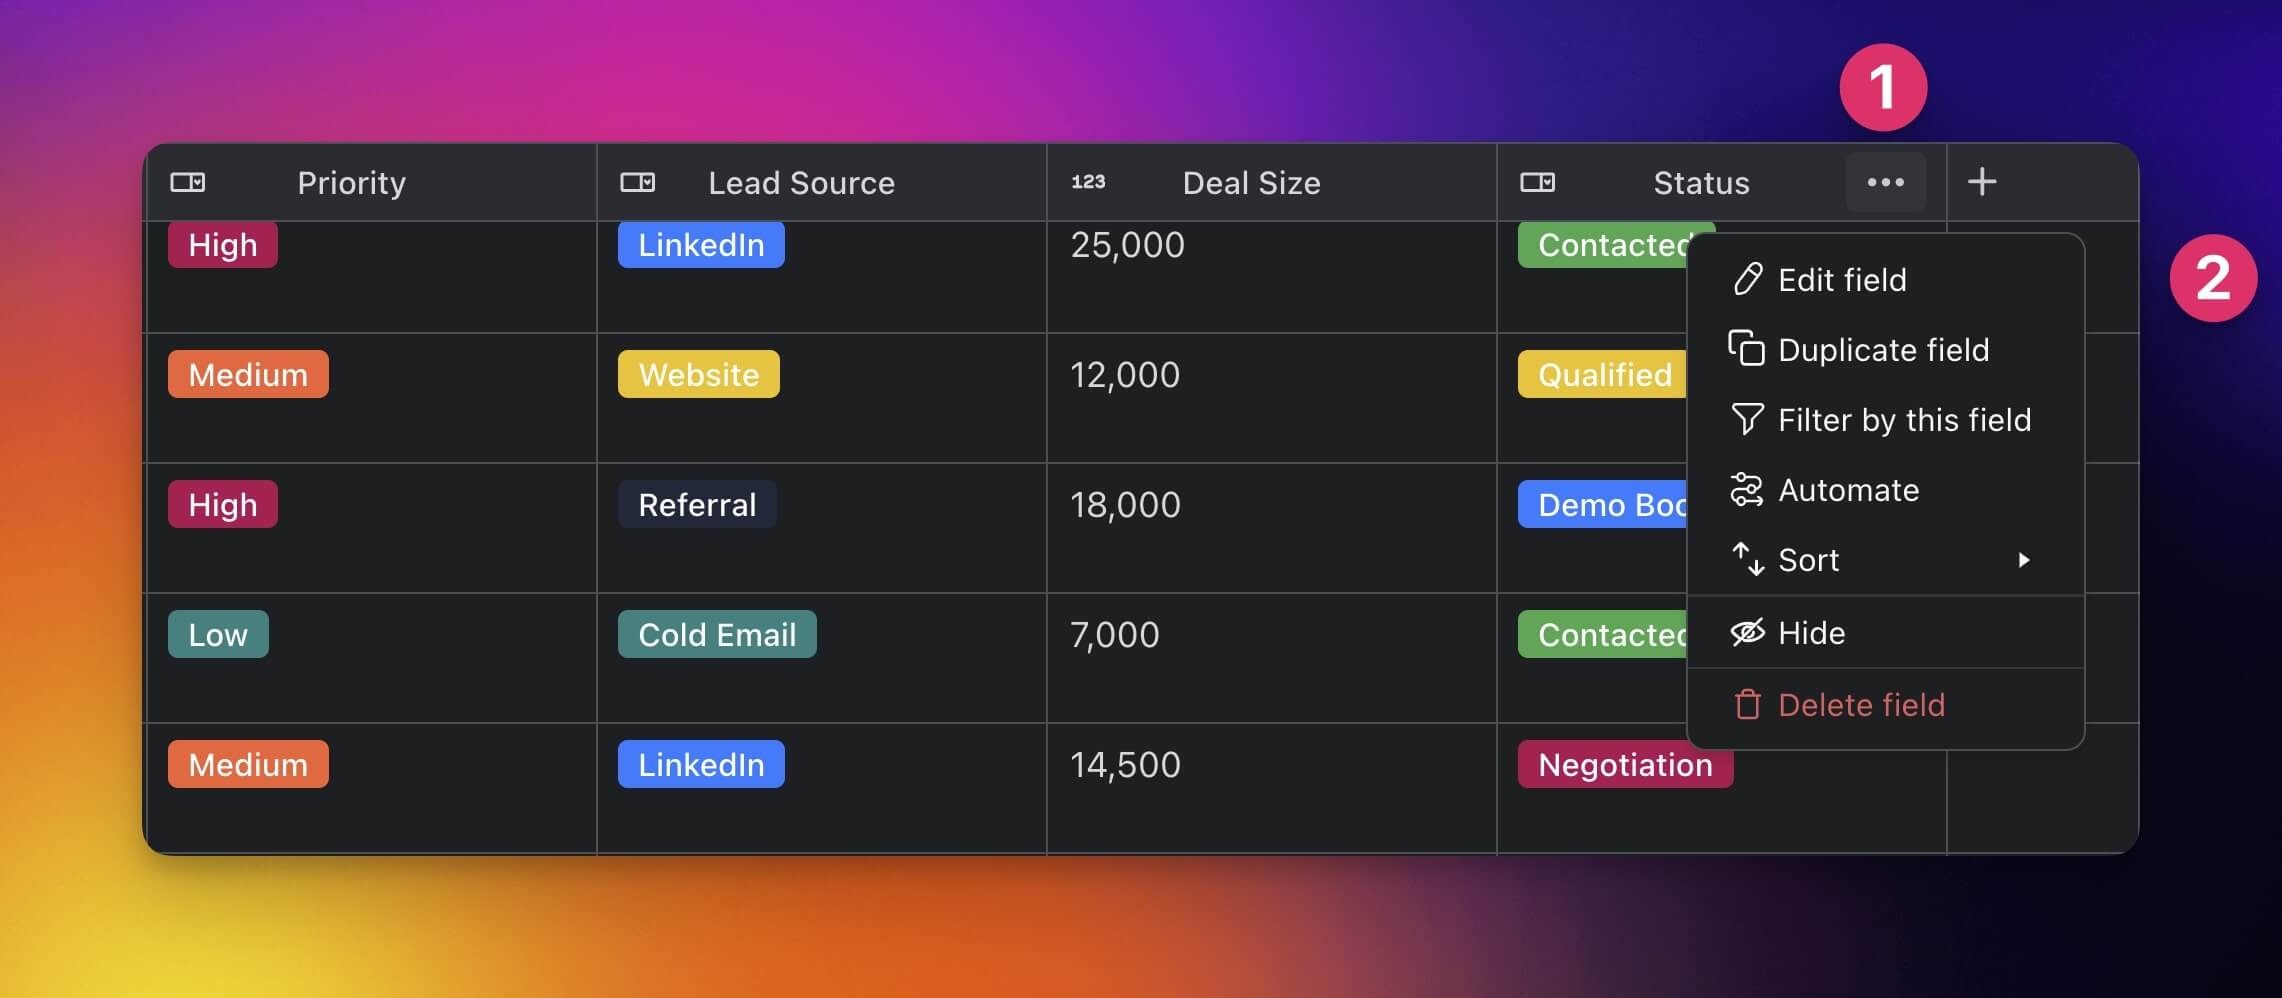
Duplicate Custom Fields
You can quickly duplicate a column with custom fields and adjust as needed.
- Click the ··· three dots next to a field name.
- Choose Duplicate field from the drop-down list.
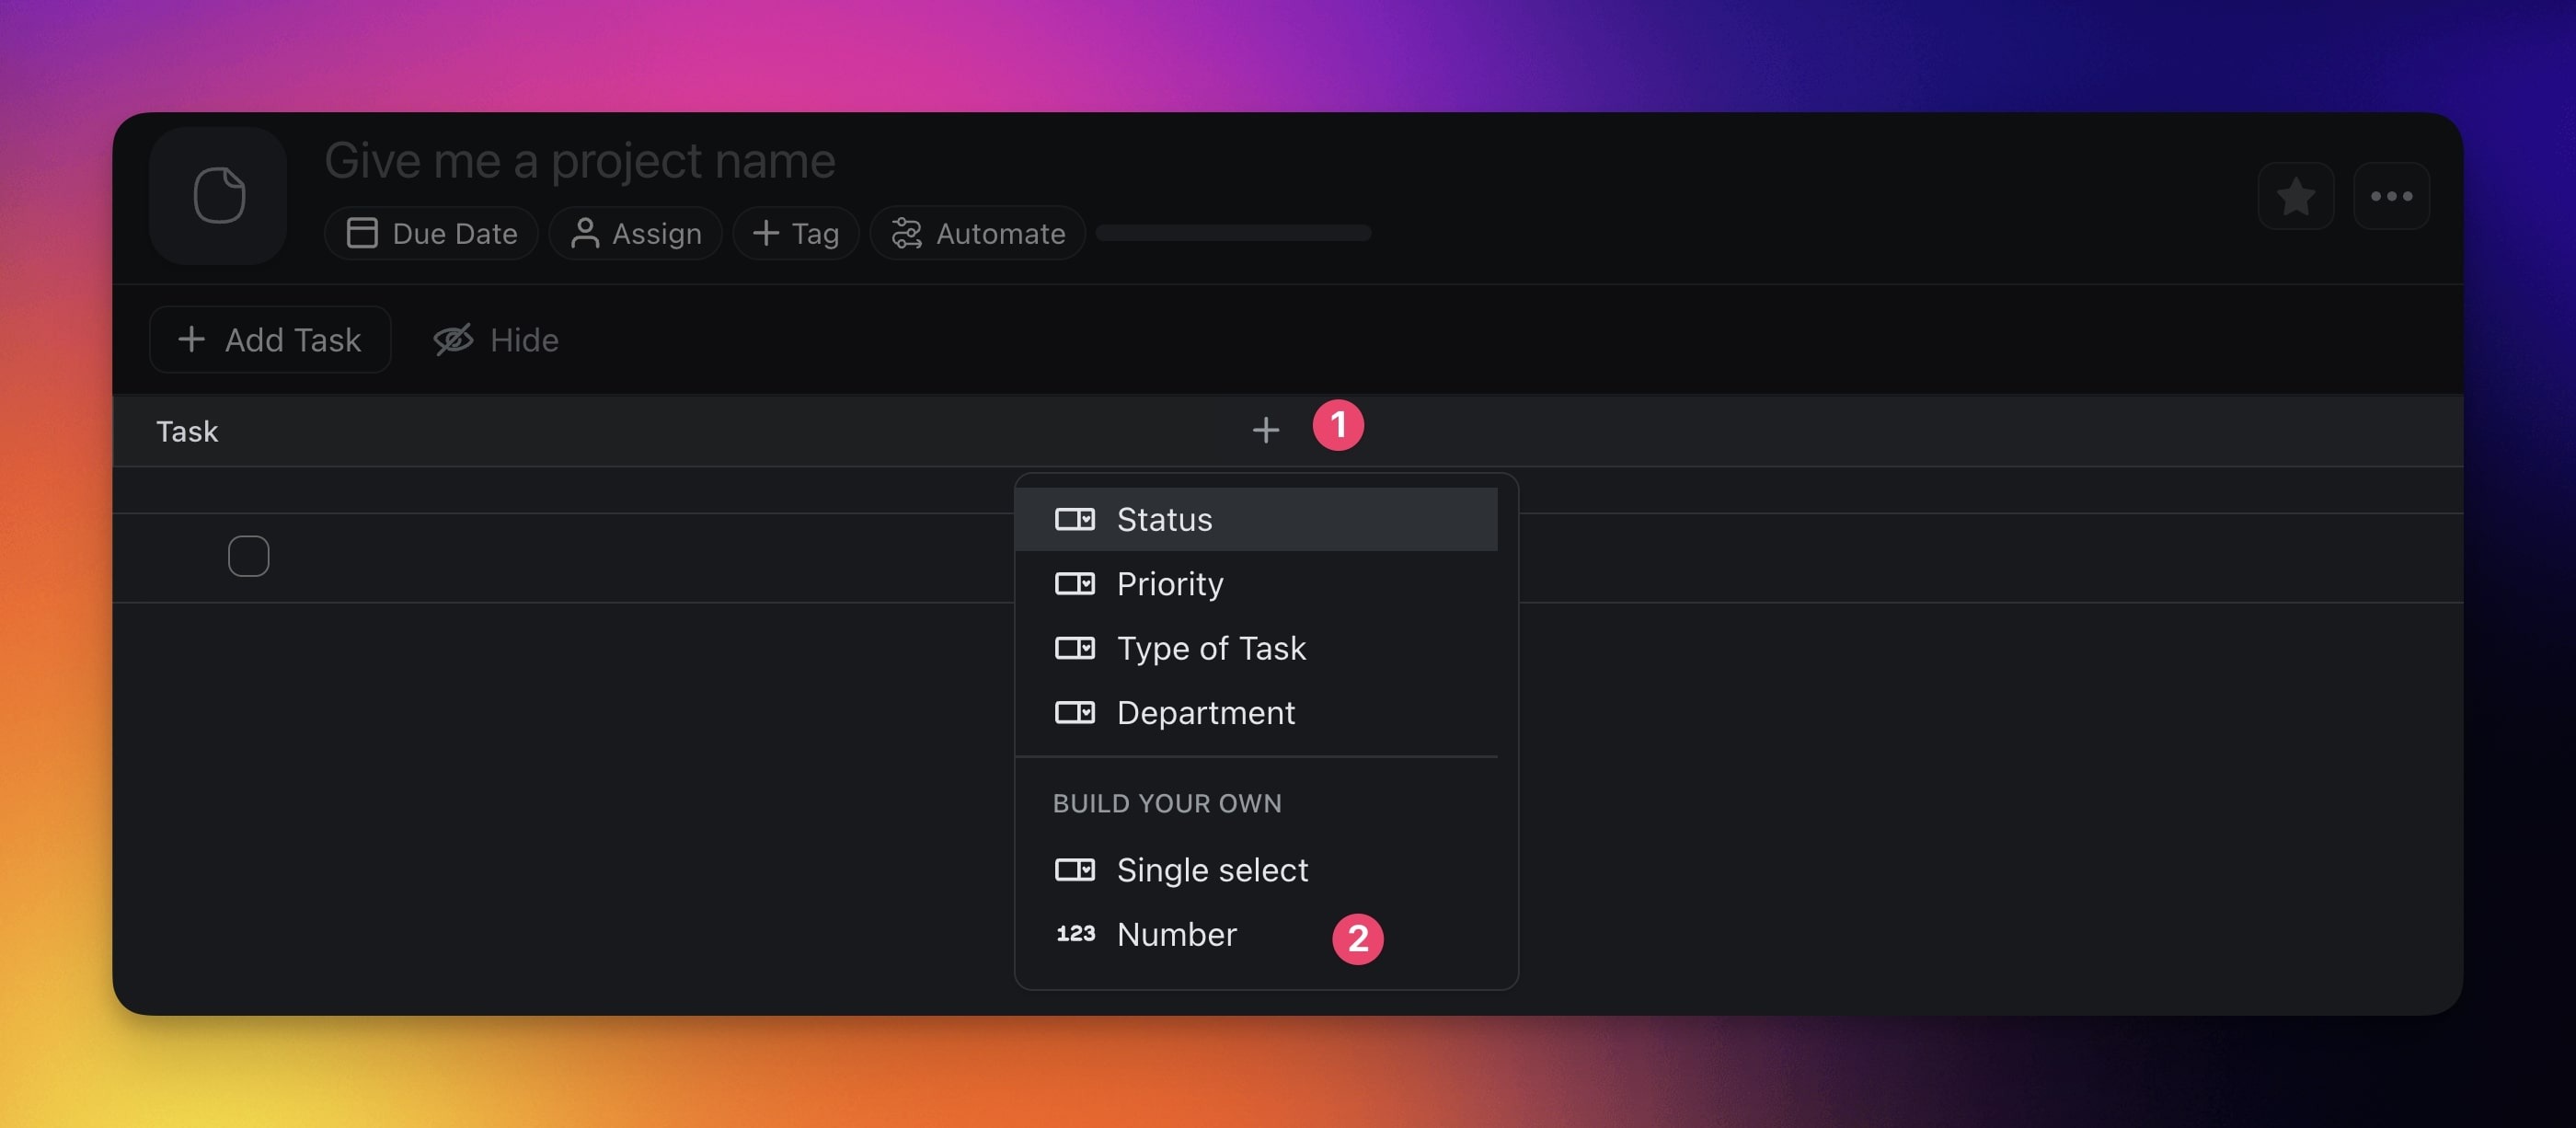
Build Your Own Fields
Customize your Table view experience by creating fields tailored to your needs.
Add a Single Select Field
The Single select option allows you to create custom fields.
- Click the ➕ button next to the last column (you may need to scroll right).
- Choose Single select from the drop-down list.
Not sure where to start? Here are a few ideas:
| ⚙️ Preset | 🔤 Description |
|---|---|
| Project Phase | Mark the phase of the project. |
| Milestone | Signify project checkpoints. |
| Client | Associate tasks with specific clients. |
| Location | Specifies the location for tasks. |
| Cost | Lists the budget or actual cost. |
 |
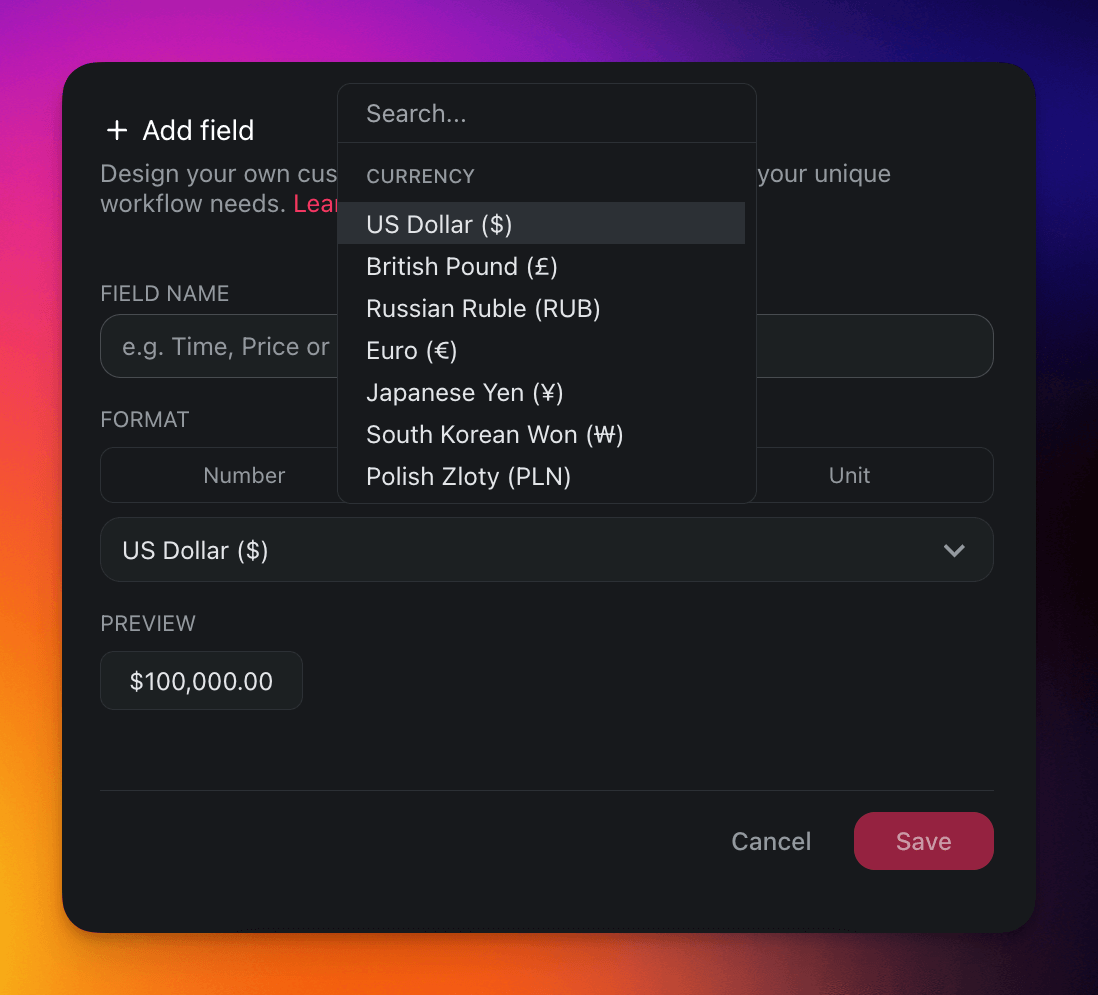
Add a Number Field
The Number option allows you to handle custom data in three formats.
- Click the ➕ button next to the last column (you may need to scroll right).
- Choose Number from the drop-down list.
| 🔢 Number | 💵 Currency | ⚛️ Unit |
|---|---|---|
| Add and work with plain numbers, perfect for quantifications, numerical records, or data analysis. | Add currency values, perfect for financial tracking, budgeting, and cost-related projects. | Represent your data in percentages, perfect for tracking completion rates and performance metrics. |
 |
Add a String Field
The String option allows you to write short text within each row.
- Click the ➕ button next to the last column (you may need to scroll right).
- Choose String from the drop-down list.

Tip for Japanese, Chinese, and Korean input: For long passages typed with an input method editor (IME), the List view gives the smoothest typing and conversion. Type and confirm your text there, then switch back to the Table view from the view switcher. Your text lands in the same cells, because every view reads from the same project data.
Use Table View Add-Ons
Add-ons are specialized tools that make your tables smarter. You can enable or disable the add-ons at any time based on your workflow needs.
Enable Add-Ons
- Click the ➕ button at the end of the table (scroll right if needed).
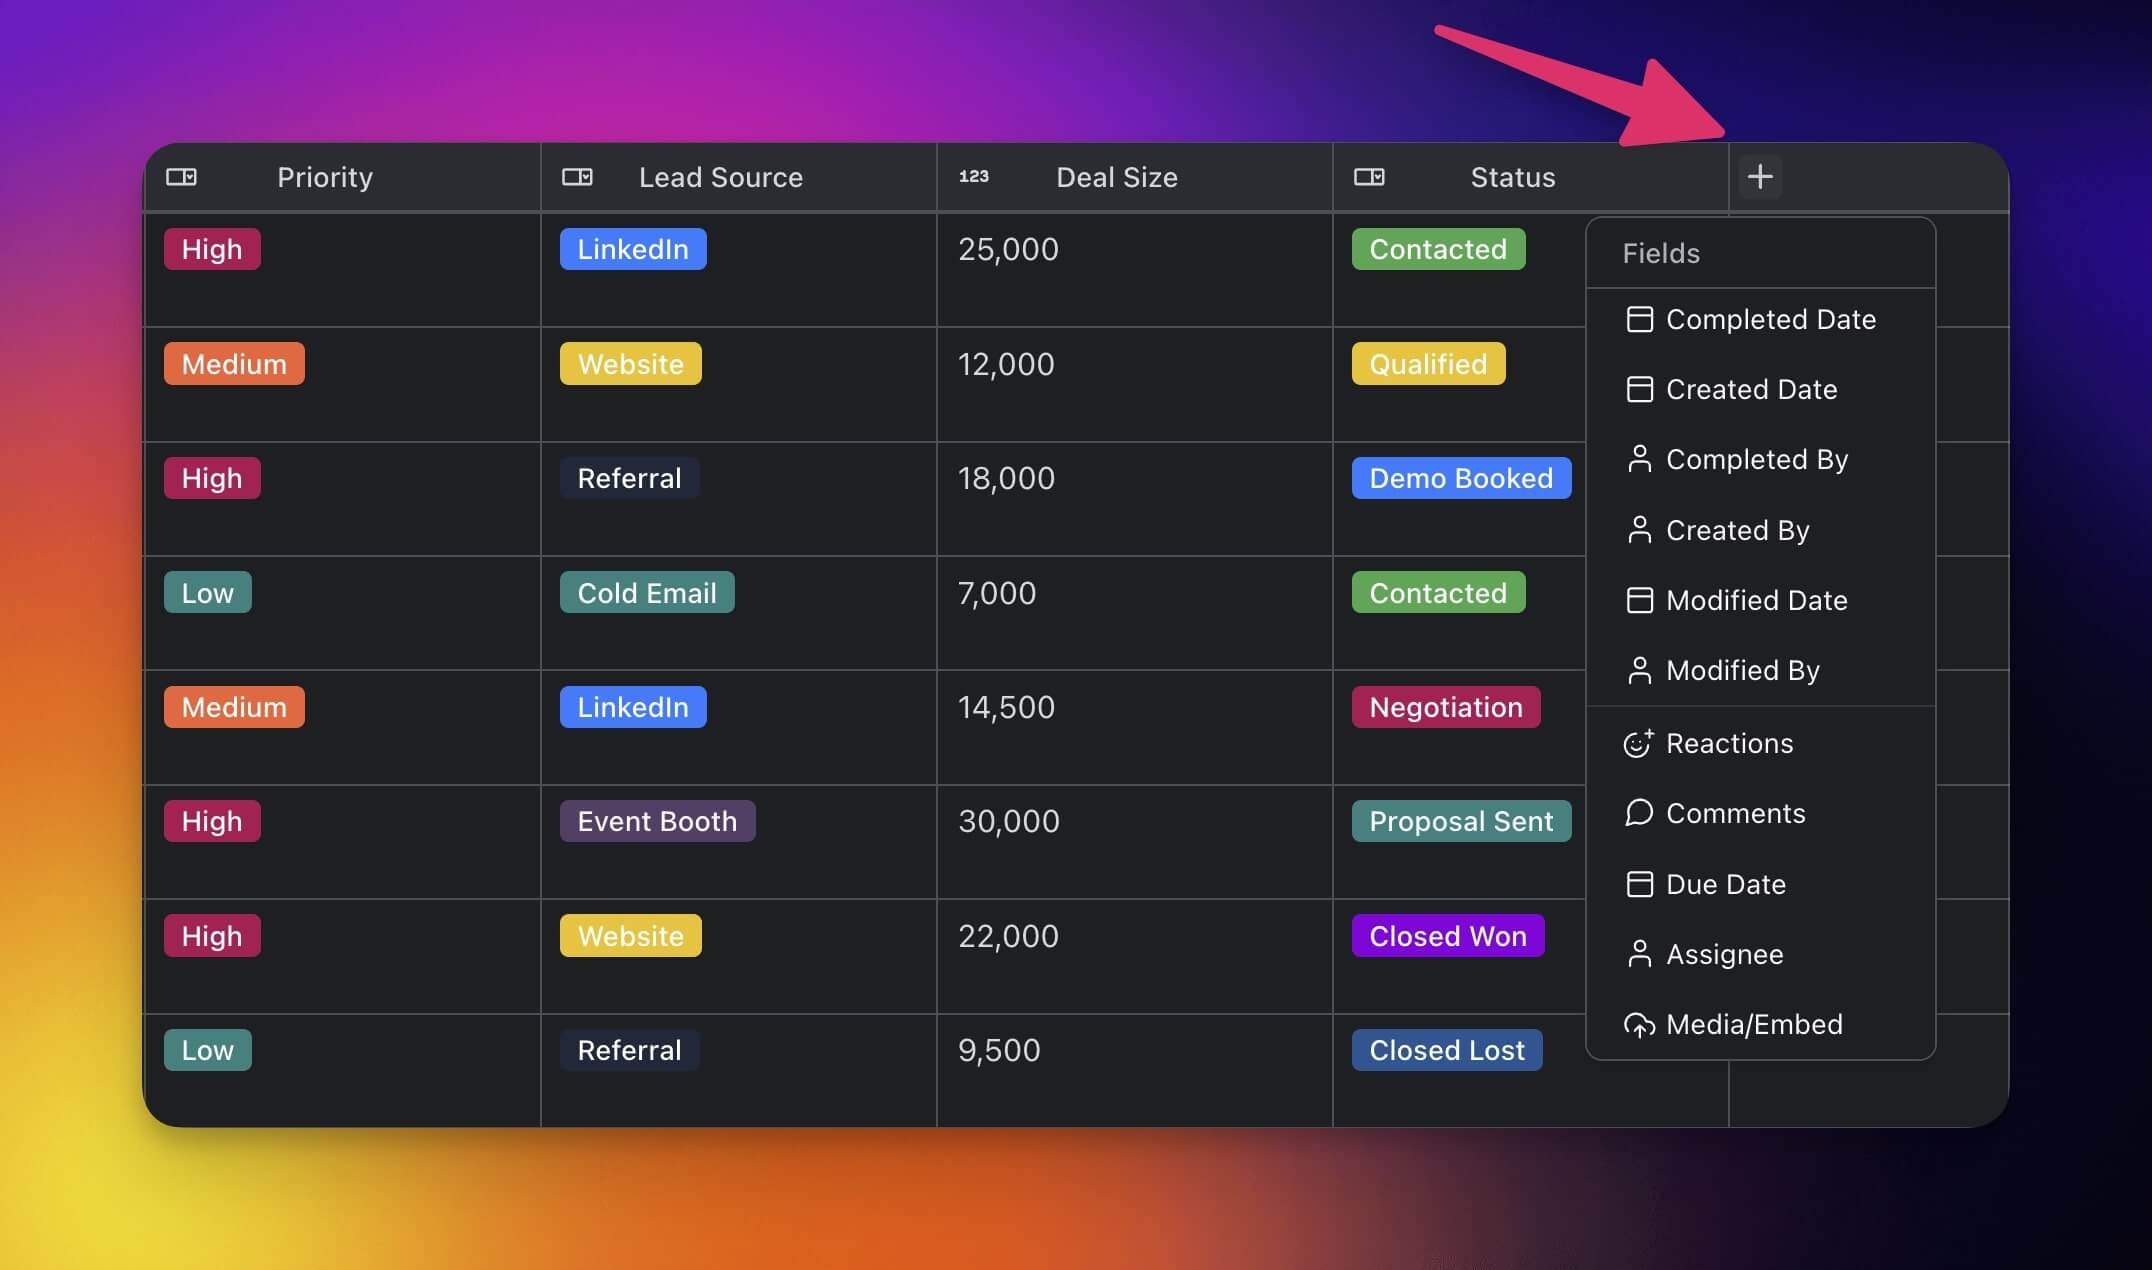
- Select an Add-On from the dropdown menu.
| Add-On | Description |
|---|---|
| Assignee | Assign tasks to specific team members. |
| Media/Embed | Attach images, videos, or media. |
| Agents | Assign tasks to custom AI Agents. |
| Timer | Track time spent on tasks. |
| Completed Date | Record the date a task was completed. |
| Created Date | Show when the task was first created. |
| Completed By | Display who completed the task. |
| Created By | Display who originally created the task. |
| Modified Date | Track the last time the task was edited. |
| Modified By | Show who last modified the task. |
| Reactions | Add emoji reactions to tasks. |
| Comments | Leave notes or start discussion. |
| Due Date | Set and track task deadlines. |
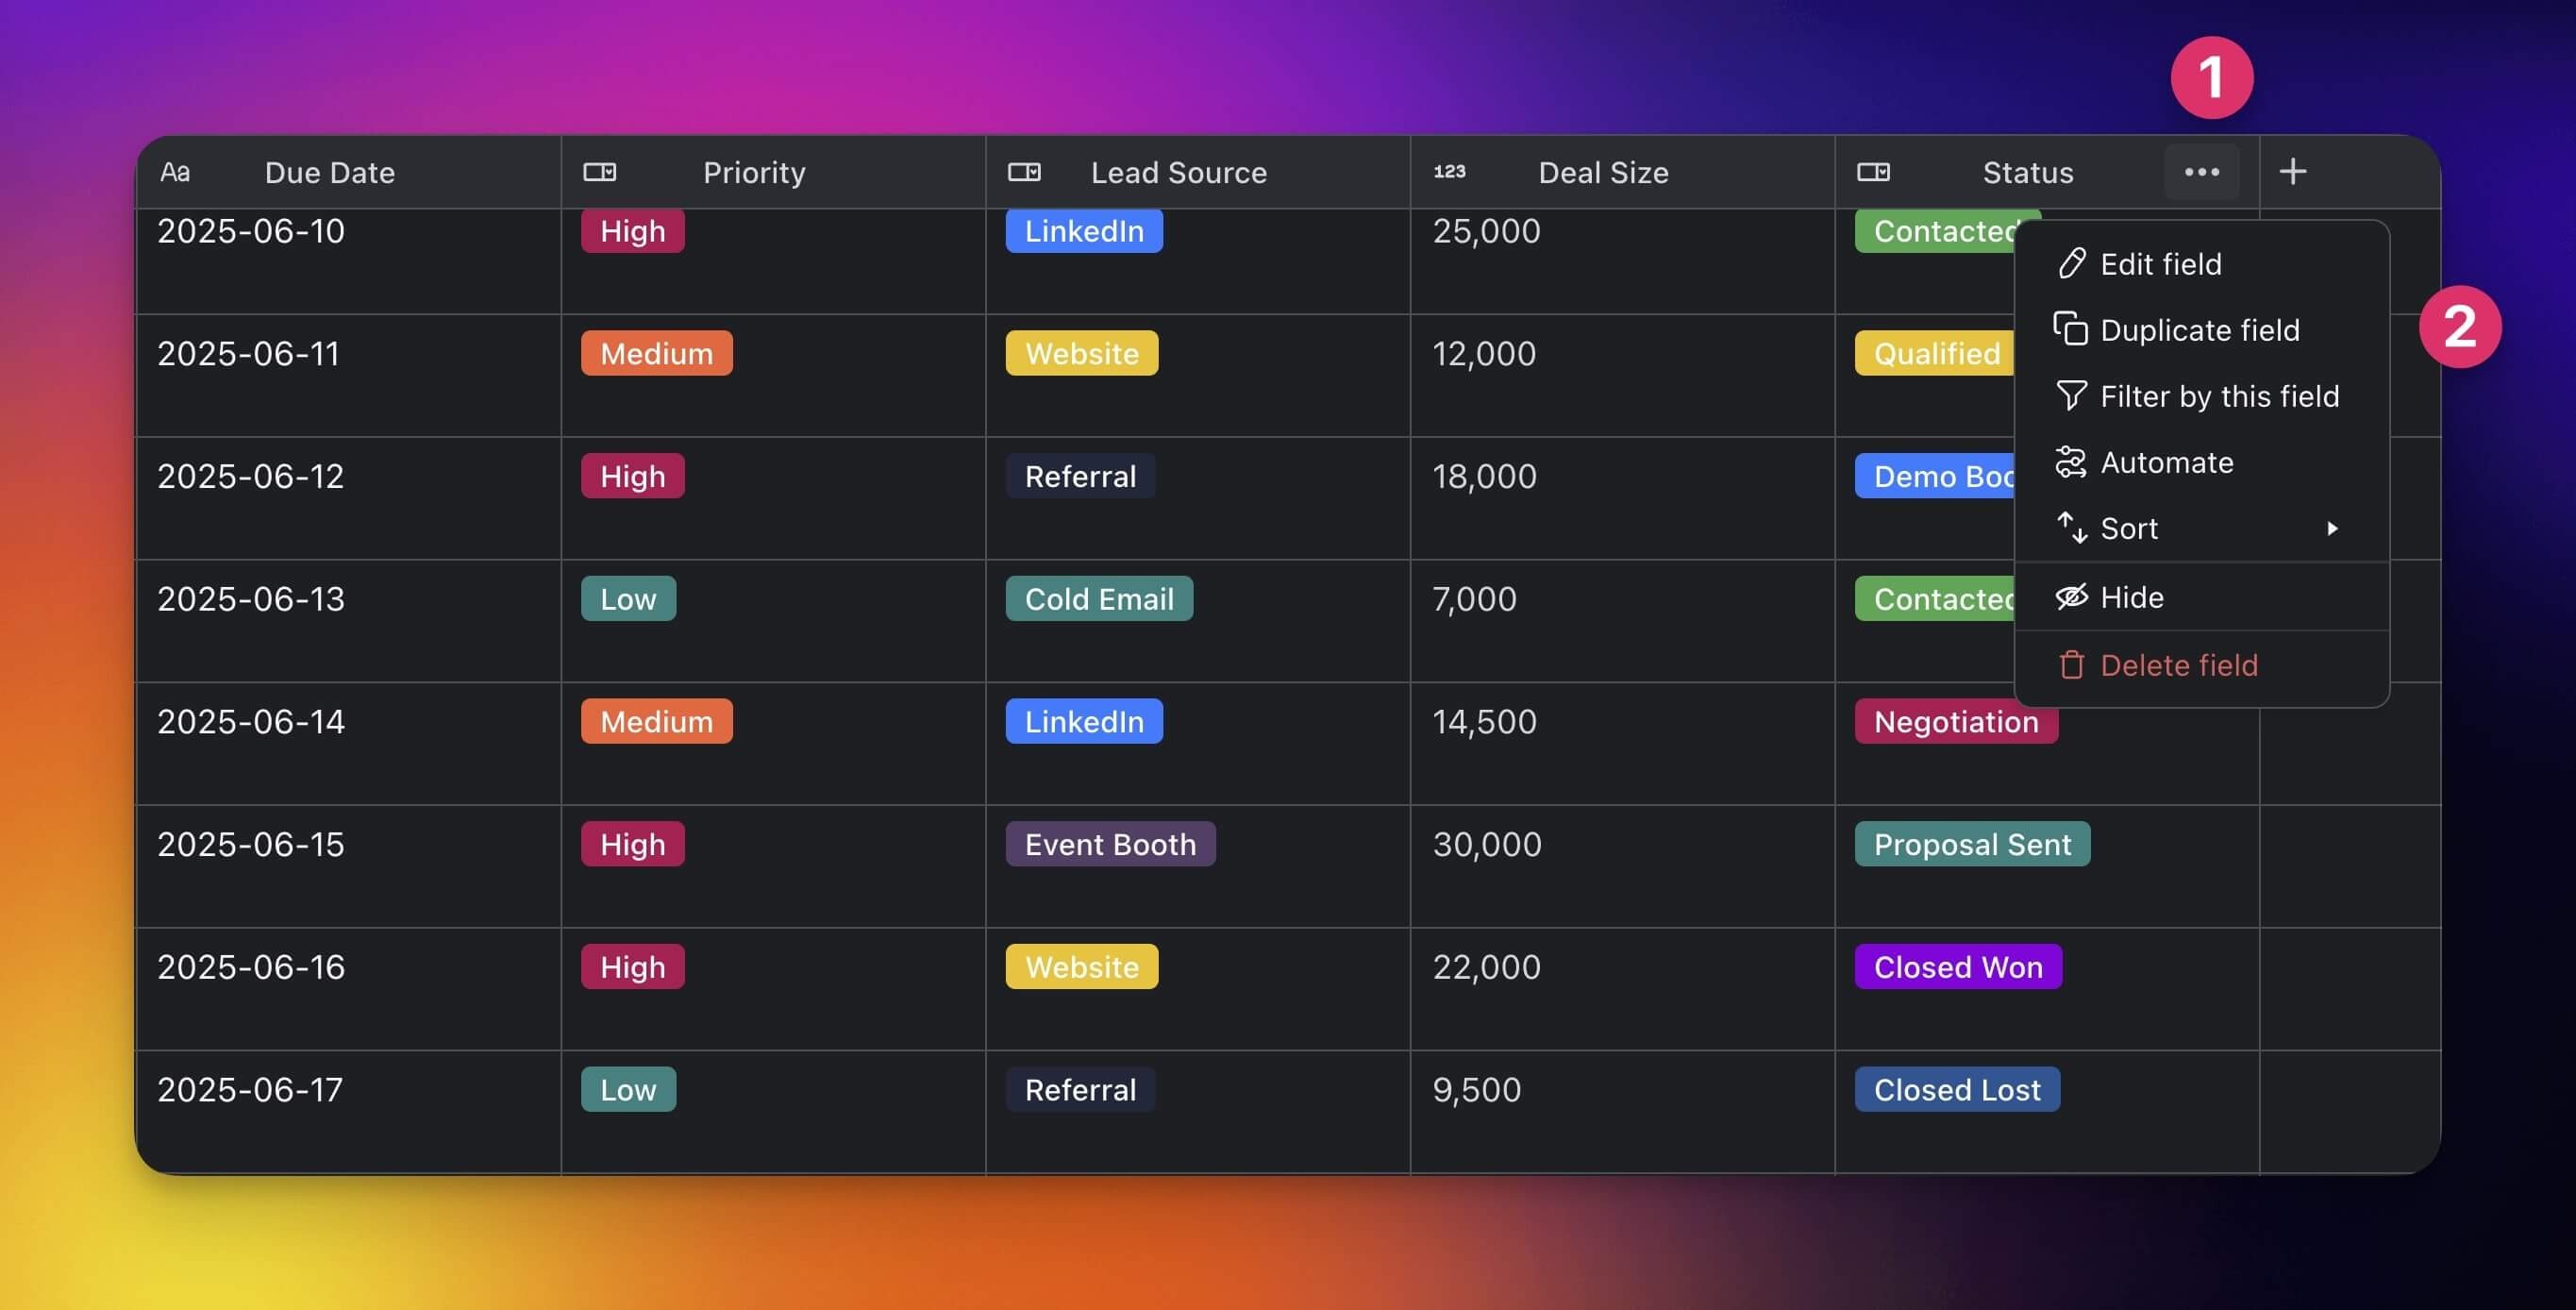
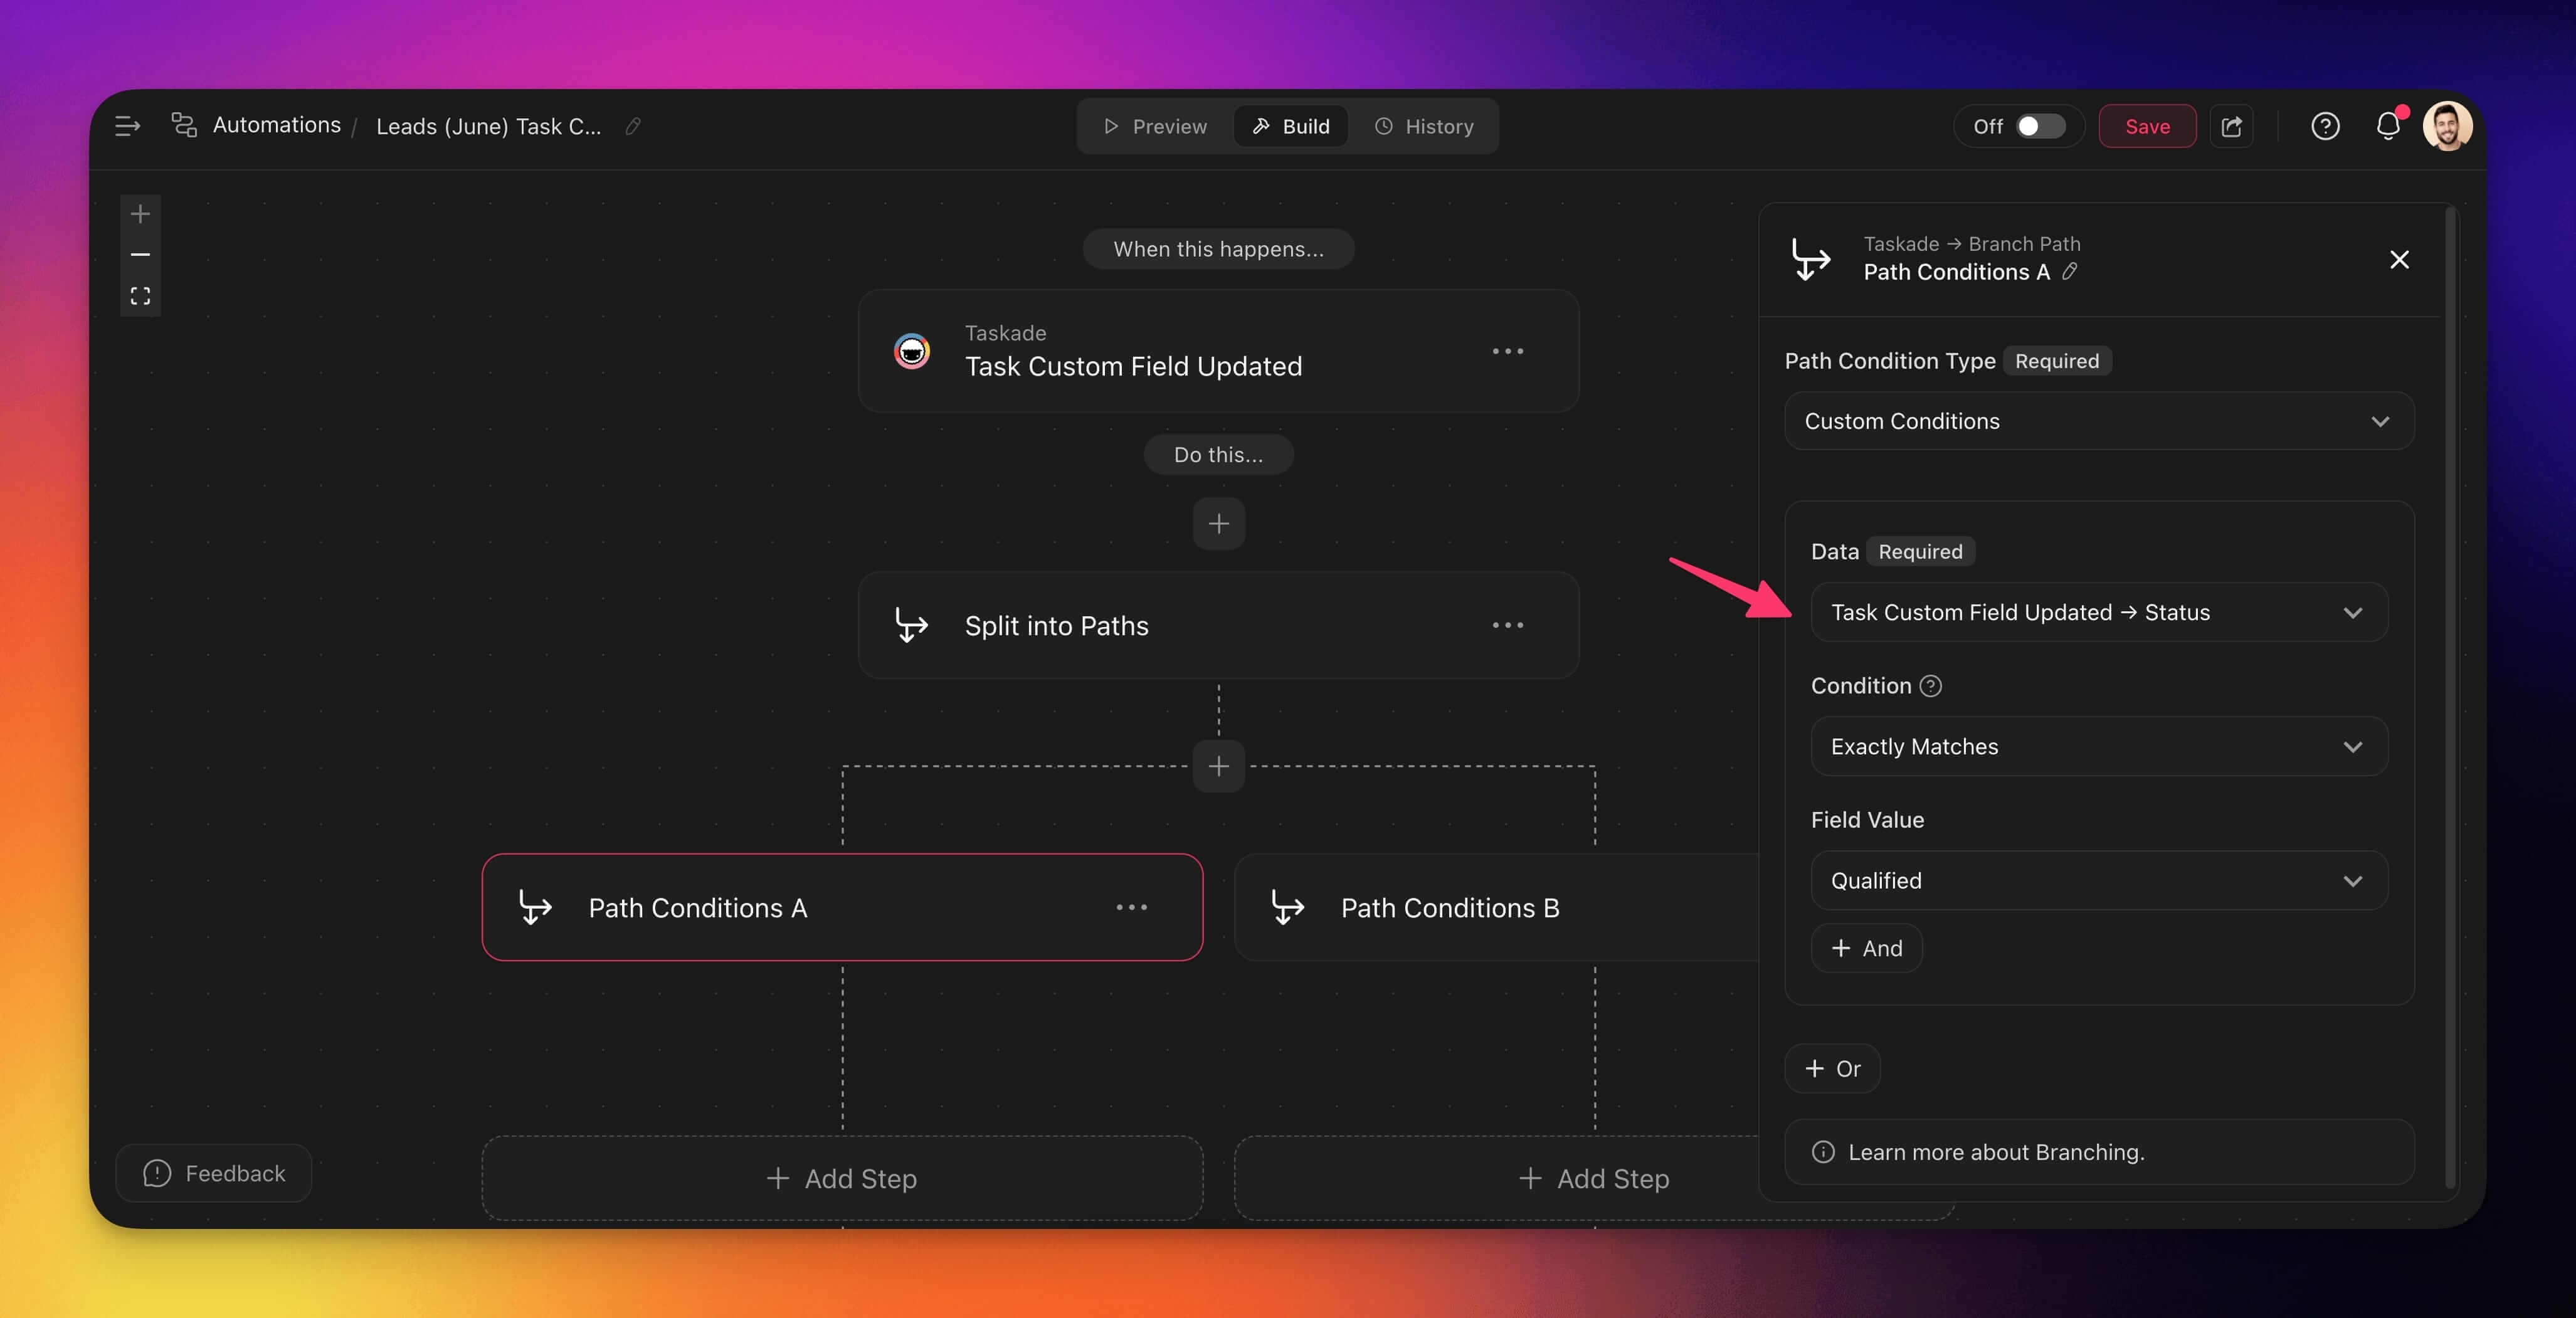
Automate Tables
The Automate feature lets you build simple workflows that run when something changes in your table, e.g., when a task status is updated.
Click the ··· (three dots) next to a column header (e.g. Status).
Select Automate.
In the automation creator:
Configure the trigger.
Add follow-up actions.
Verify automation steps and enable the automation.
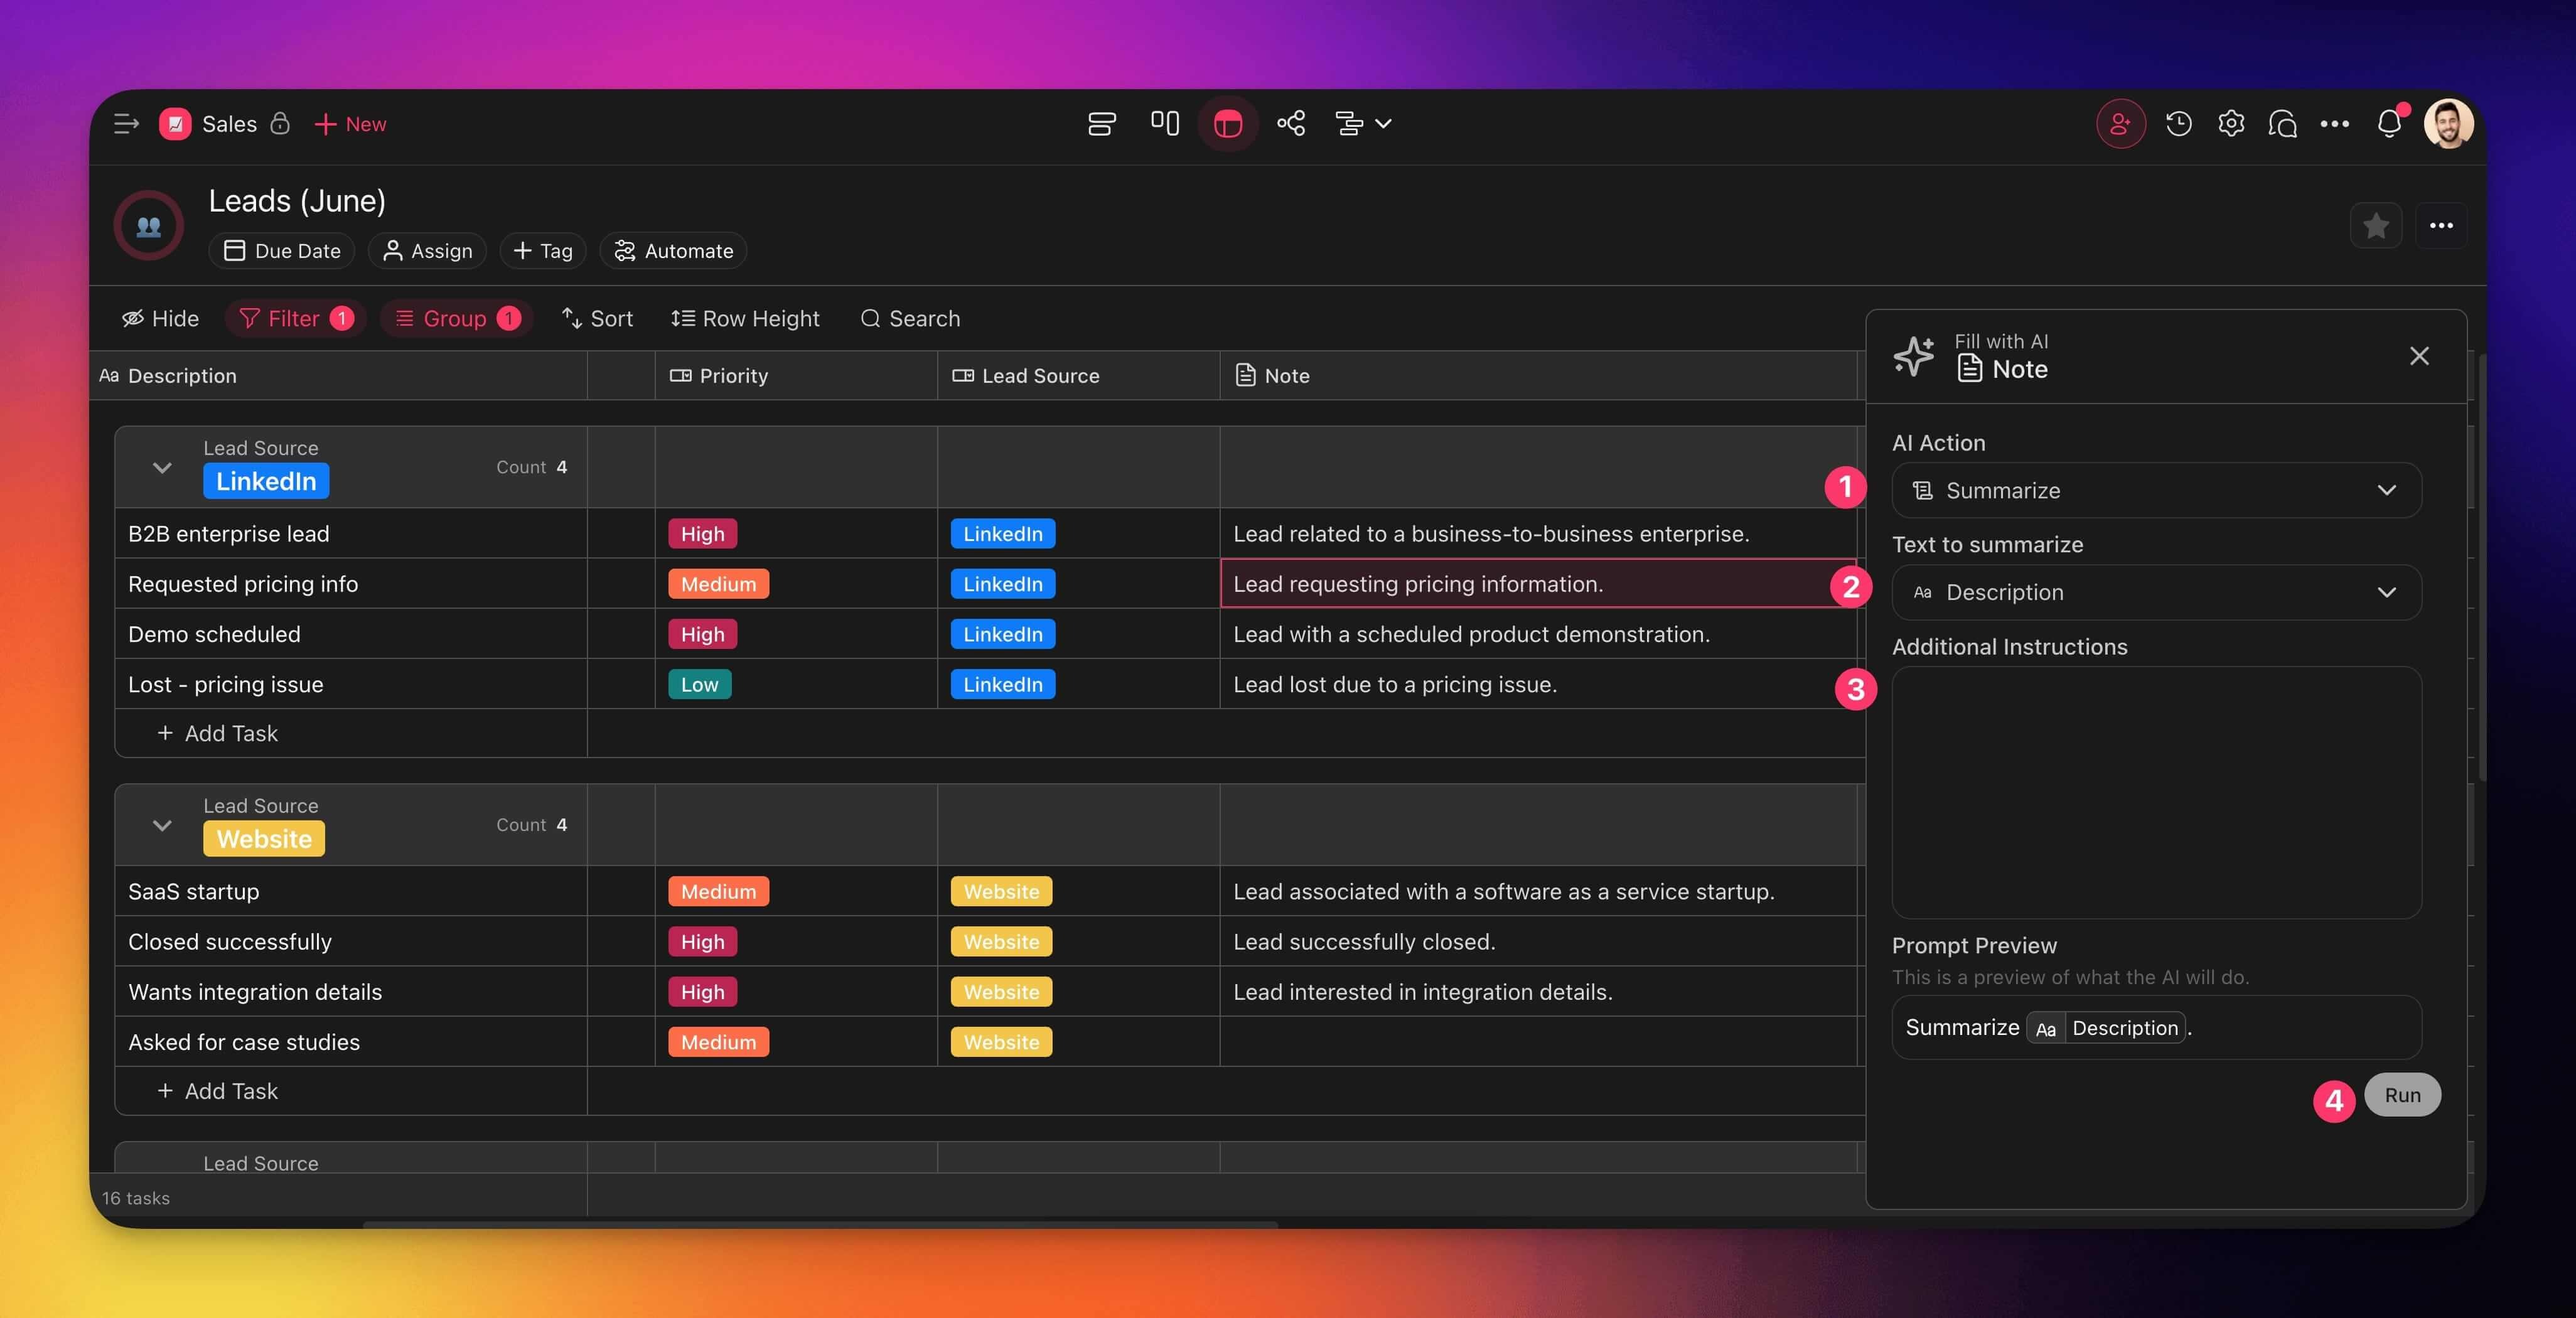
Fill with AI Button
The Fill with AI feature uses AI to complete or summarize information in table fields.
- Click ··· next to a column header (e.g. Note).
- Select Fill with AI.
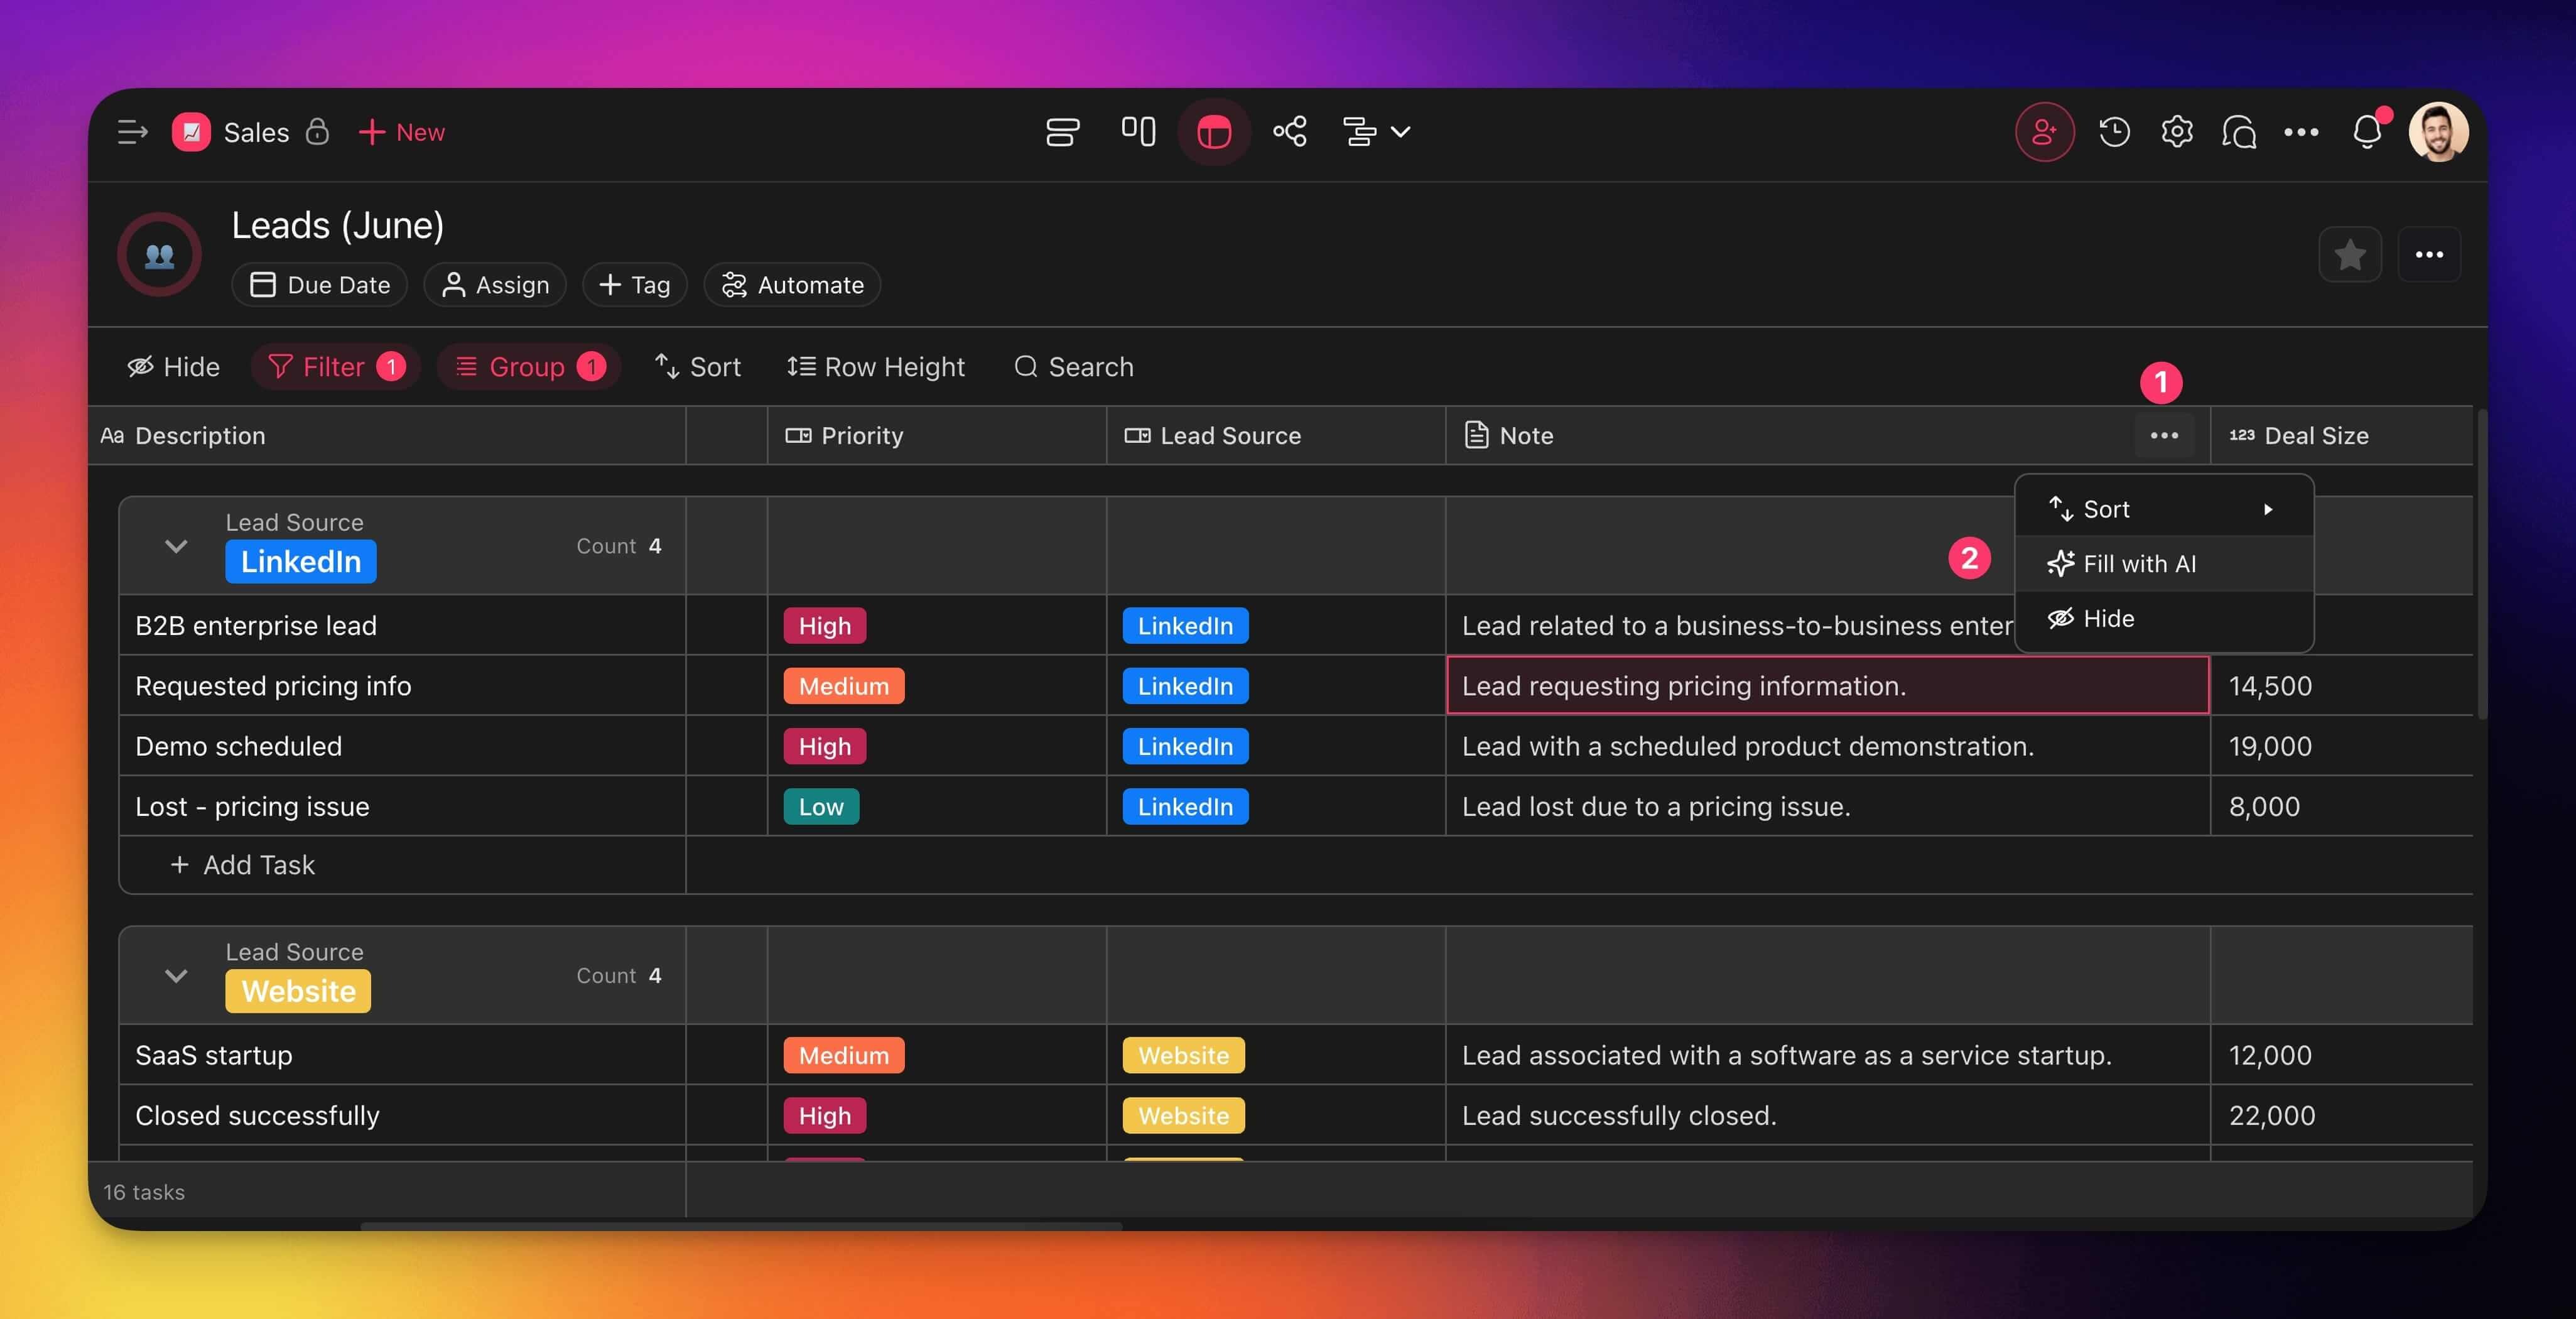
- Choose an AI action.
- Pick the field you want the AI to read from (e.g. Description).
- (optional) Add instructions if you want more control over the output.
- Click Run to fill the selected column with AI-generated content.
Export to CSV
When you need your data outside Taskade, the Table view exports to CSV in one click. Useful for sharing with finance, dropping into a BI tool, or backing up a snapshot before a big change.
- Open the project in Table view.
- Click Export CSV in the toolbar above the table.
- Save the file to your device.
The export captures every visible column in row order, preserves newlines and commas inside cells, and keeps your custom field types readable in Excel, Google Sheets, or Numbers.
Tip: Hide columns you don't want in the export first. The CSV only includes columns that are currently visible in the table.
Related guides
- Custom Fields. Full field type reference.
- Project Views. Switch Table to other views without losing data.
- Actionsheet View. Simpler table interface.
- Projects & Databases. How Table view powers Taskade Genesis app backends.
- Task Add-ons. Add-on field types.
- Table Fill. Bulk fill patterns.