
TL;DR: Taskade supports rich text formatting (bold, italic, underline, strikethrough, highlight, code), markdown shortcuts, headings, quotes, and dividers in every project. Formatting is saved with your project content, so it stays with a task no matter which project view you open.
Here is how plain text becomes styled, structured content that stays with your project data.
Overview
Turn a plain project into a formatted document, checklist, or high-level outline. Style text, drop in emojis, add hyperlinks, and build content blocks. The formatting is part of the task itself, so it travels with your content between project views.
Format Projects
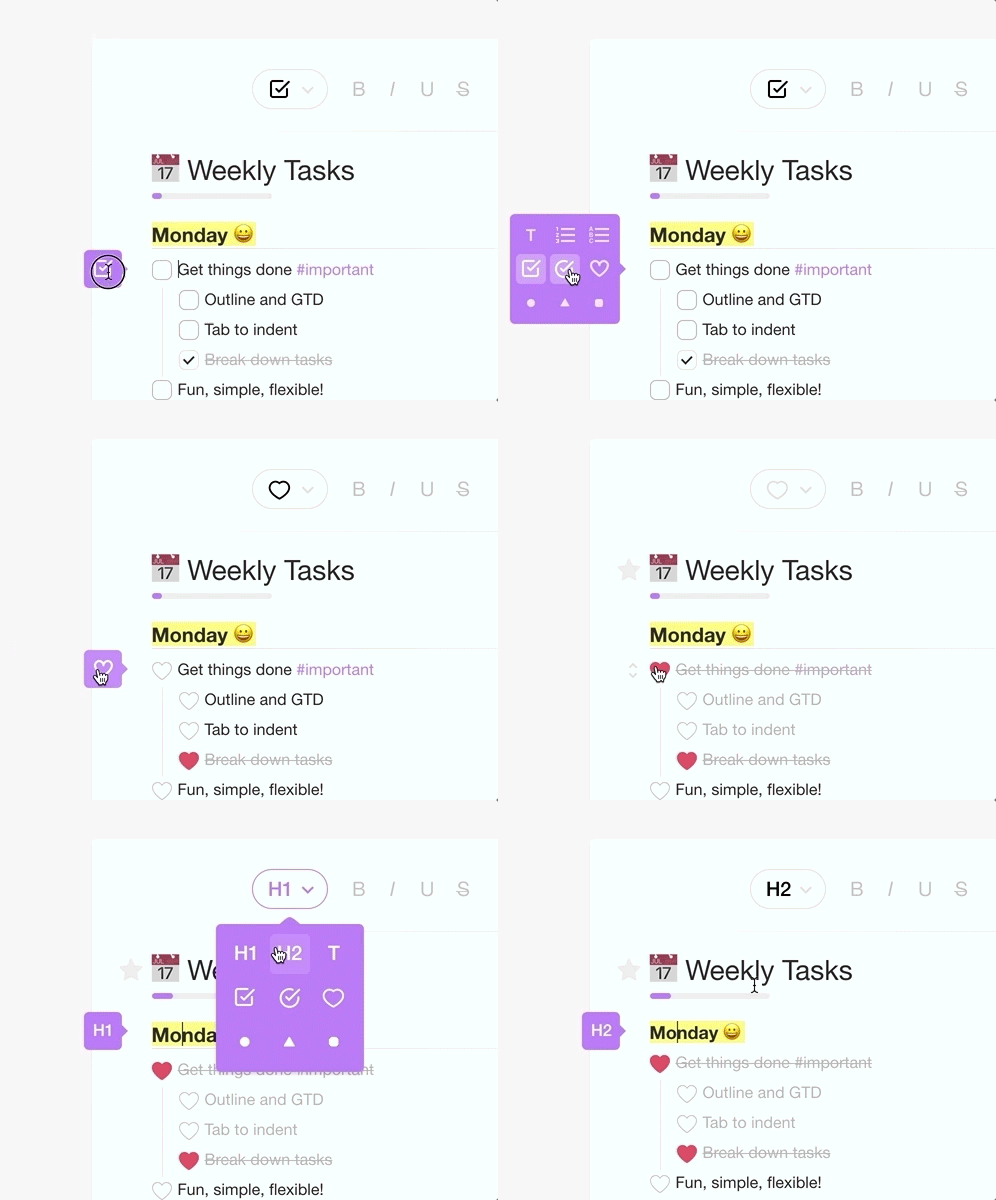
A project in Taskade can become almost anything. Formatting lets you write documents, make checklists, and create high-level outlines.
Drag to Reorder
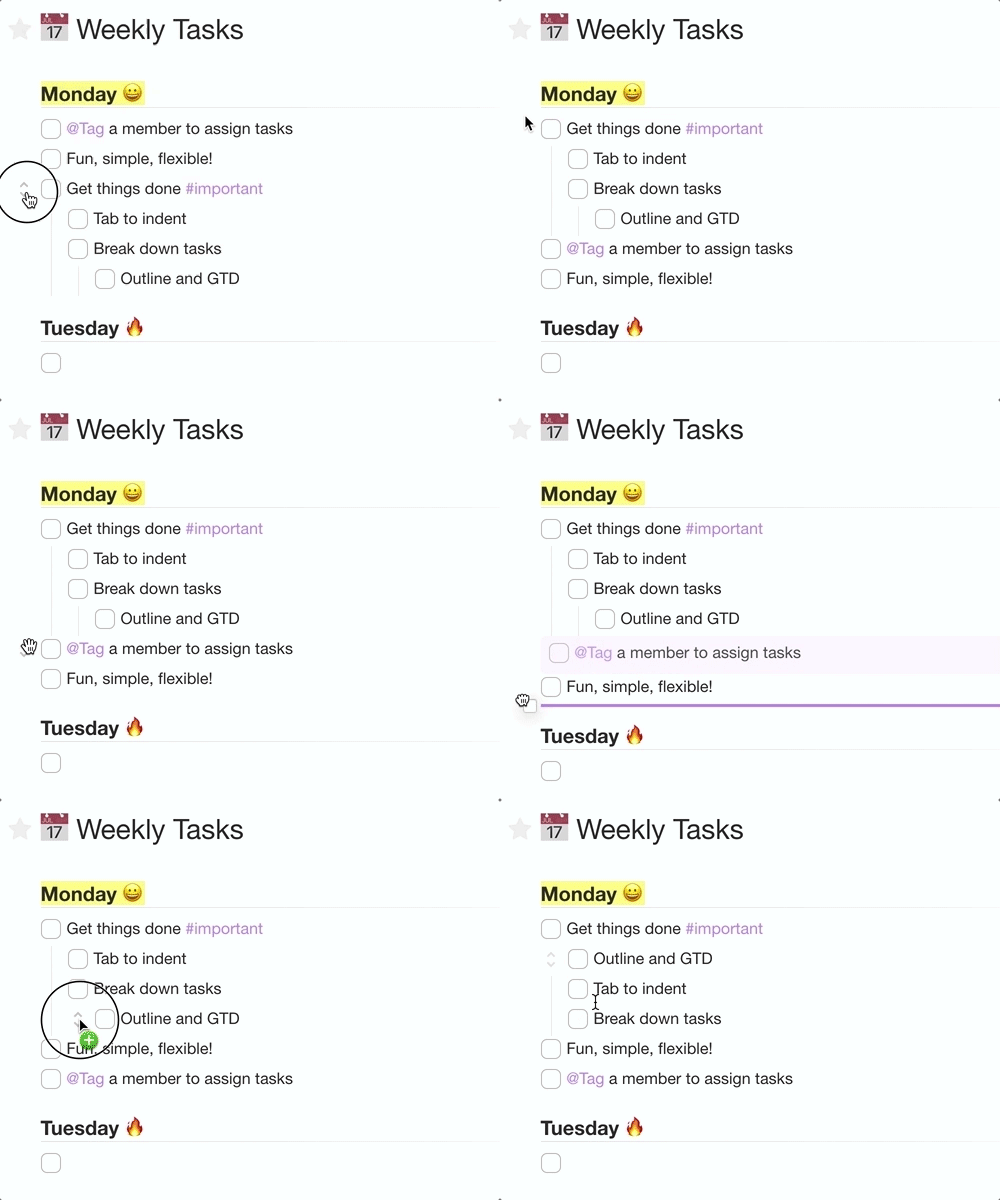
Drag and drop the checkboxes to re-order tasks and subtasks together.
Attach Files, Dates, and More
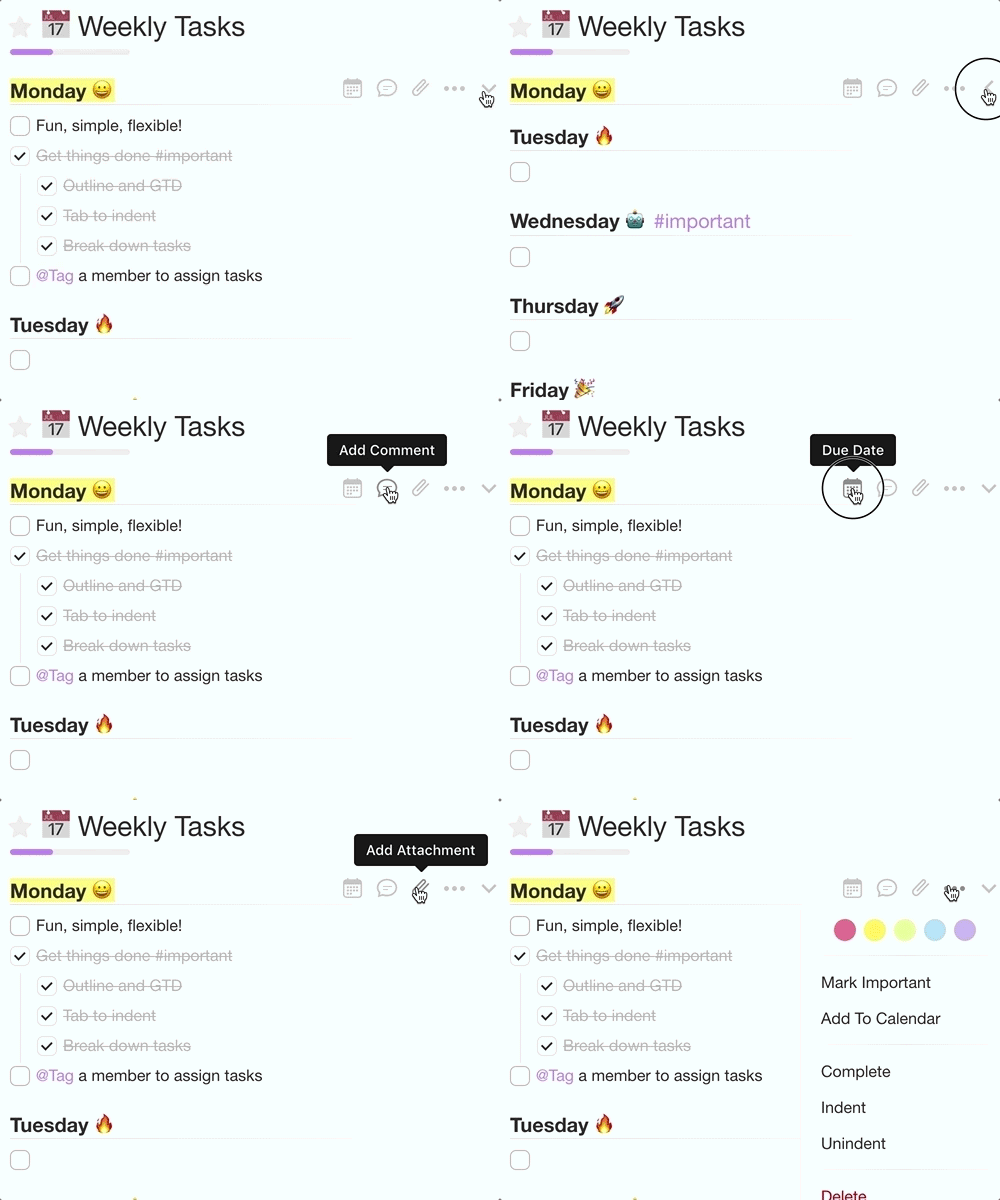
For each task, you can attach files, add comments, set due dates, and much more.
Style and Highlight
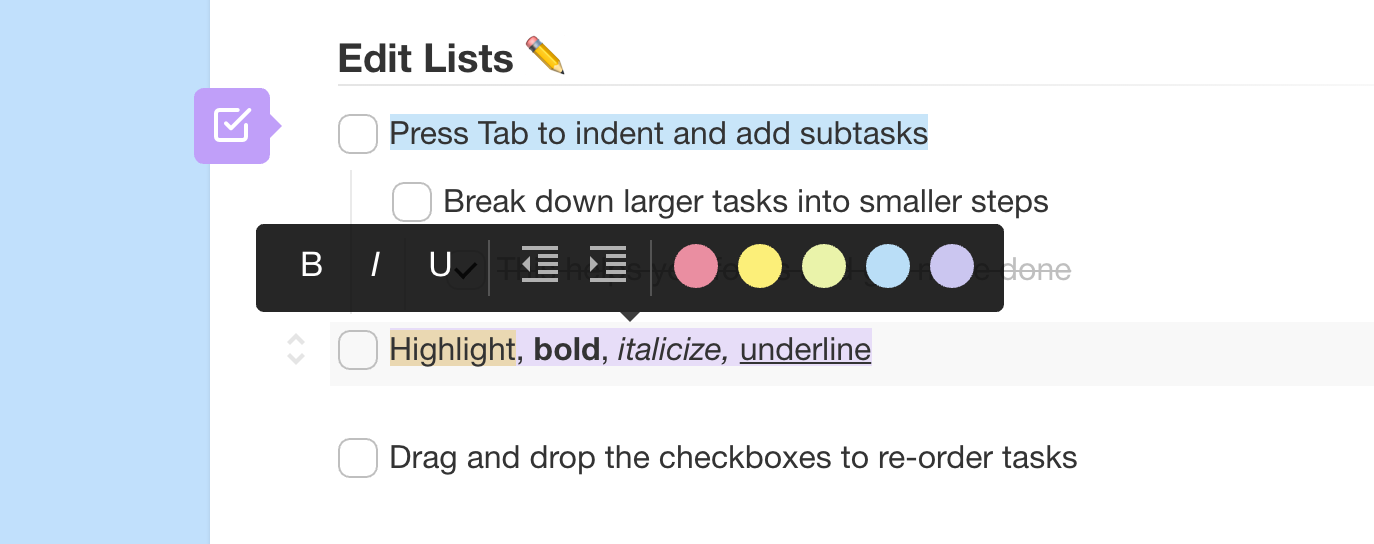
Select the text to highlight and style it.
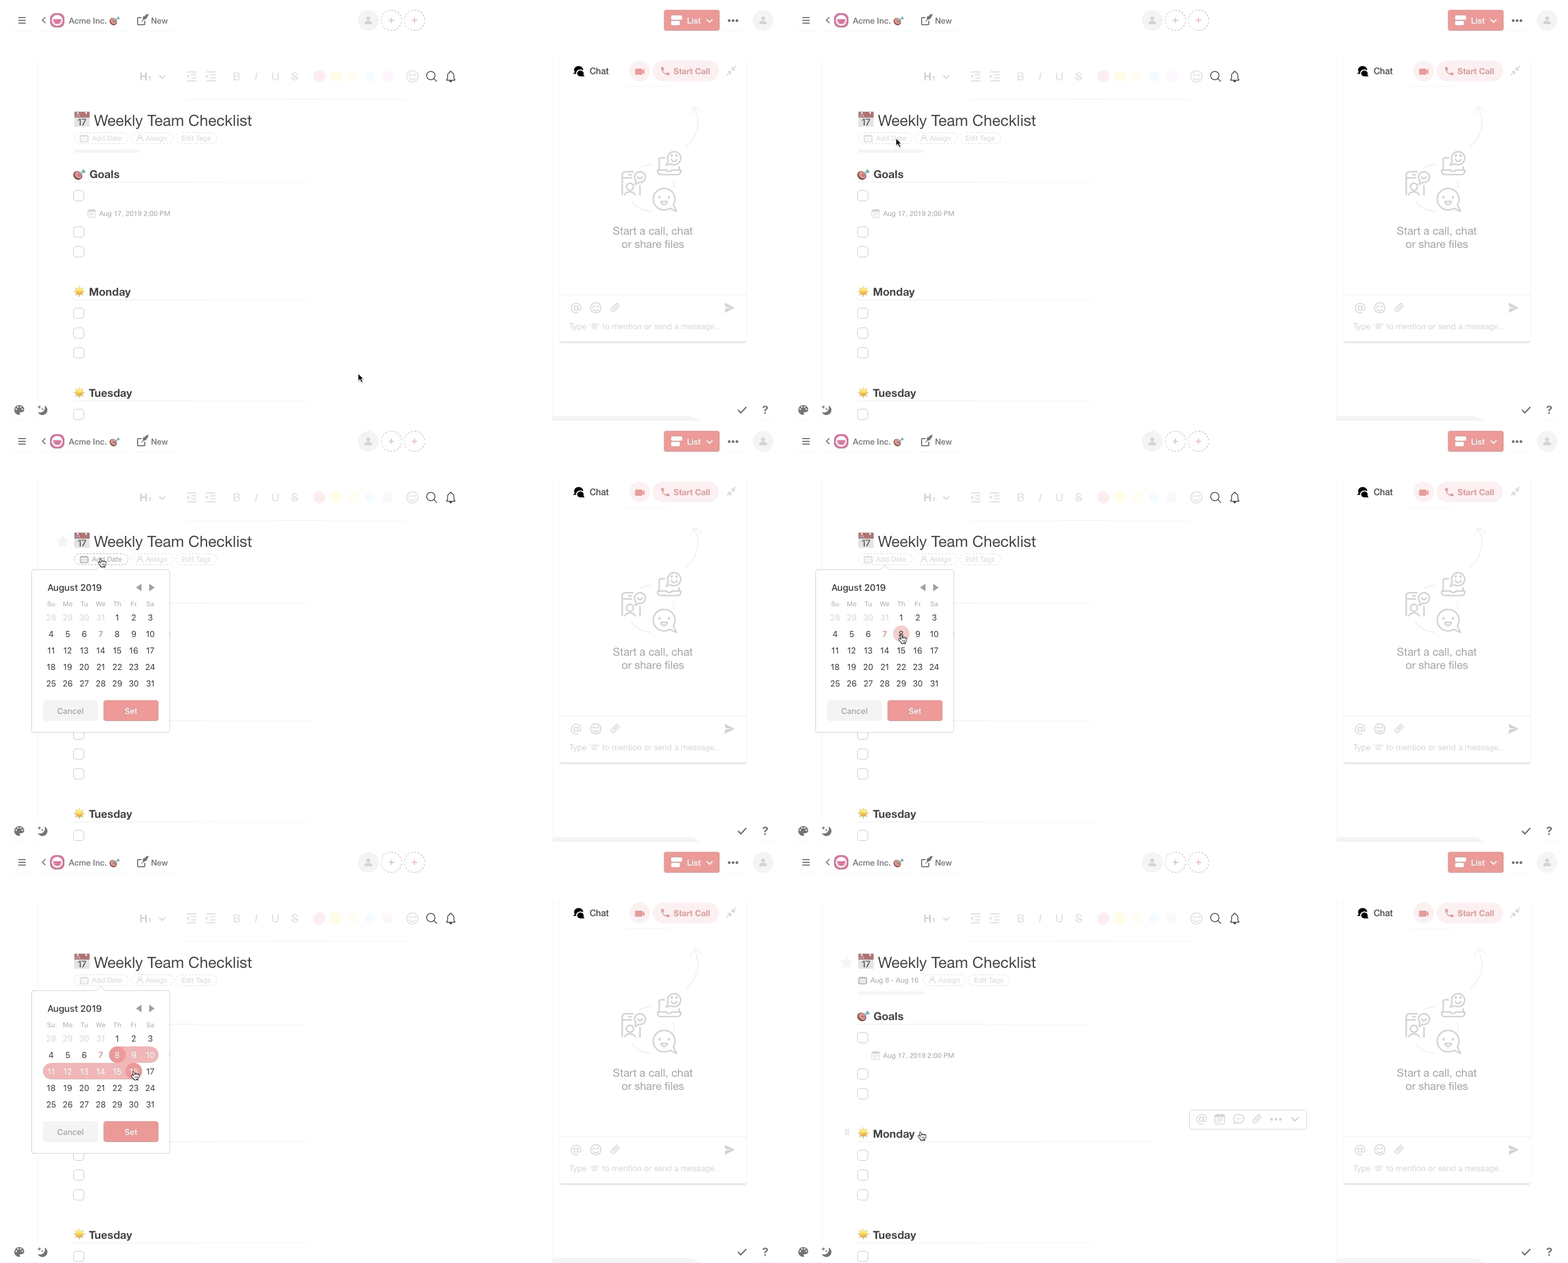
Add Date to Projects
Add a date or date range to your projects and track schedules and deadlines. The date range also appears on your calendar, so nothing slips past you.
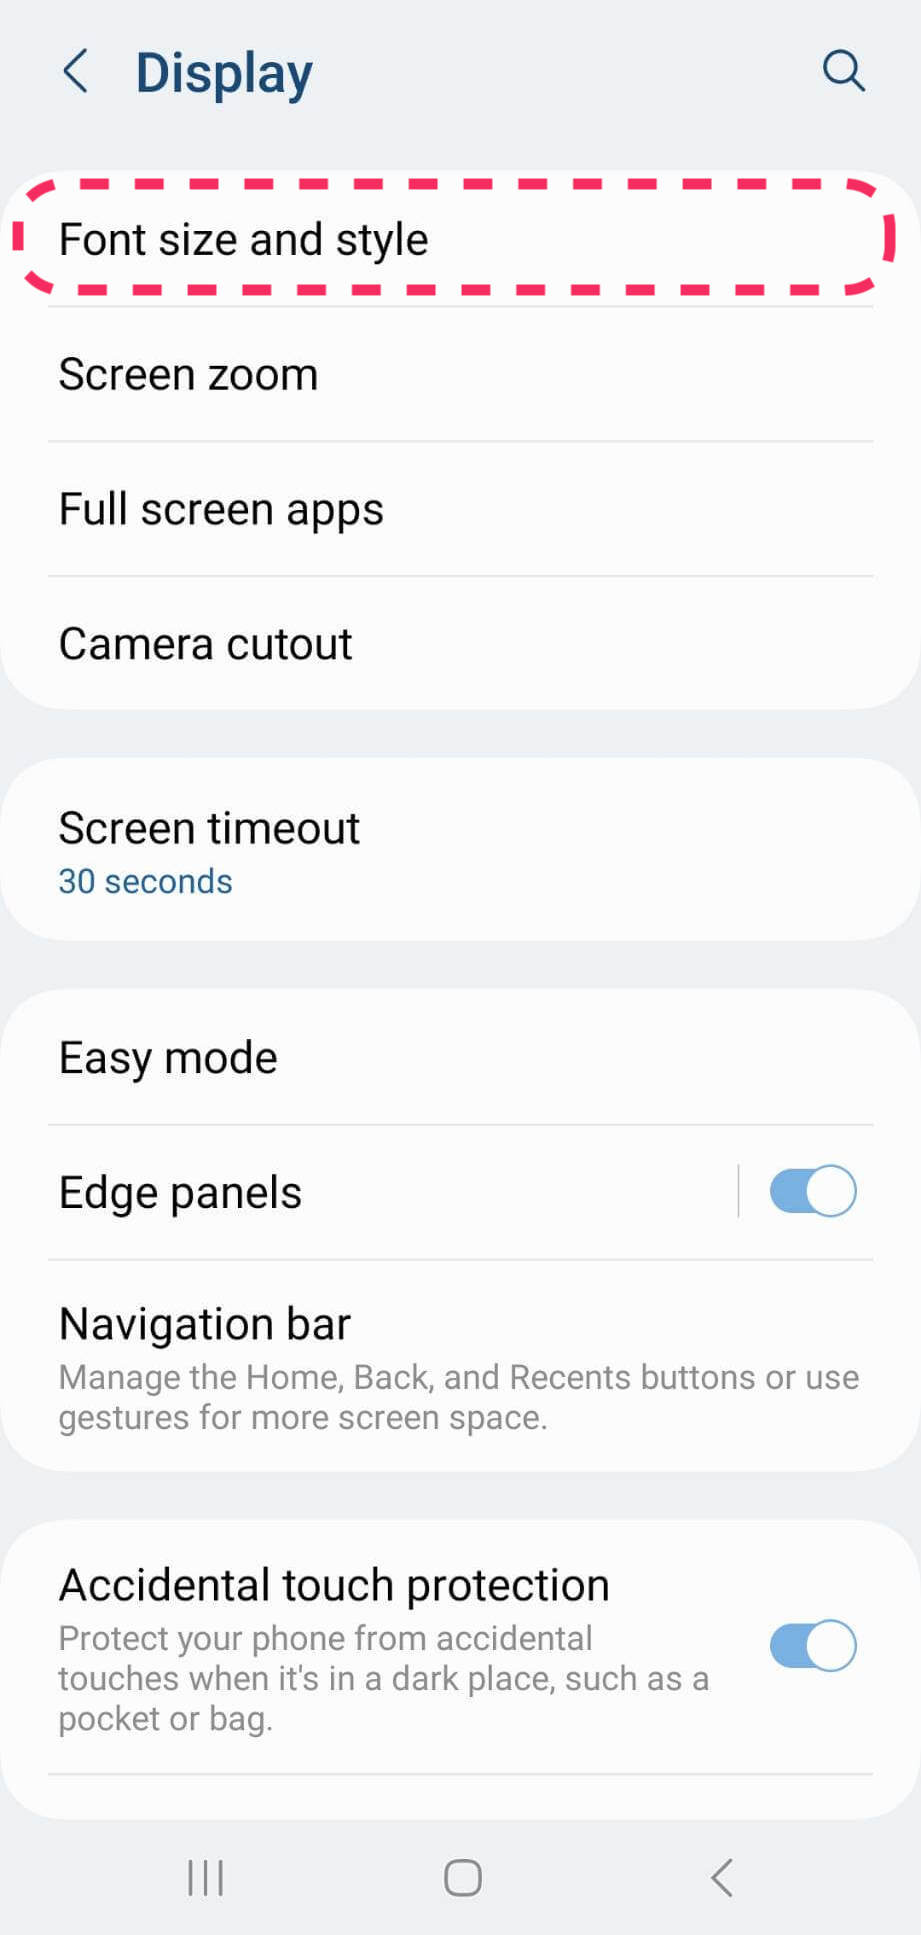
Change Font Size (Mobile)
Change the font size on your device to make the text in the Taskade mobile apps easier to read. Here are the instructions for iOS and Android devices.
💡 Note: You change the font size in your operating system settings, not in Taskade.
iOS (iPhone, iPad)
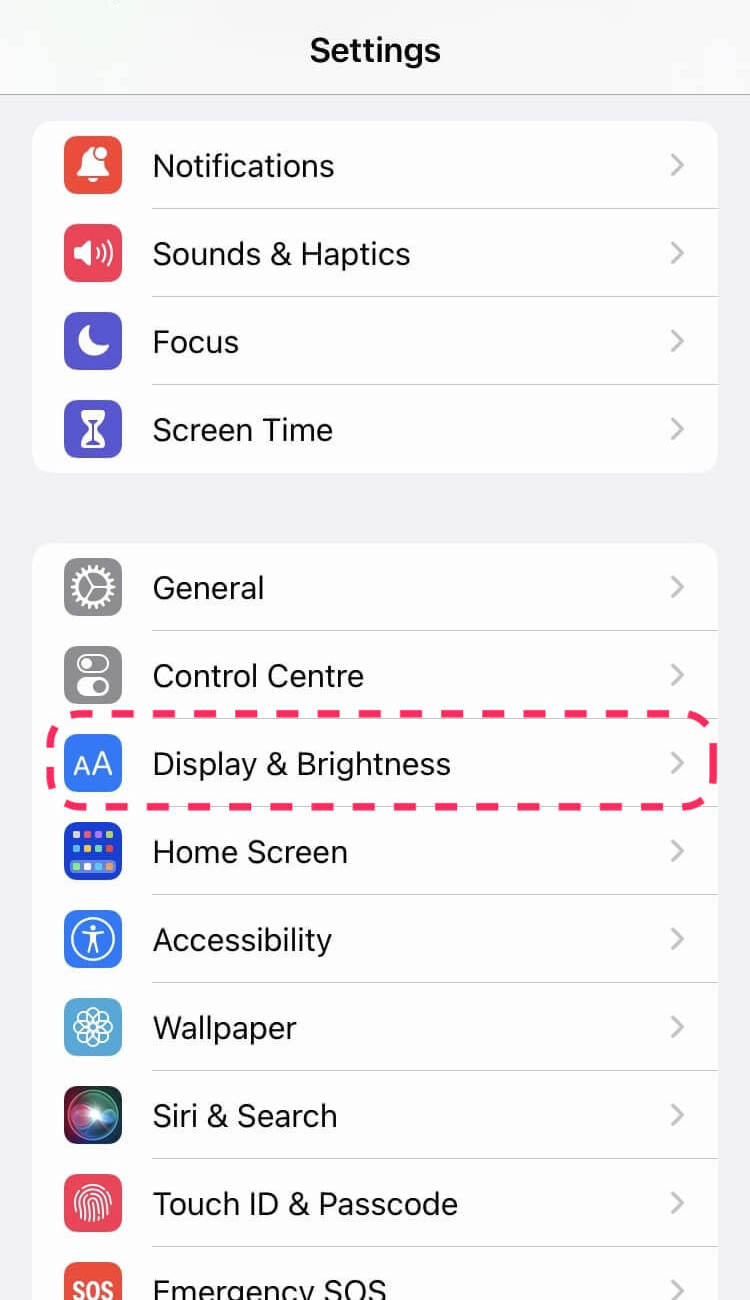
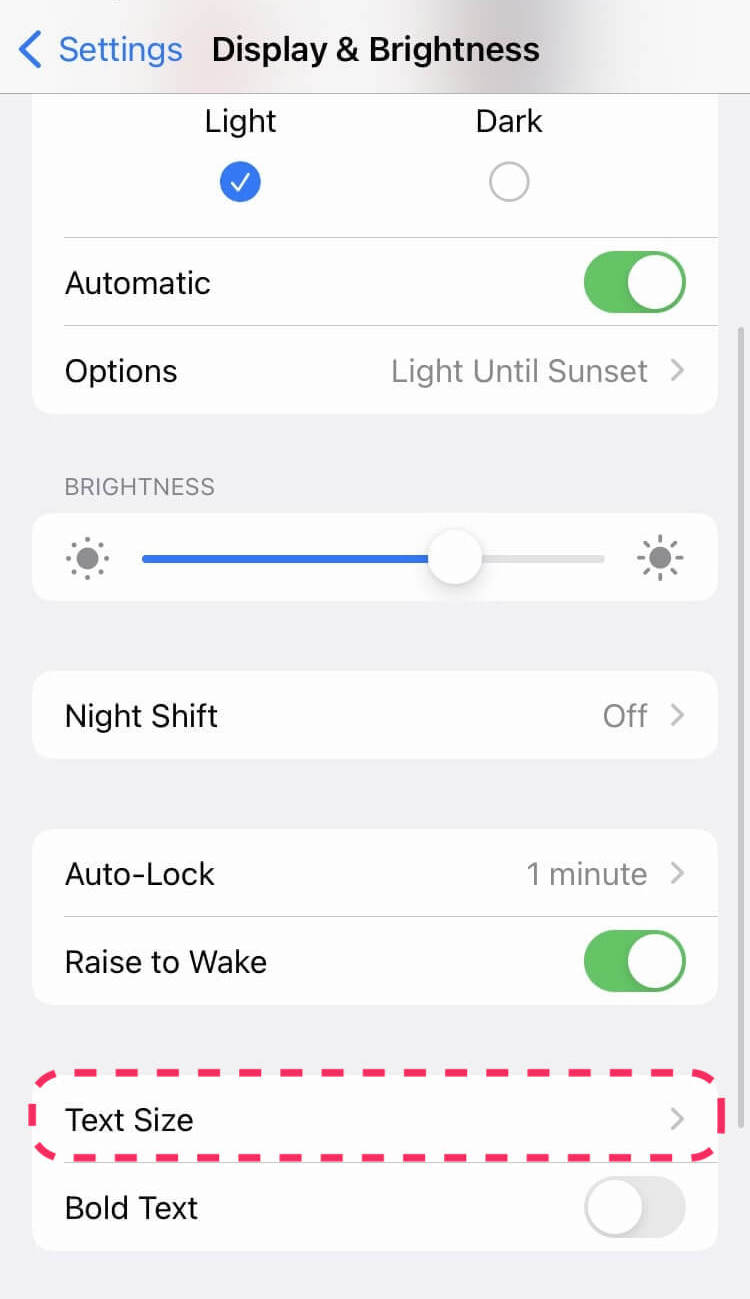
- Go to iOS Settings ➡ Display & Brightness ➡ Text Size.
- Drag the slider to the left or right to adjust the font size.
Increase Font Size
- Go to Settings ➡ Accessibility ➡ Display & Text Size.
- Tap Larger Text for larger font options.
- Drag the slider to select the font size you want.
Android
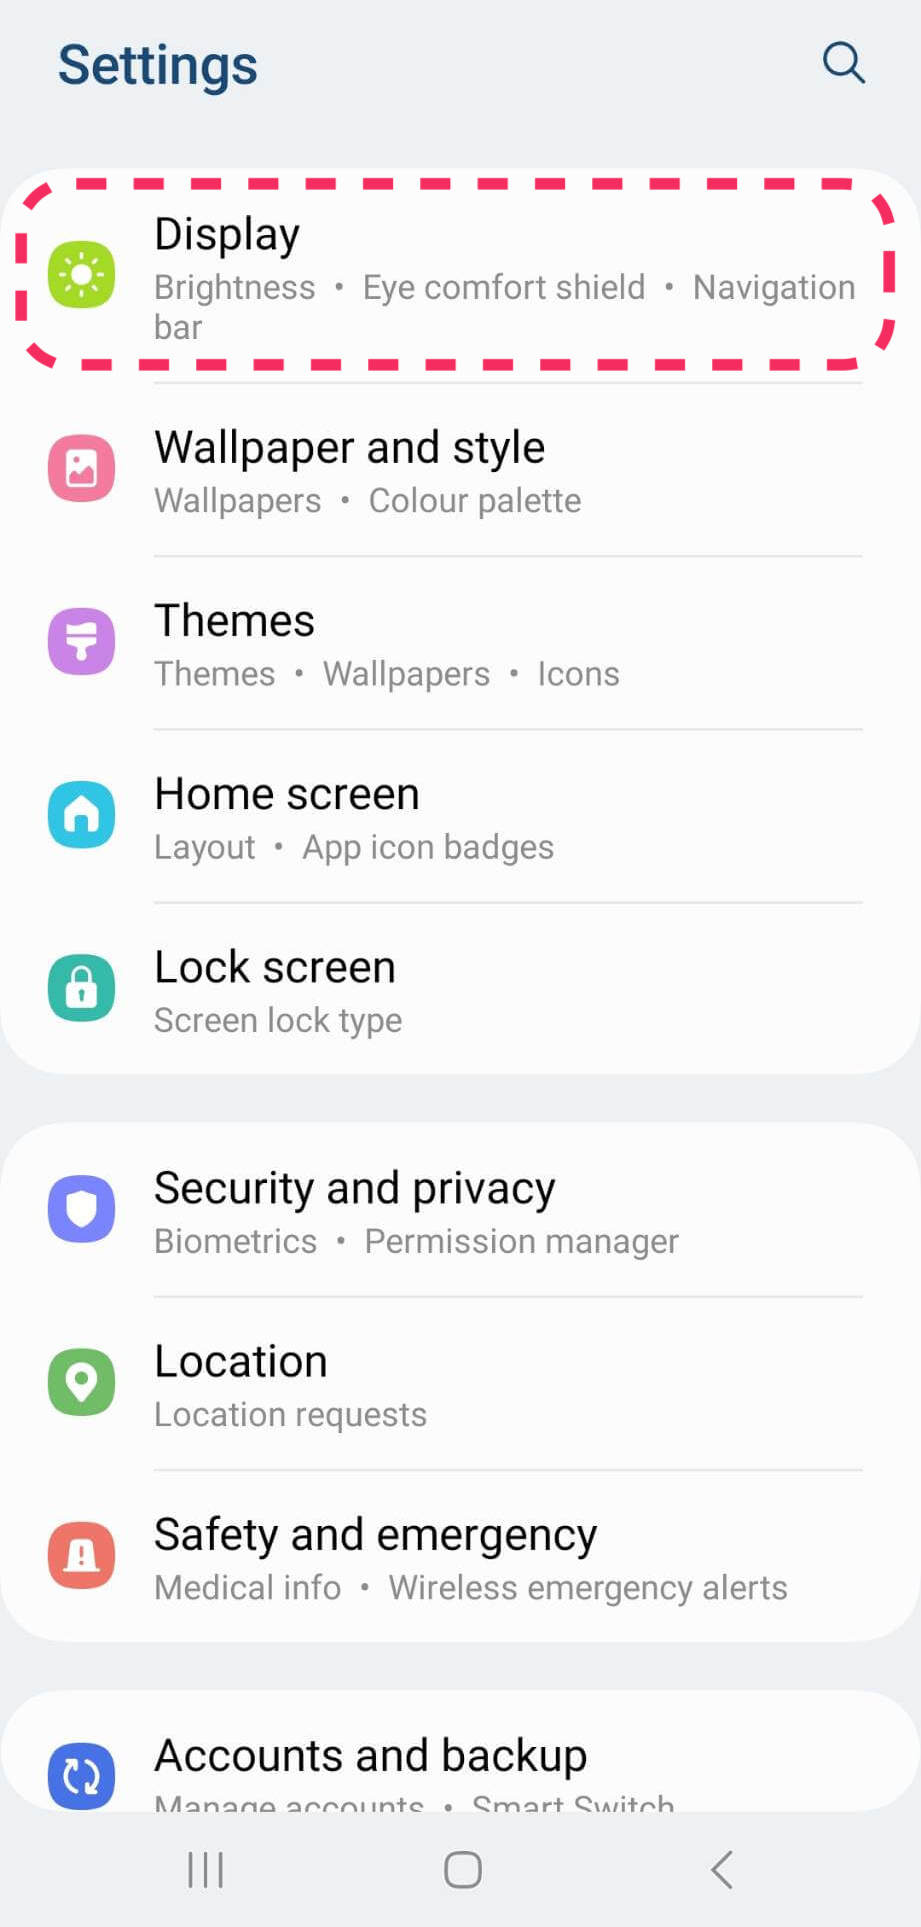
- Open your device's ⚙️ Settings app.
- Tap Accessibility ➡ Font size.
- Use the slider to choose your font size.
💡 Note: Some of these steps work only on Android 7.0 and up. The font size setting does not apply to the Google Chrome app, which has its own text control.
Change Display Size
To make items on your screen smaller or larger:
- Open your device's ⚙️ Settings app.
- Tap Accessibility ➡ Display size.
- Use the slider to choose your display size.
Insert Emoji Shortcut
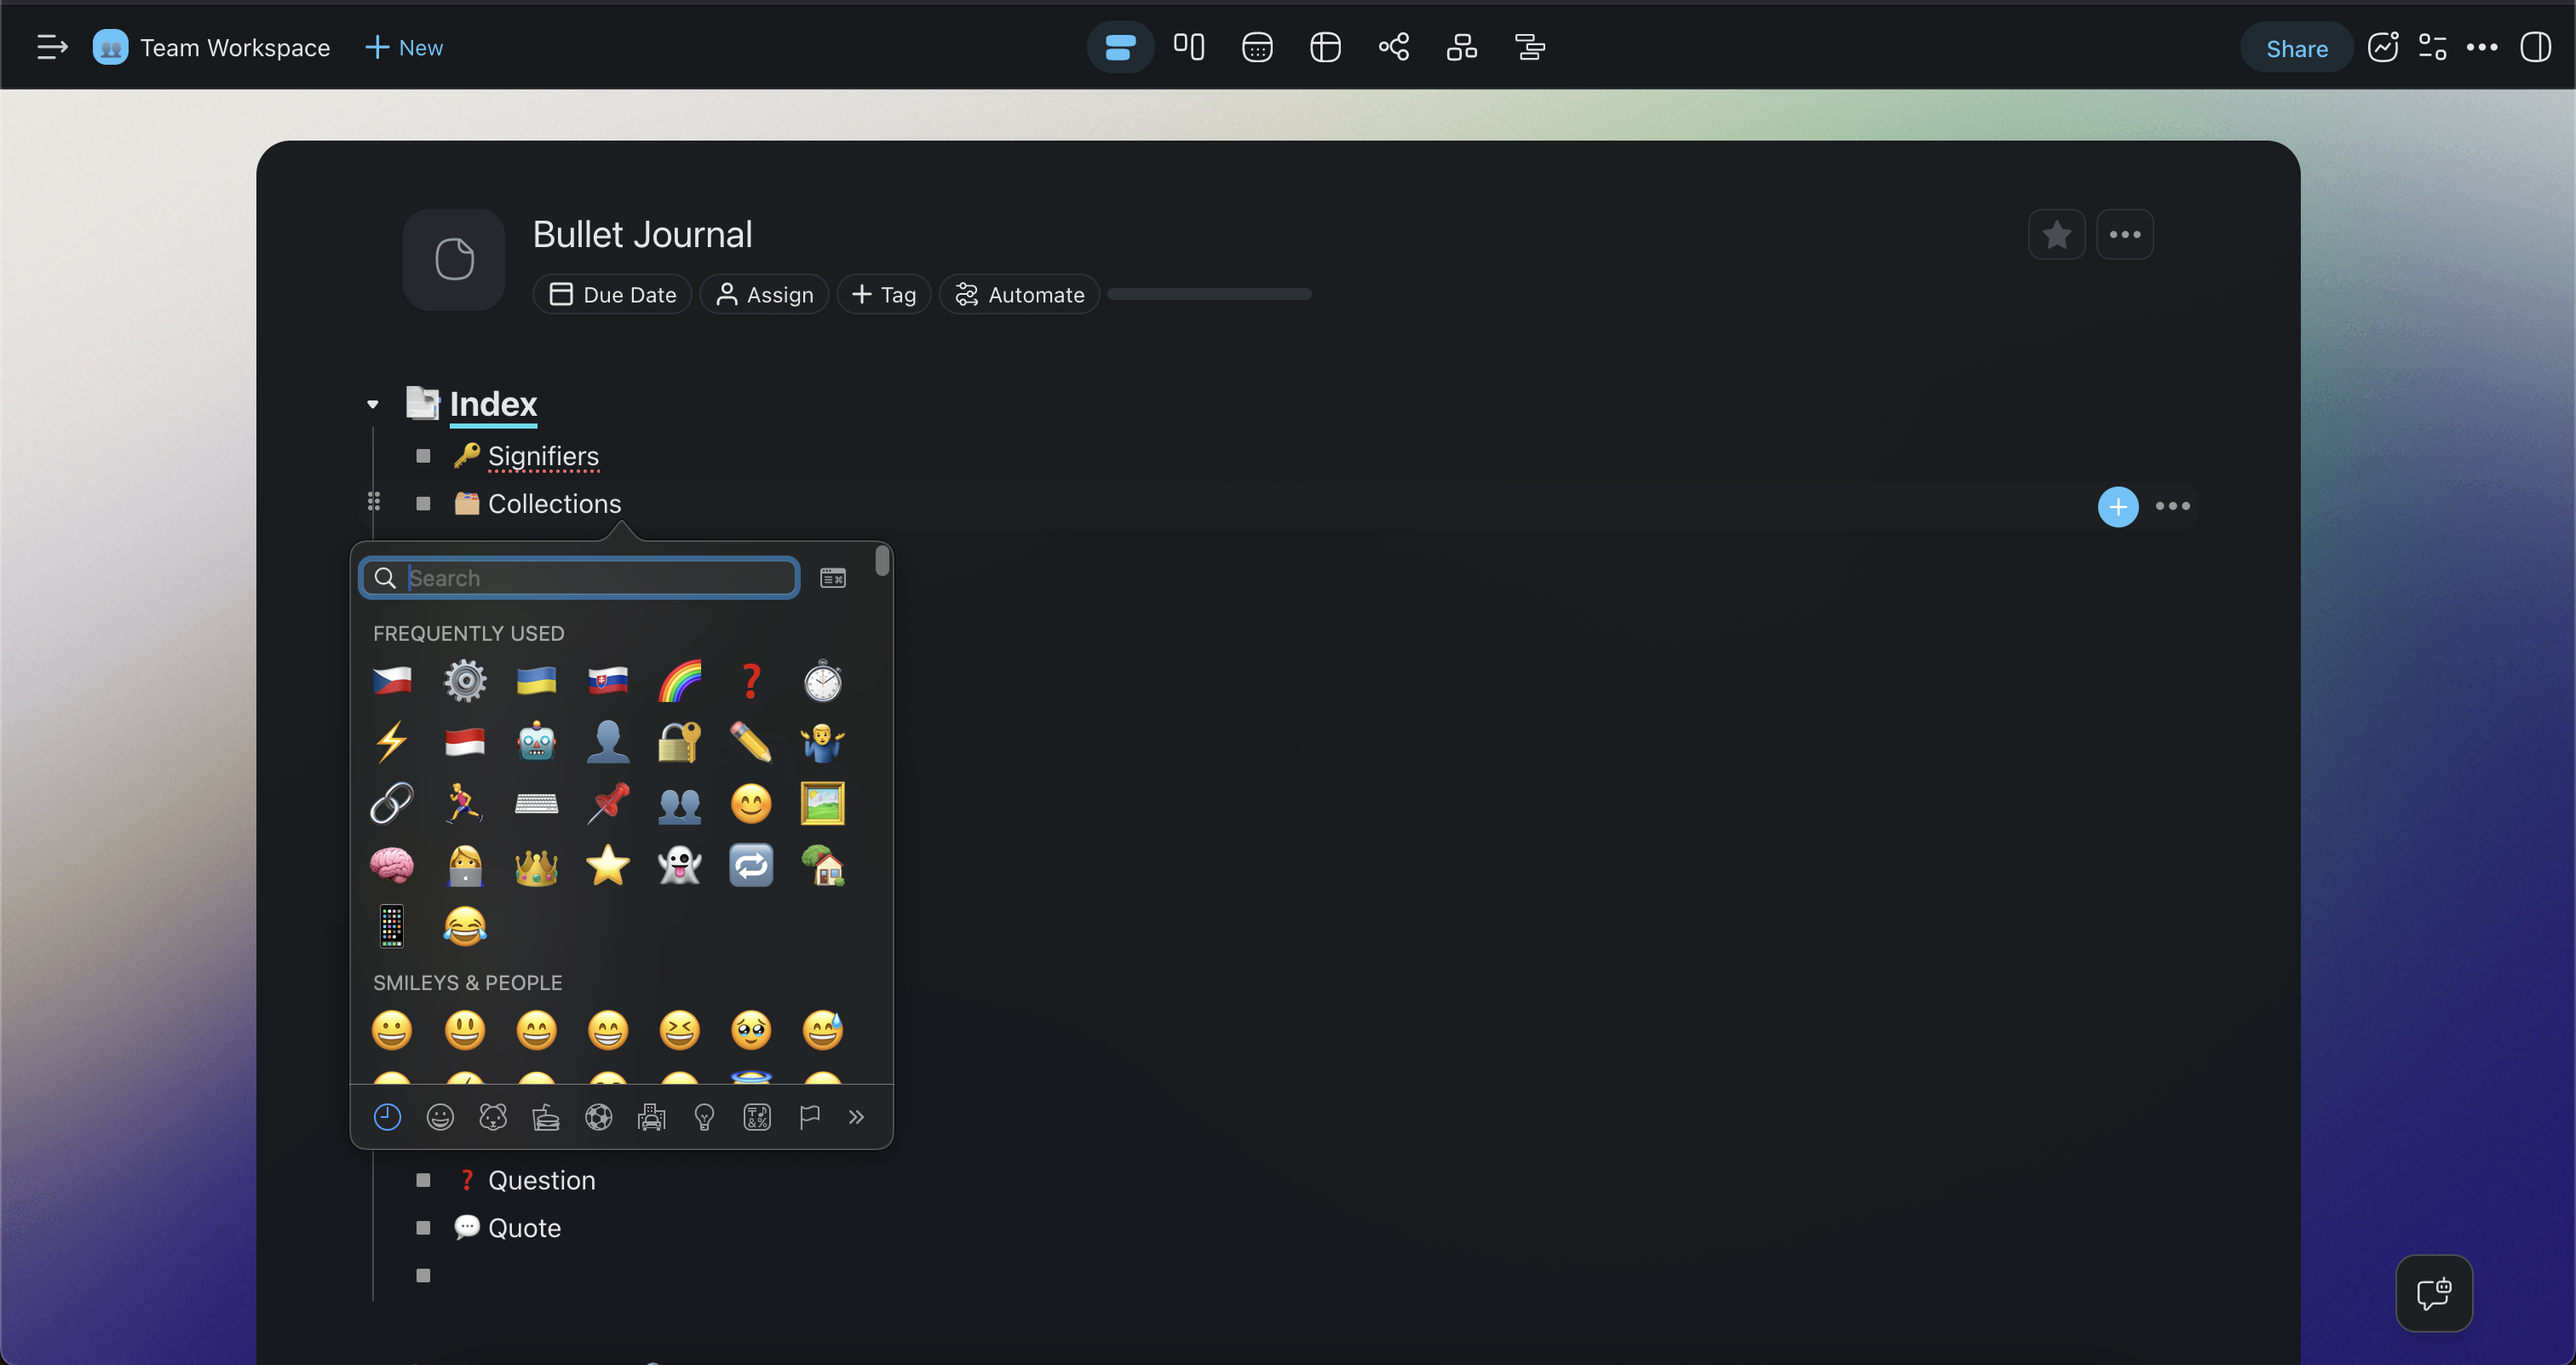
Business conversations do not have to be boring. Taskade lets you add emojis 😺 to your tasks, sub-tasks, comments, and chat. Here are a few ways to do that:
Method 1: Type : (colon) and the name of the emoji you want to use, for example :smile.
Method 2: Use a system keyboard shortcut:
🔵 Windows: ⌨️ Windows Key + . (Period)
🔴 Mac: ⌨️ Ctrl + ⌘ + Space
🟢 Linux: ⌨️ Ctrl + Alt + E
Method 3: Use the "Insert Emoji" 🙂 button in the chat box.
💡 Note: Want to add a task reaction? Visit Task Reactions to learn how.
Undo/Redo
Made a mistake? The undo/redo feature reverses the edits you made.
- Press ⌨️ ⌘ + Z(Mac) or CTRL + Z(Windows)to undo.
- Press ⌨️ SHIFT + ⌘ + Z(Mac) or SHIFT + CTRL + Z(Windows) to redo.
- Alternatively, redo with ⌨️ ⌘ + Y(Mac) or CTRL + Y(Windows).
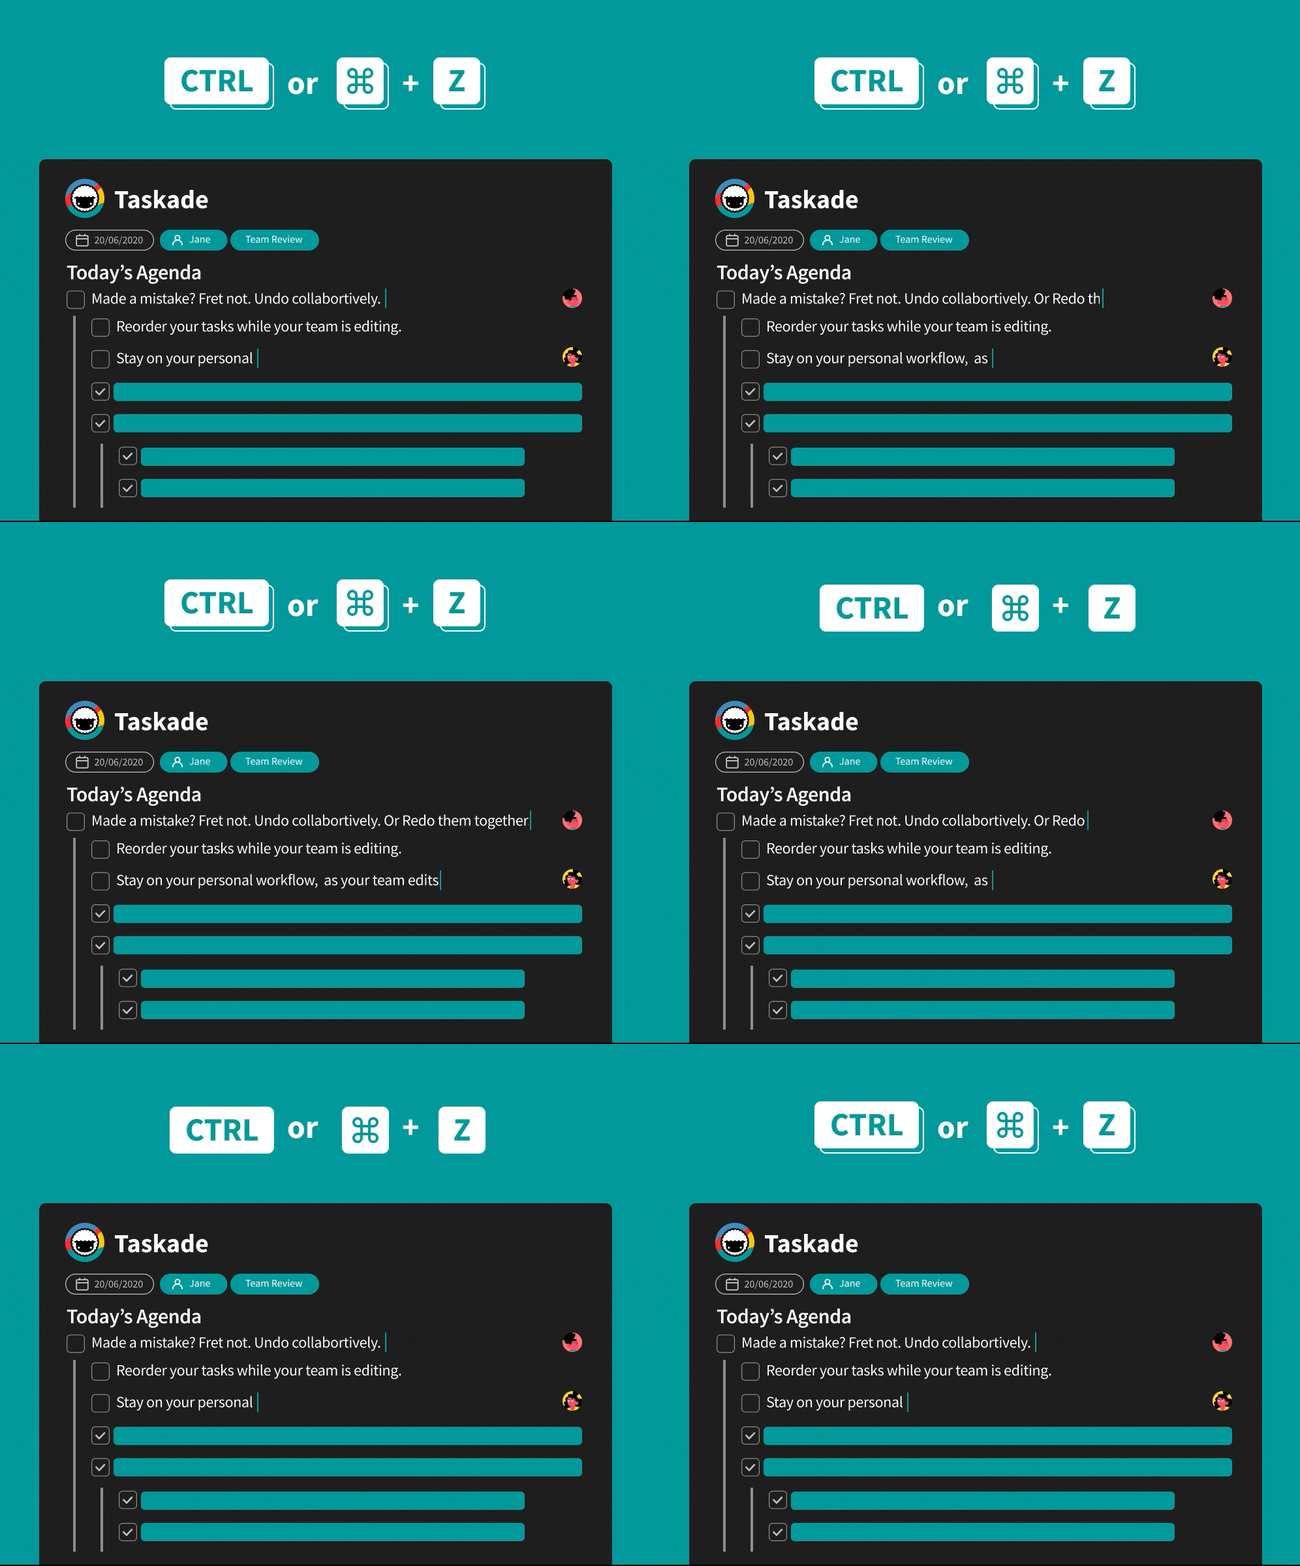
Here is what you can do with the undo/redo feature:
- Add / delete tasks
- Add / delete blocks
- Reorder tasks
- Fold / unfold tasks
- Indent / outdent tasks
- Style / highlight tasks
- Hyperlink tasks
💡 Note: Want to restore your project to a previous state? You can revert to a snapshot in time using the Project History feature.
Paste a Link
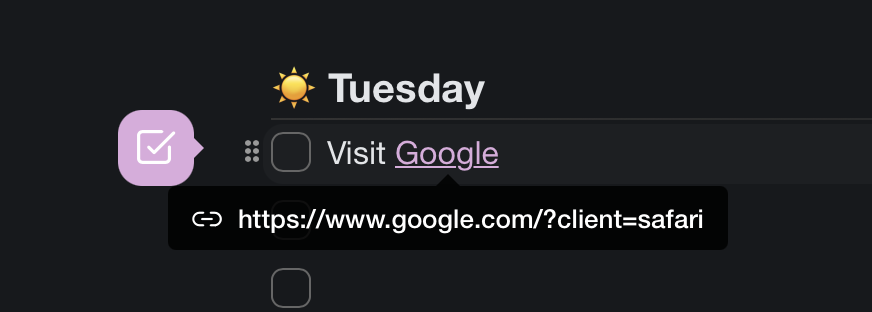
Instead of a keyboard shortcut, select the text and paste your link directly. Follow these steps to create your first hyperlink:
- Type the text you want to convert into a hyperlink.
- Copy a URL (link) of the website you want to link to.
- Highlight the text and paste the link using a ⌨️ ⌘ + V(Mac) or Ctrl + V(PC).
💡 Note: Visit Project Links (Crosslinking) to find out how to link projects.
Change Hyperlink / Link Color
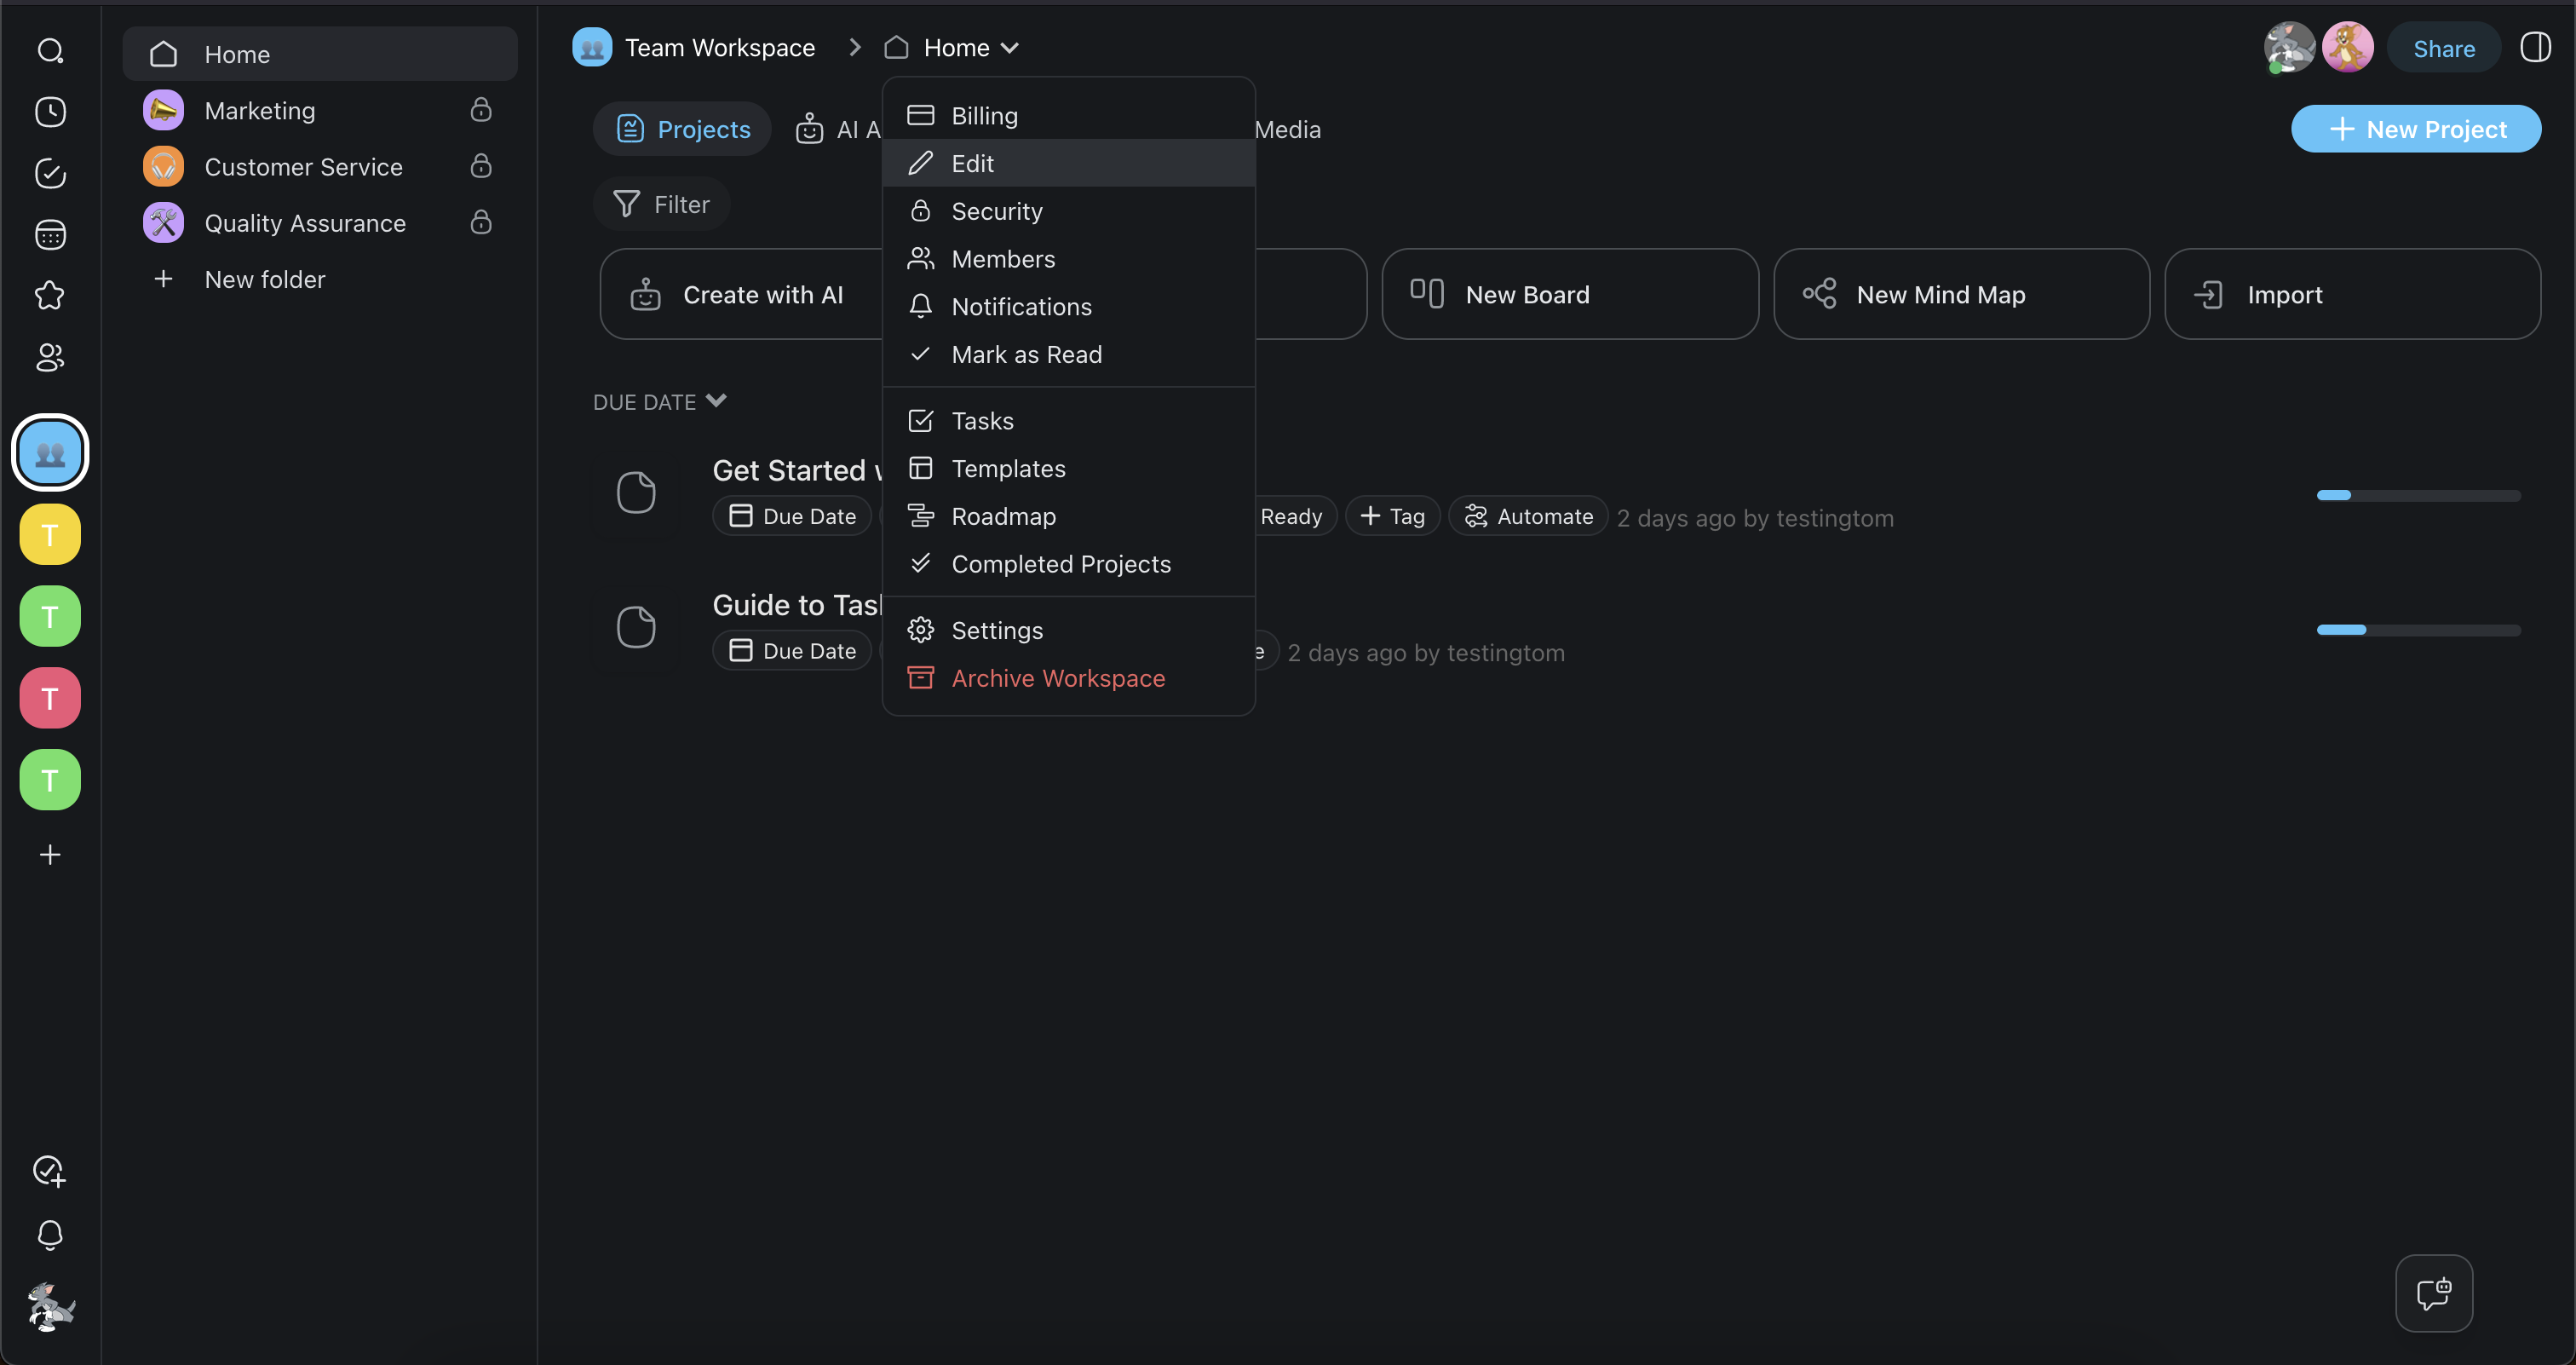
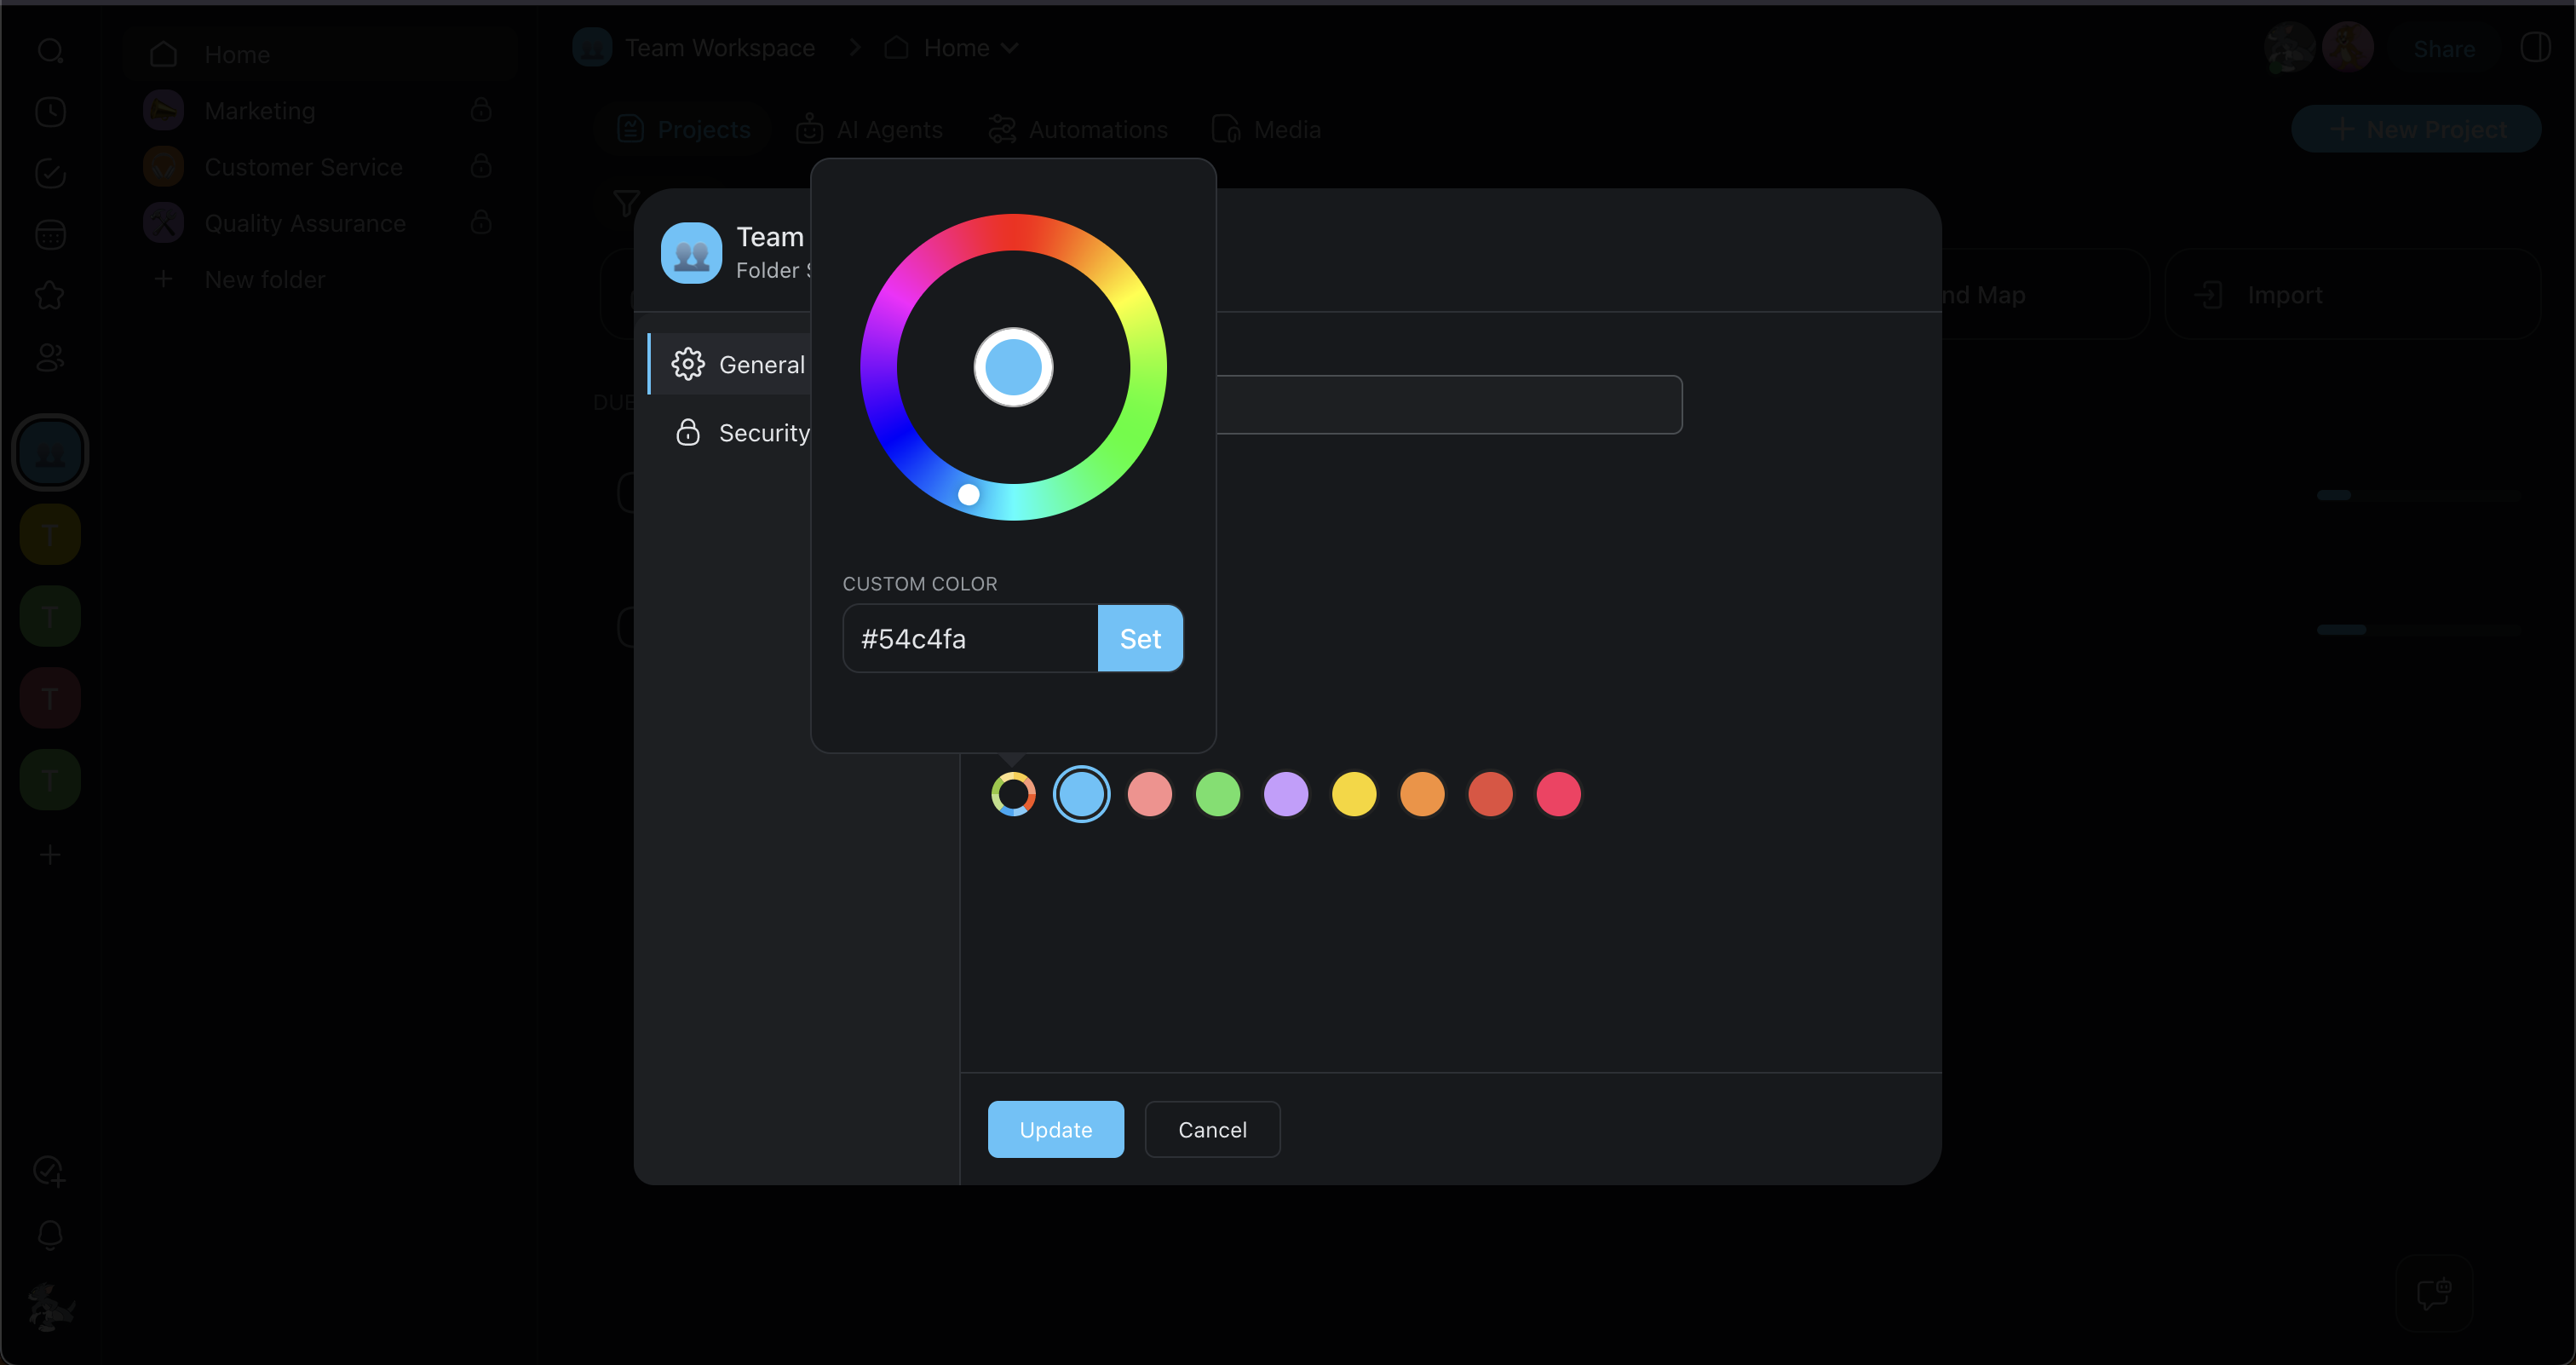
Projects inherit the color of hyperlinks and navigation elements from their parent workspace or folder. Here is how to customize the color theme in four steps.
Go to a parent Workspace/Folder.
Click the arrow next to the name of your folder.
For workspaces, click the arrow next to the Home button.
Pick one of the pre-defined colors, use the color wheel, or paste a Hex code.
Click Update to confirm changes.
Note: To set the color to black, paste "#000000" into the "custom color" field.
Hyperlinking
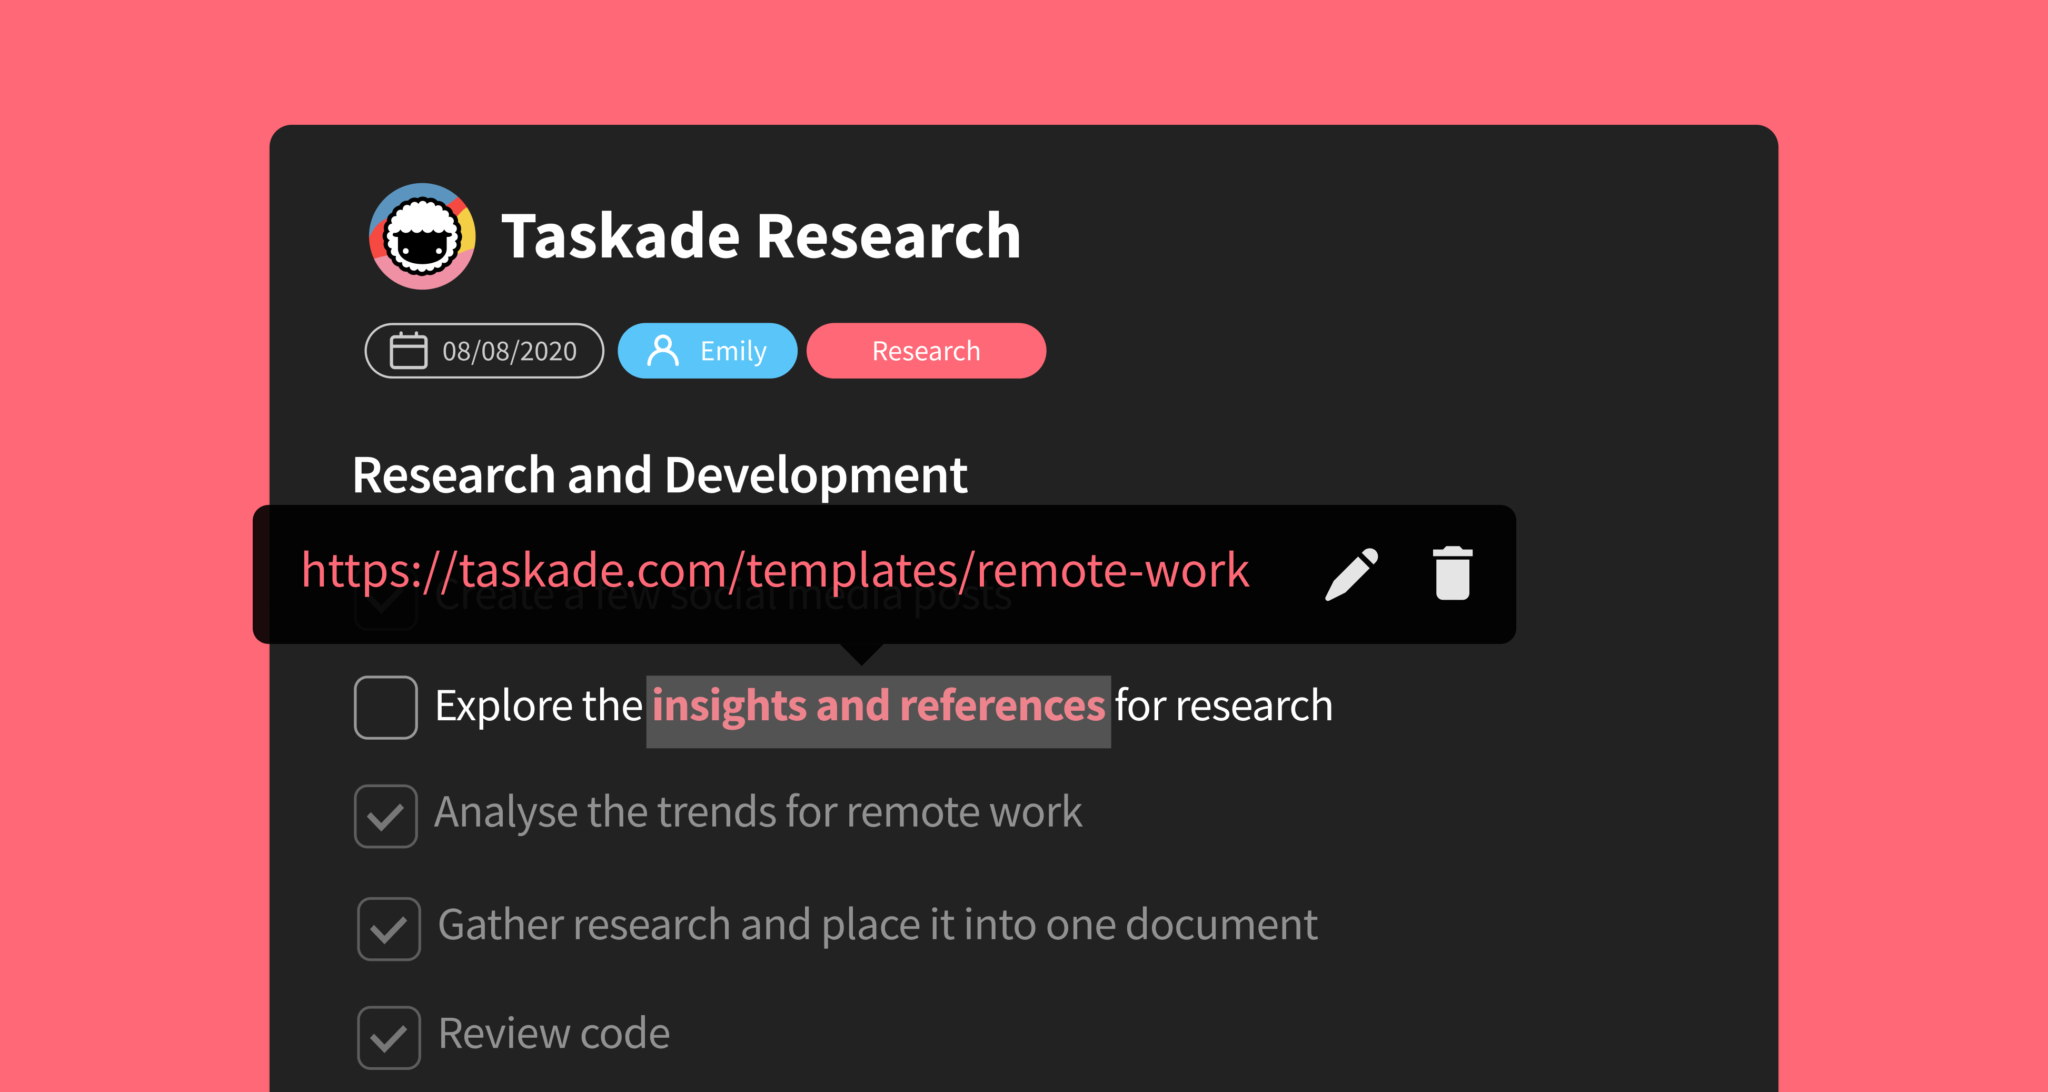
Hyperlinks let you jump to web pages from links embedded in your text.
Add Hyperlinks to Tasks
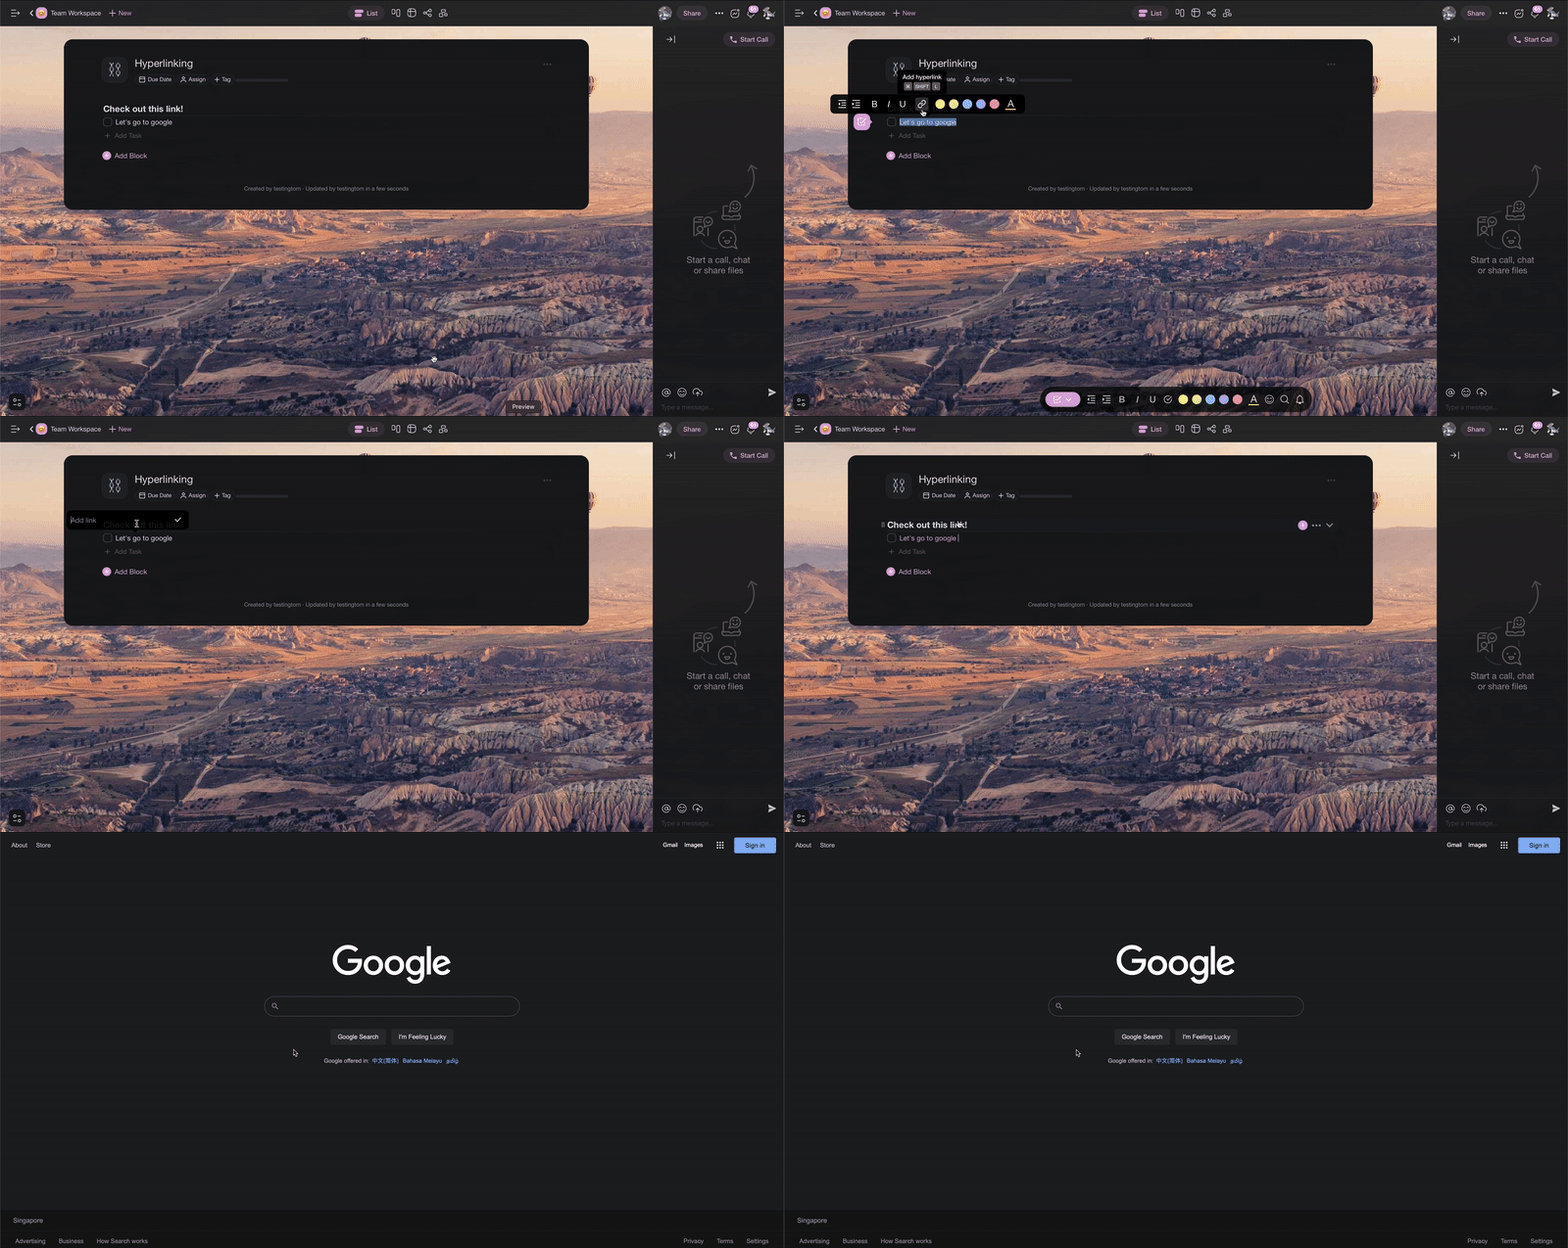
You can add hyperlinks in Taskade in two ways:
🪄 Using the Hovering Toolbar
Create a task or add the text you want to turn into a hyperlink.
Select the text or the entire task using the mouse cursor.
Click the 🔗 hyperlink icon in the Hovering Toolbar.
Type or paste the link and click ✔️.
⌨️ Using keyboard shortcuts
Highlight text and press ⌨️ ⌘ + Shift + L (Mac) or CTRL + Shift + L(PC).
Type or paste the link and click ✔️.
Your text is now hyperlinked!
Mixed Formatting
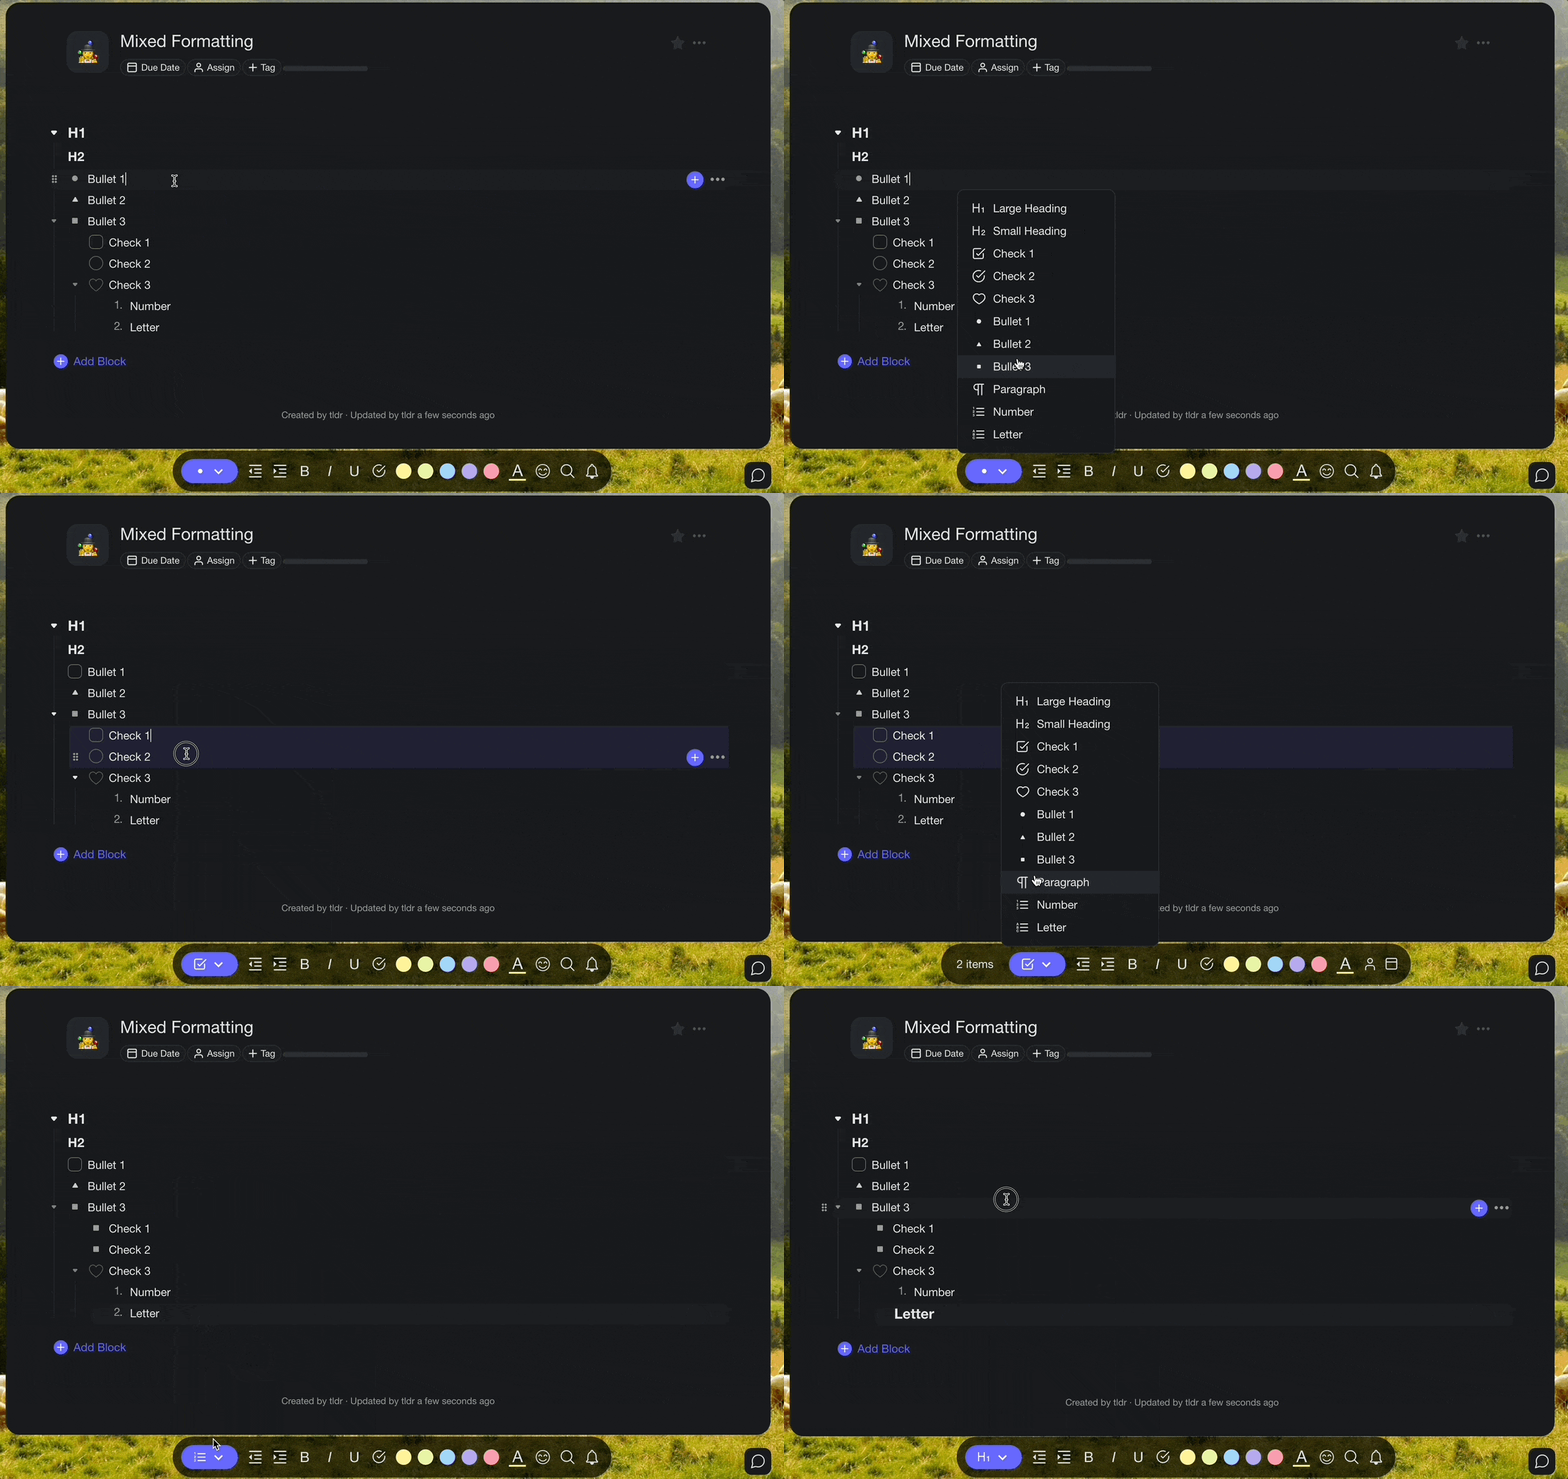
Mixed formatting is a new way to organize tasks and sub-tasks into hierarchies. You can create outlines with multiple formats on the same indent level. Tasks, notes, and paragraphs live in the same block.
Mix Task Formats
To create a block with mixed formats:
Single Task
- Add a few nodes (tasks).
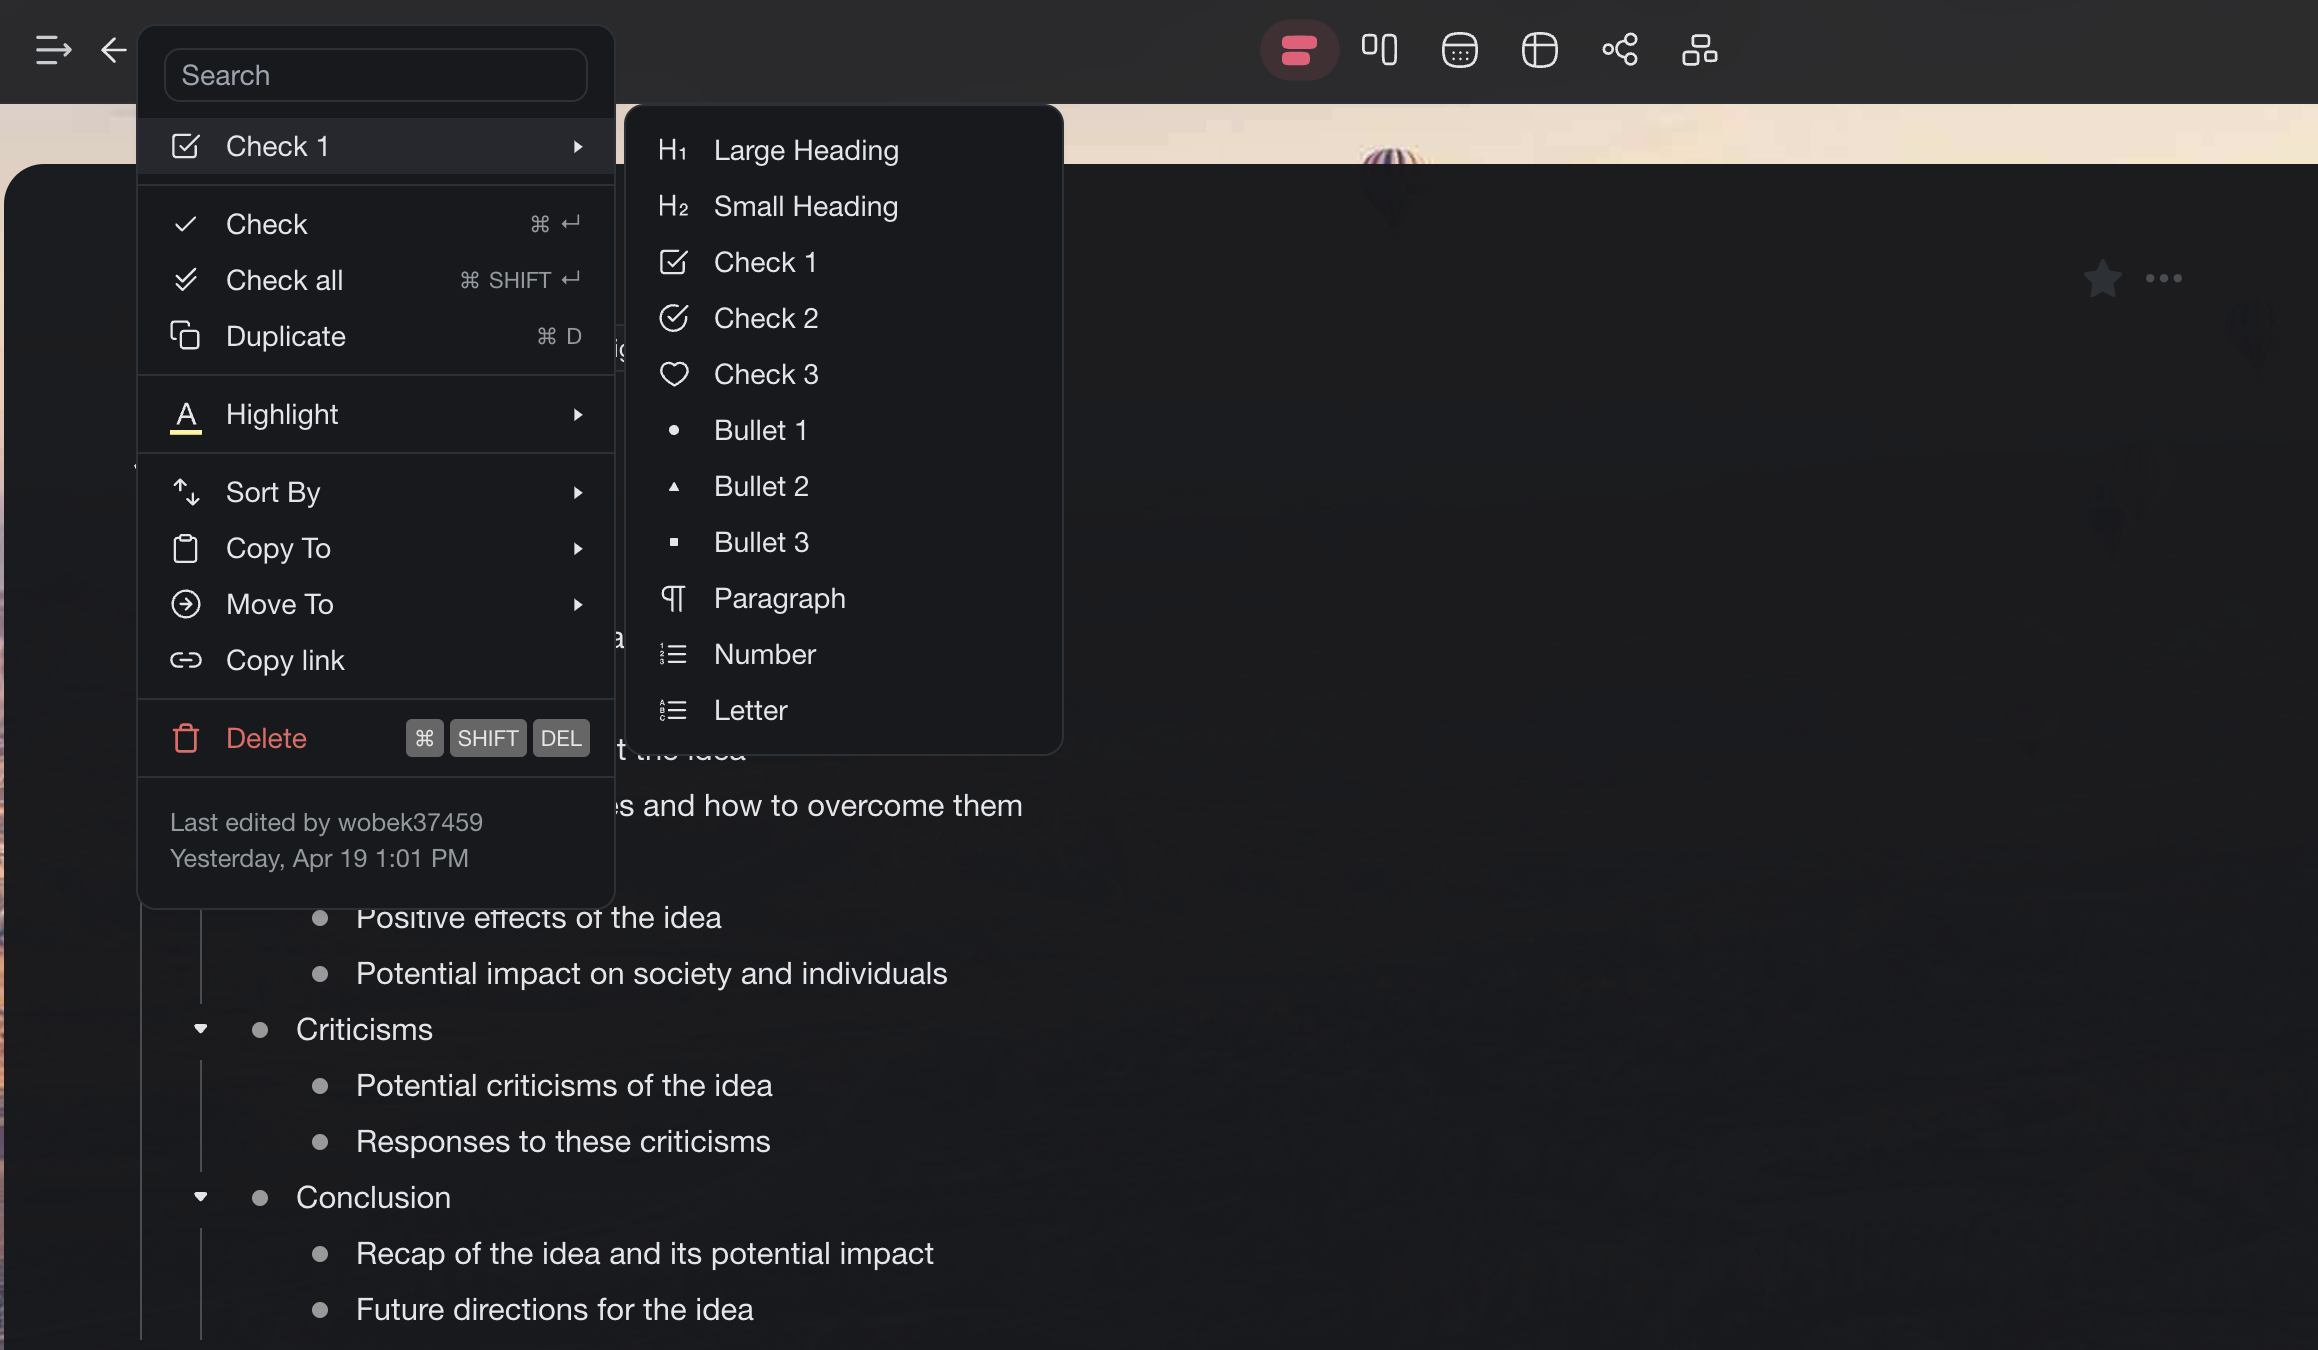
- Use the Drag Menu ⋮⋮ to select the desired format:
- ✅ Checklists
- 📝 Notes
- 🔘 Bullet points
- 🔢 Numbered List
- 🔠 Headings
Multiple Tasks
- Left-click & hold the first task in a series.
- Drag the cursor ↕️ to select tasks/nodes.
- The Multi-Select Toolbar appears at the bottom of the page.
- Click the 1st option to format the selected tasks/nodes.
Note: Visit Multi-Select Toolbar to learn more.
Add Blocks
Every project in Taskade is a collection of tasks and subtasks that you arrange in many ways. Blocks fill your projects with pre-defined sets of tasks or bullets, and you fill those with any content.
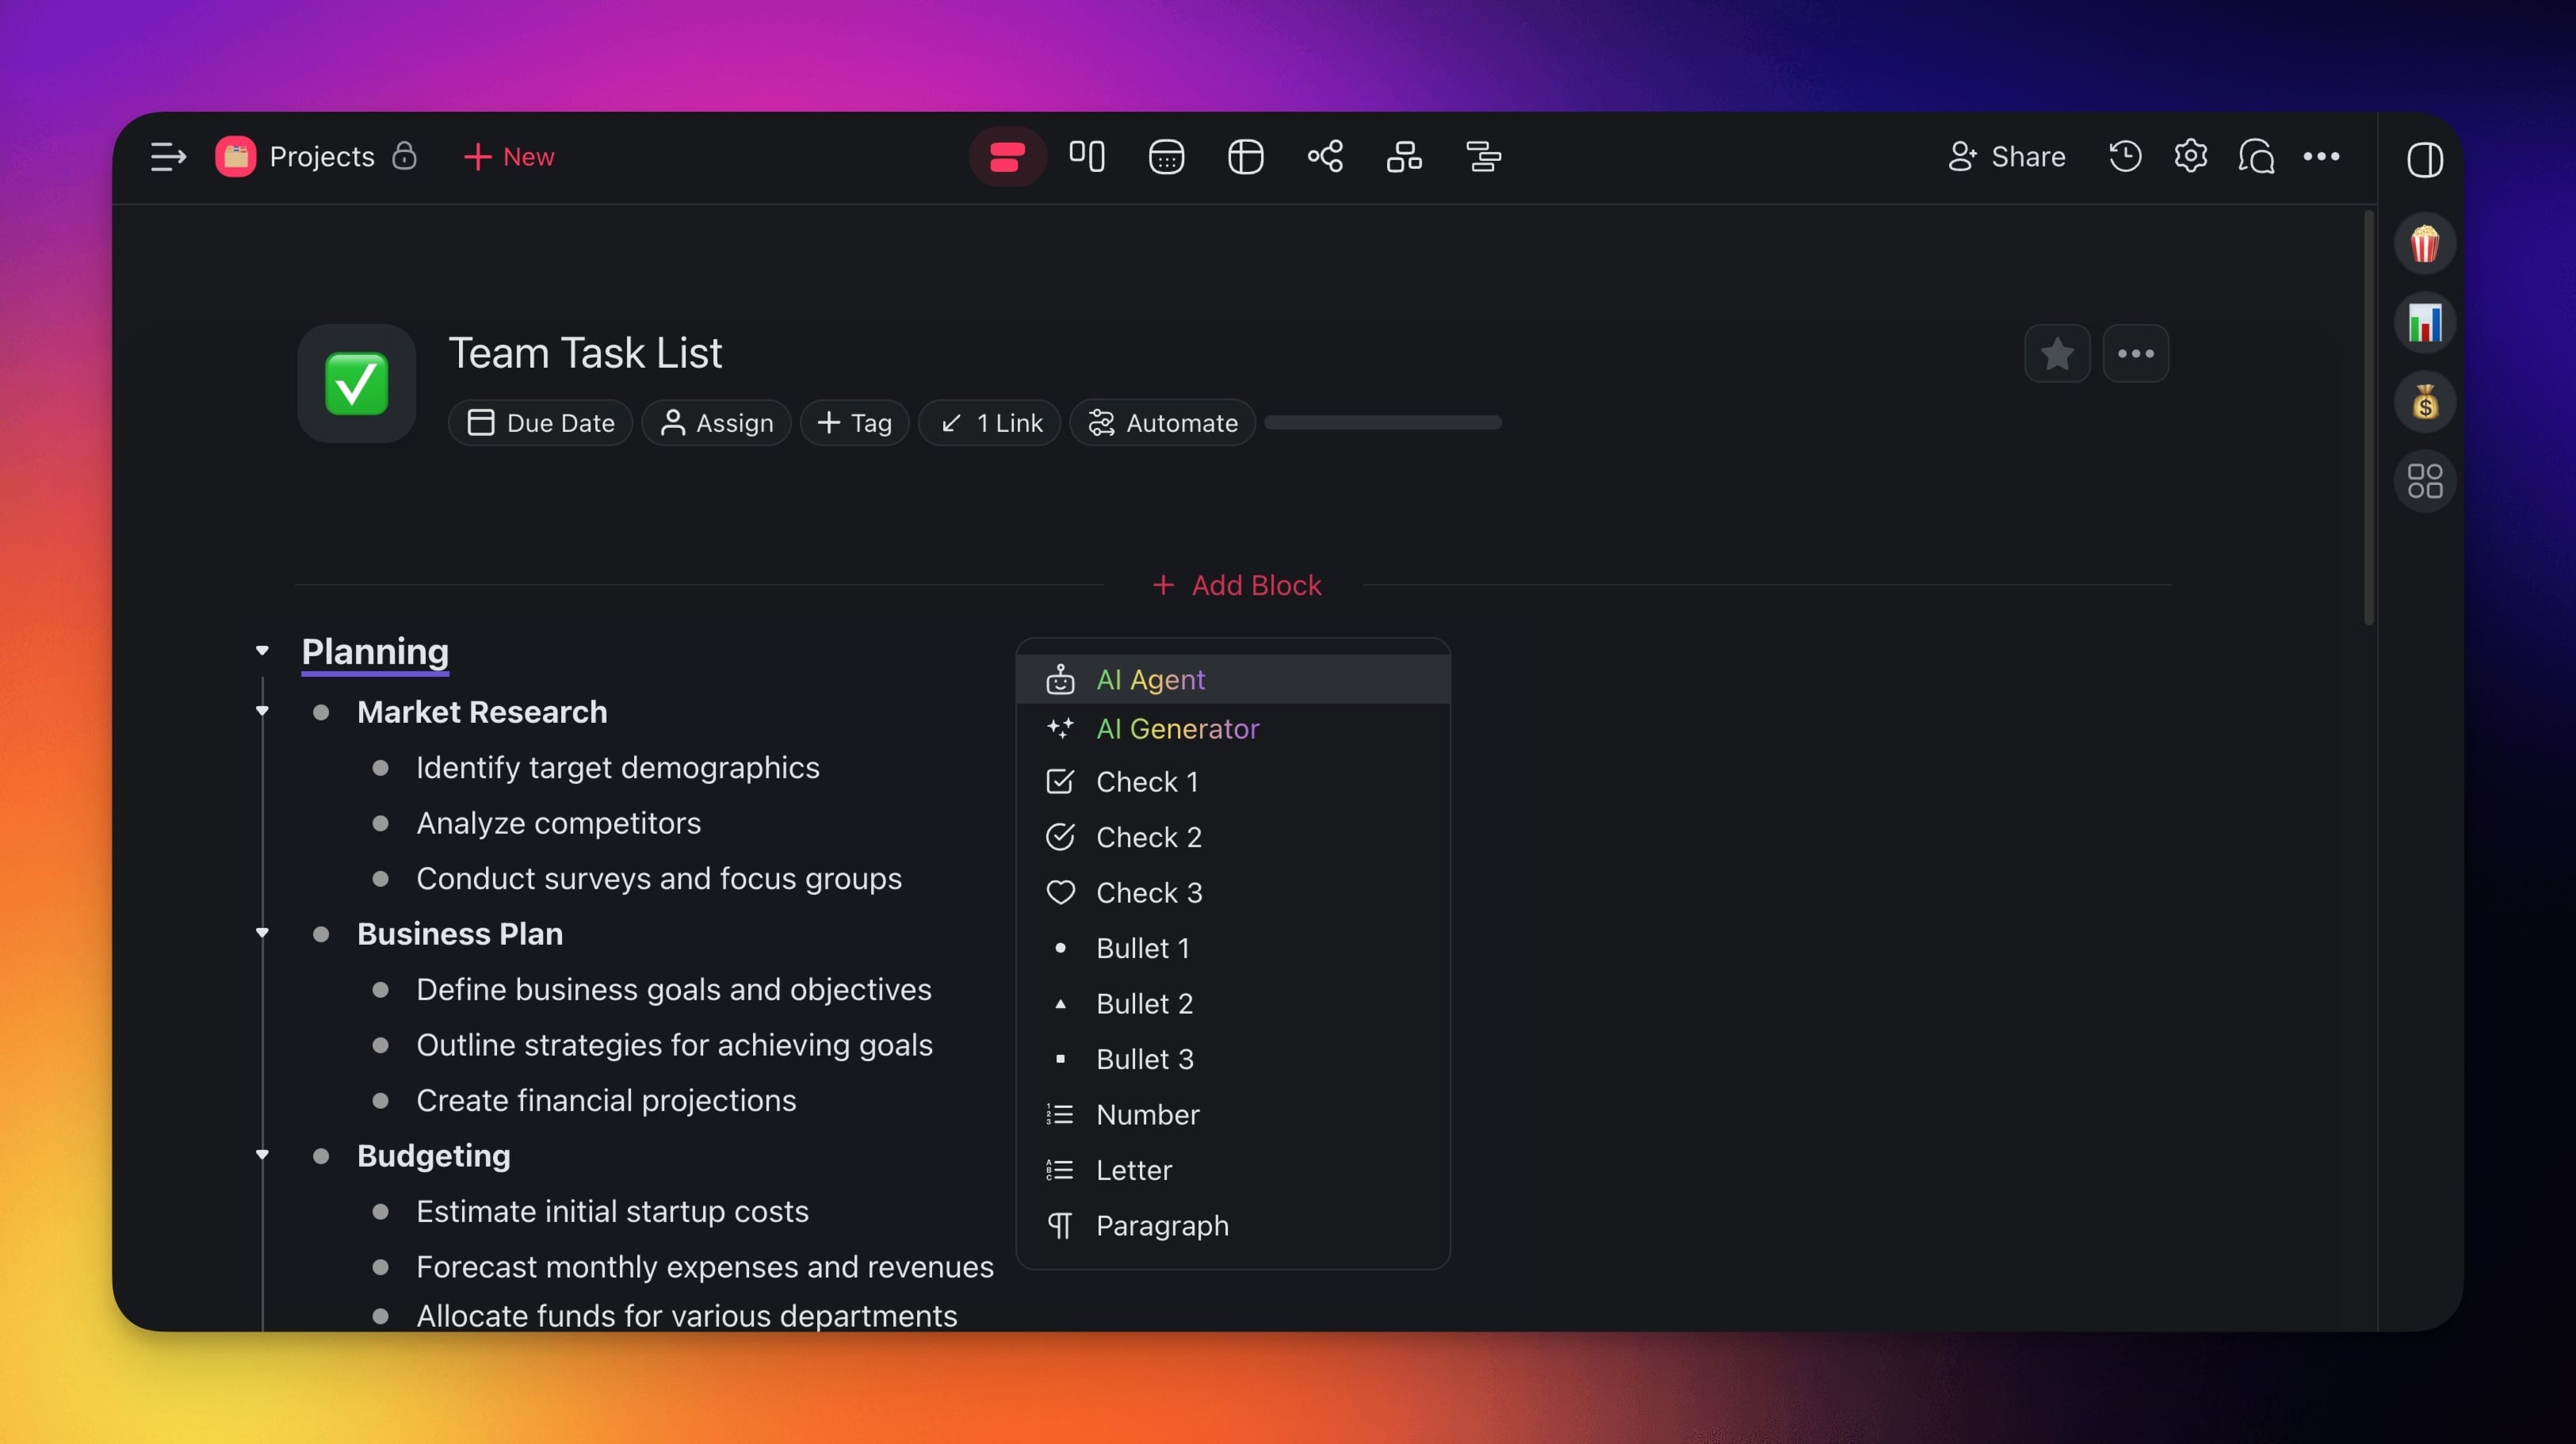
Add a Block
- Scroll to the bottom or the top of a project.
- Click ➕ Add Block.
- Pick one of the available options:
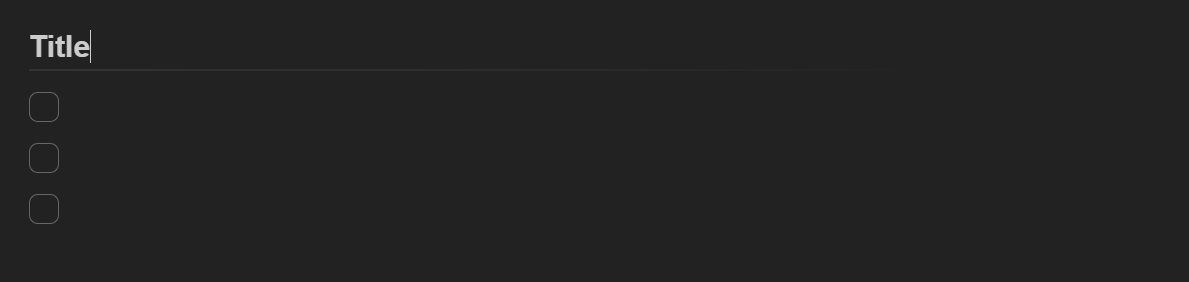
- ✅ Check
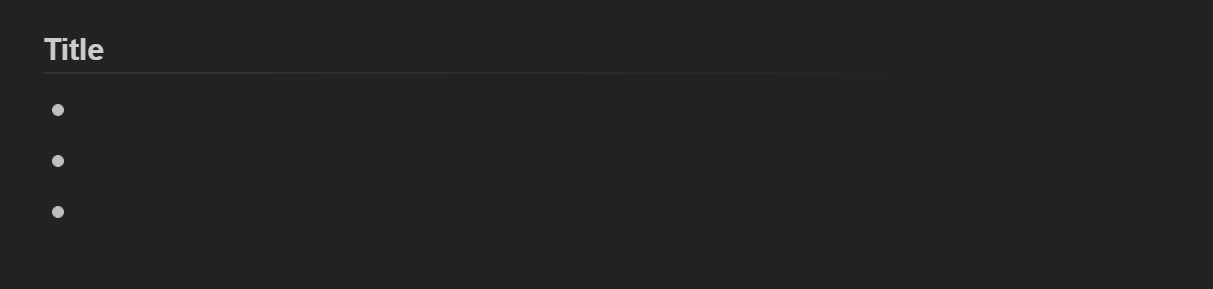
- 🟡 Bullet
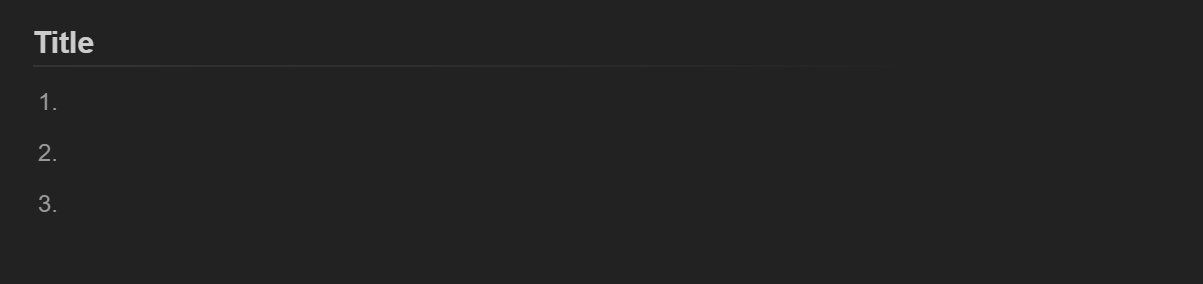
- 1️⃣ Number
- 🔠 Letter
- ¶ Paragraph
💡 Note: Remember to customize the tasks and sub-tasks inside Blocks. Visit Editing & Formatting Projects to learn more about task formatting options in Taskade.
Add Block with Agents
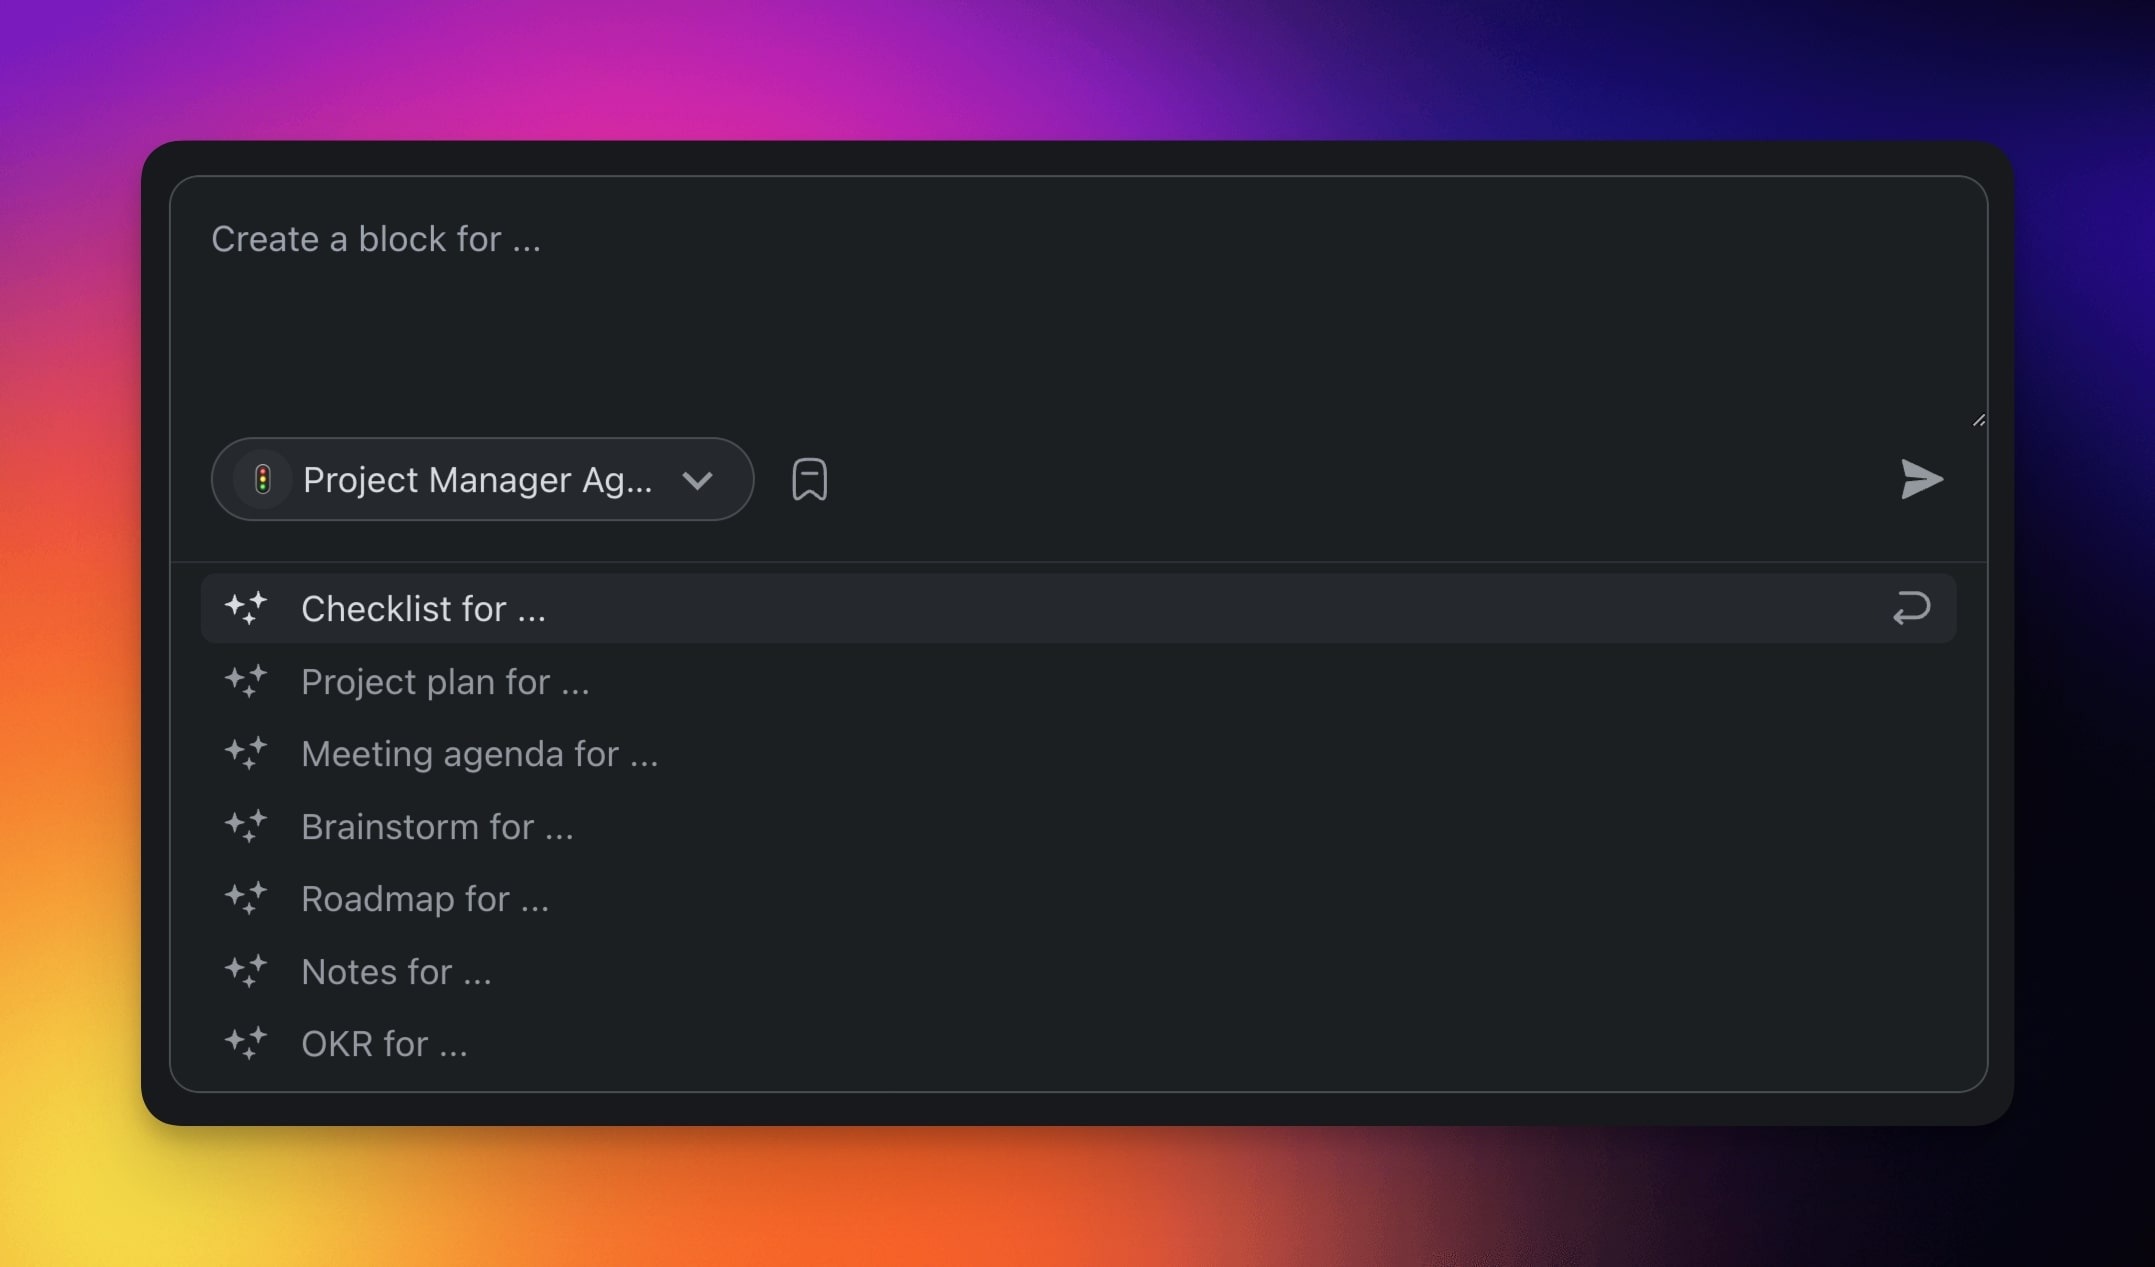
You can generate blocks with Taskade AI or your custom AI agents.
- Click ➕ Add Block.
- Choose AI Agent or AI Generator from the list.
- Describe the type of block/content you want to generate or use a template.
- Press ⌨️ Enter to create the block.
Check
Bullet
1️⃣ Numbered
Letter

¶ Paragraph
💡 Did You Know?
Taskade has built-in AI Agents and Automations that can work alongside your projects. Try building with AI →