TL;DR: Publish any Taskade project or Taskade Genesis app to a public URL with optional password protection, custom domain, and SEO metadata. Published apps sync in real time, edits in Taskade appear immediately on the live site. Free plan supports taskade.com subdomains; Pro and above support custom domains.
Pick a sharing path based on how much access viewers should have.
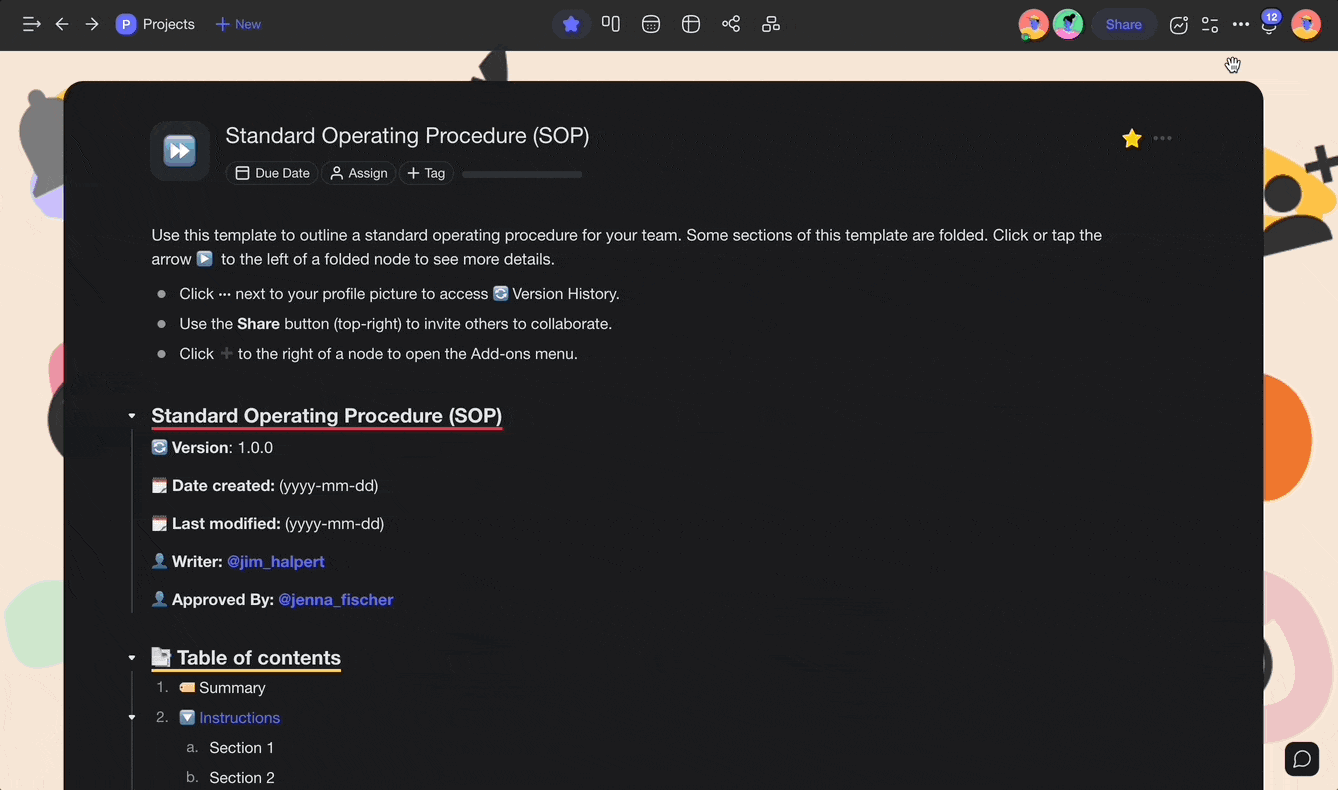
Overview
Show your projects to the world using the Publish feature. Share projects with a public link or embed Taskade directly into your website or blog.
Publish a Project (Public Link)
Use public links when you want to share projects without access to comments and chat.
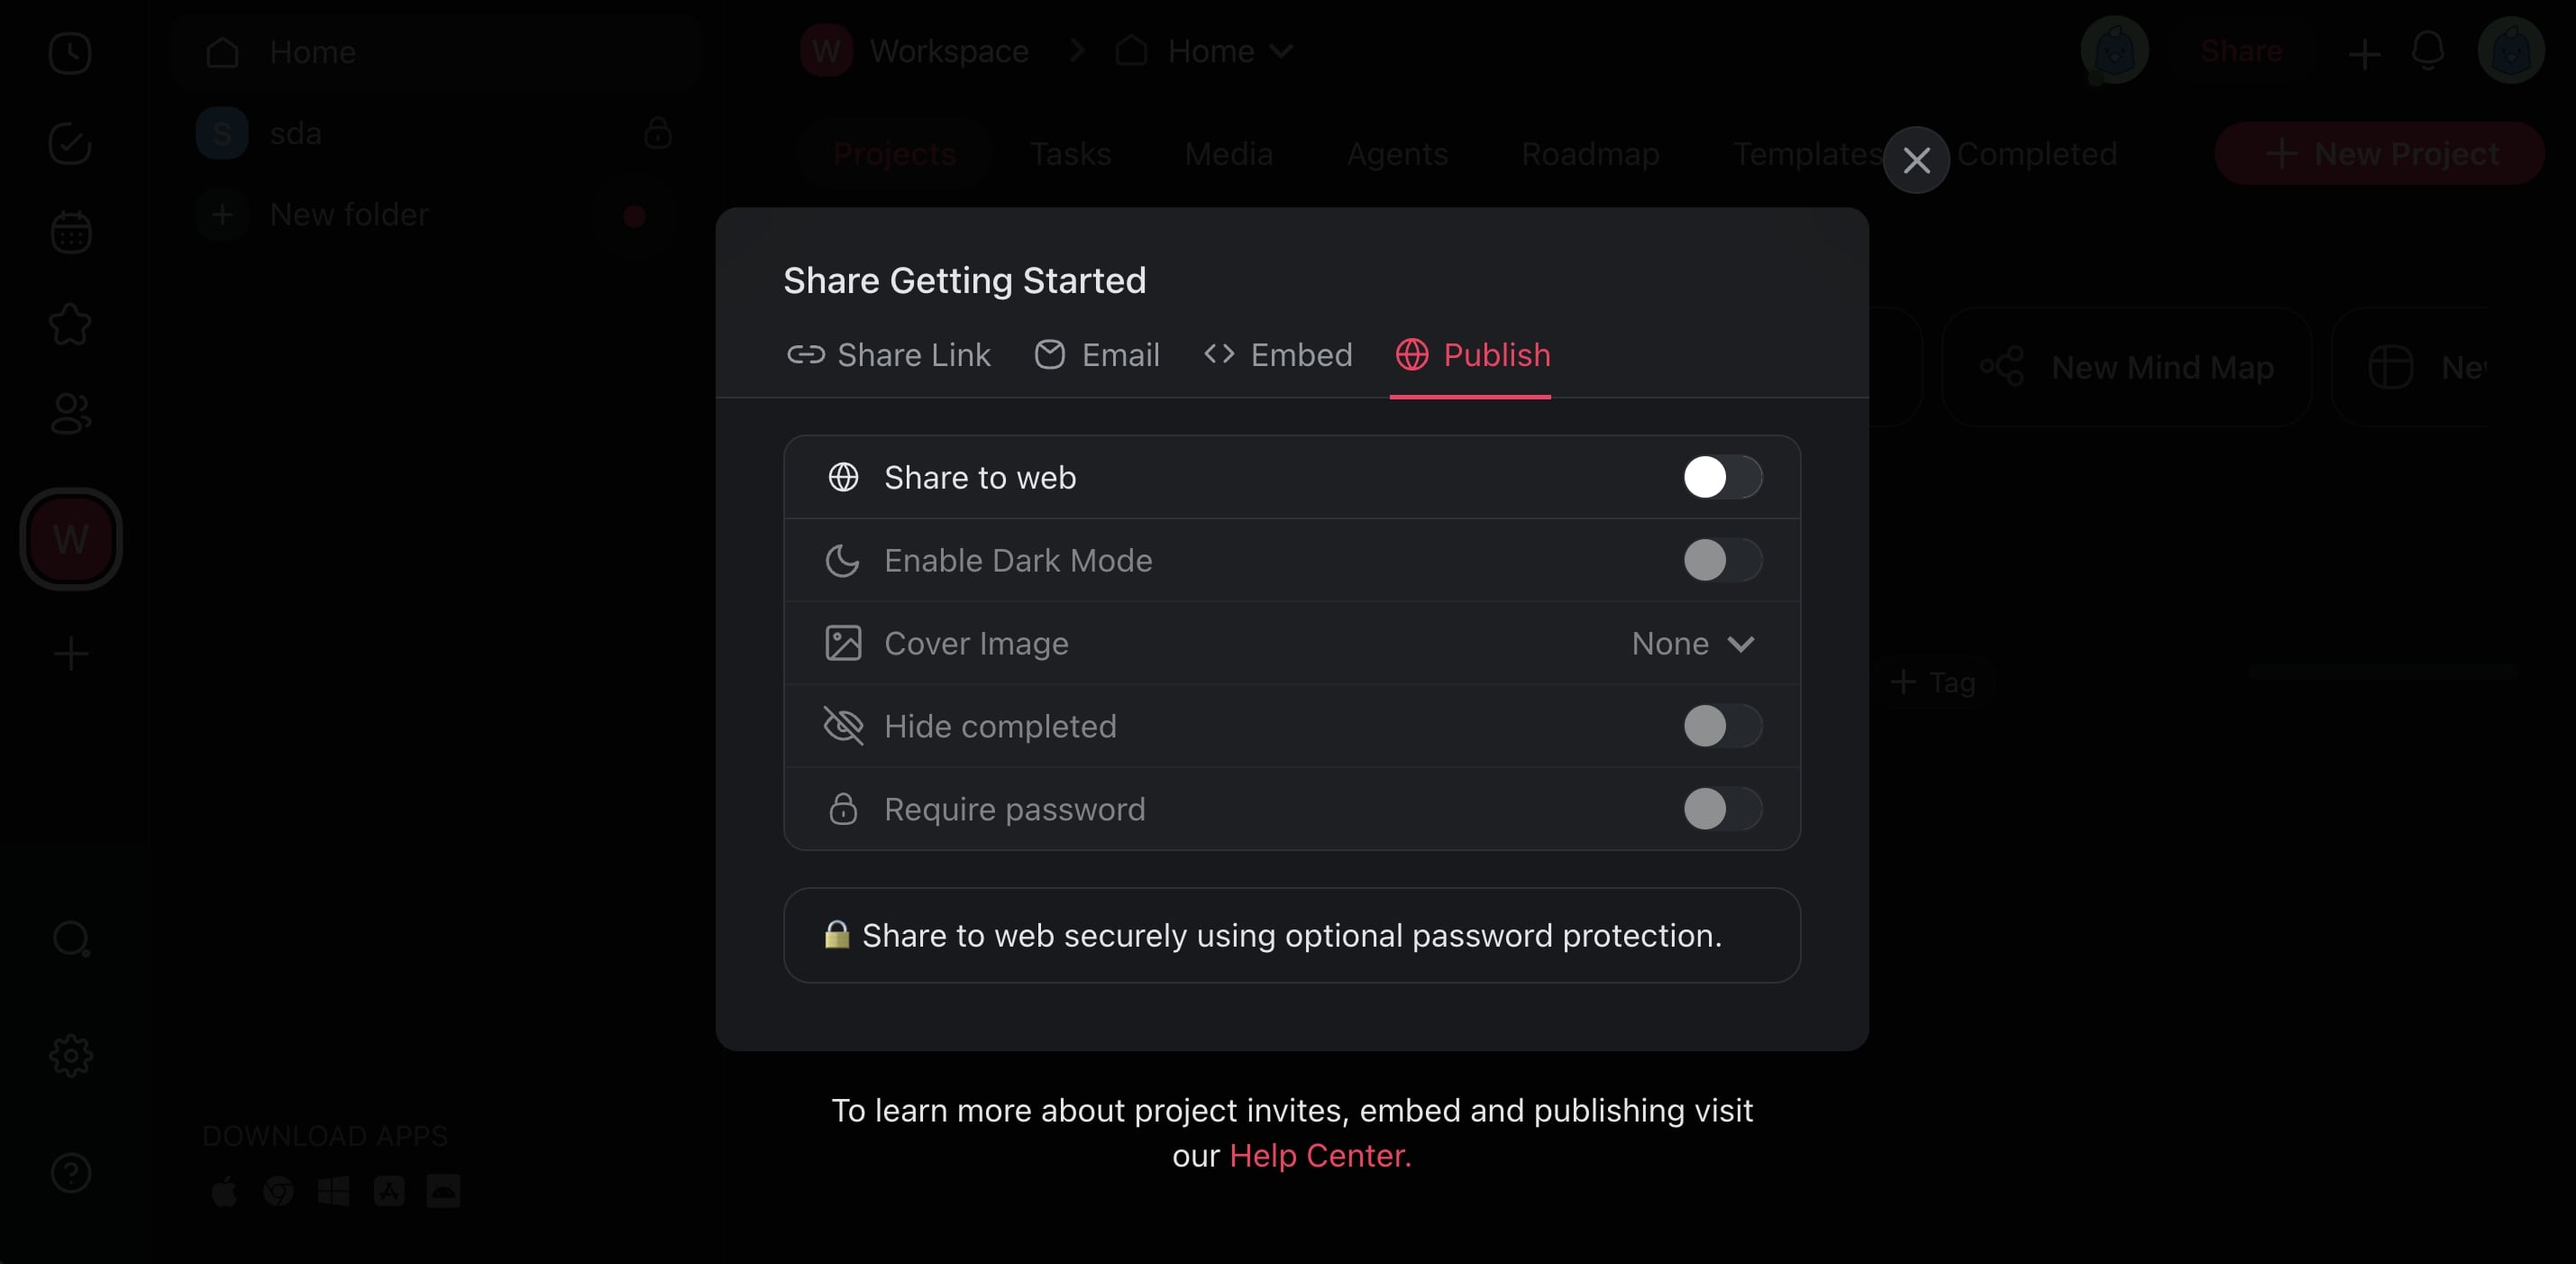
Click the Share button in the top-right corner of your project.
Select Invite to project and select the Public tab.
Toggle Share to web on.
(optional) Modify the sharing settings:
- 🌗 Enable Dark Mode: Display the project in dark mode.
- 🖼️ Cover Image: Set cover image type (banner, background).
- 👁️ Hide Completed: Automatically hide completed tasks.
- 🔒 Require Password: Protect the published project with a password.
Click Copy link and share it with others.
Note: Only the people with the link will have access to the project.
Publish a Project (Viewer Link)
Use a "Viewer" link when you want to share the project with users with limited access.
- Click the Share button in the top-right corner of your project.
- Click Invite to project and select the 🤓 Viewer permission.
- Click Copy link and share it with others.
Note: This method limits the editing permissions to comments and chat.
Embed Your Project
You can publish a project on your website or blog using an embed code.
- Open a project and click the Share button in the top-right corner.
- Navigate to the < > Embed tab and click Copy.
- Paste the embed code into a Custom HTML block in WordPress.
Note: People will see embedded projects but they won't be able to edit them.
Turn Off Comments / Chat
Guest users with a "Viewer" link can still add comments and send messages in the chat box. Here's how to turn those features off:
- Click the

button in the top-right corner of your project. - Go to the ⚙️ Settings tab and use the sliders to edit chat/comments setting.