
Overview
The Mailhook trigger gives you a straightforward way to start automations using email. The trigger assigns a unique email address to your automation, so you can send various types of information to start specific automations. Mailhook is the email-native cousin of Webhooks. Anything that can send mail can fire a Taskade automation.
TL;DR: The Mailhook trigger gives your automation a unique email address. Send a message to that address and the automation starts. Taskade saves any attached files to Media Files and passes them to the next steps. Run actions like task creation, AI triage, or team notifications. Available on all plans.
Available on all plans.
Note: Read our Automation Guide to learn more.
How to Get Started
Add the Trigger
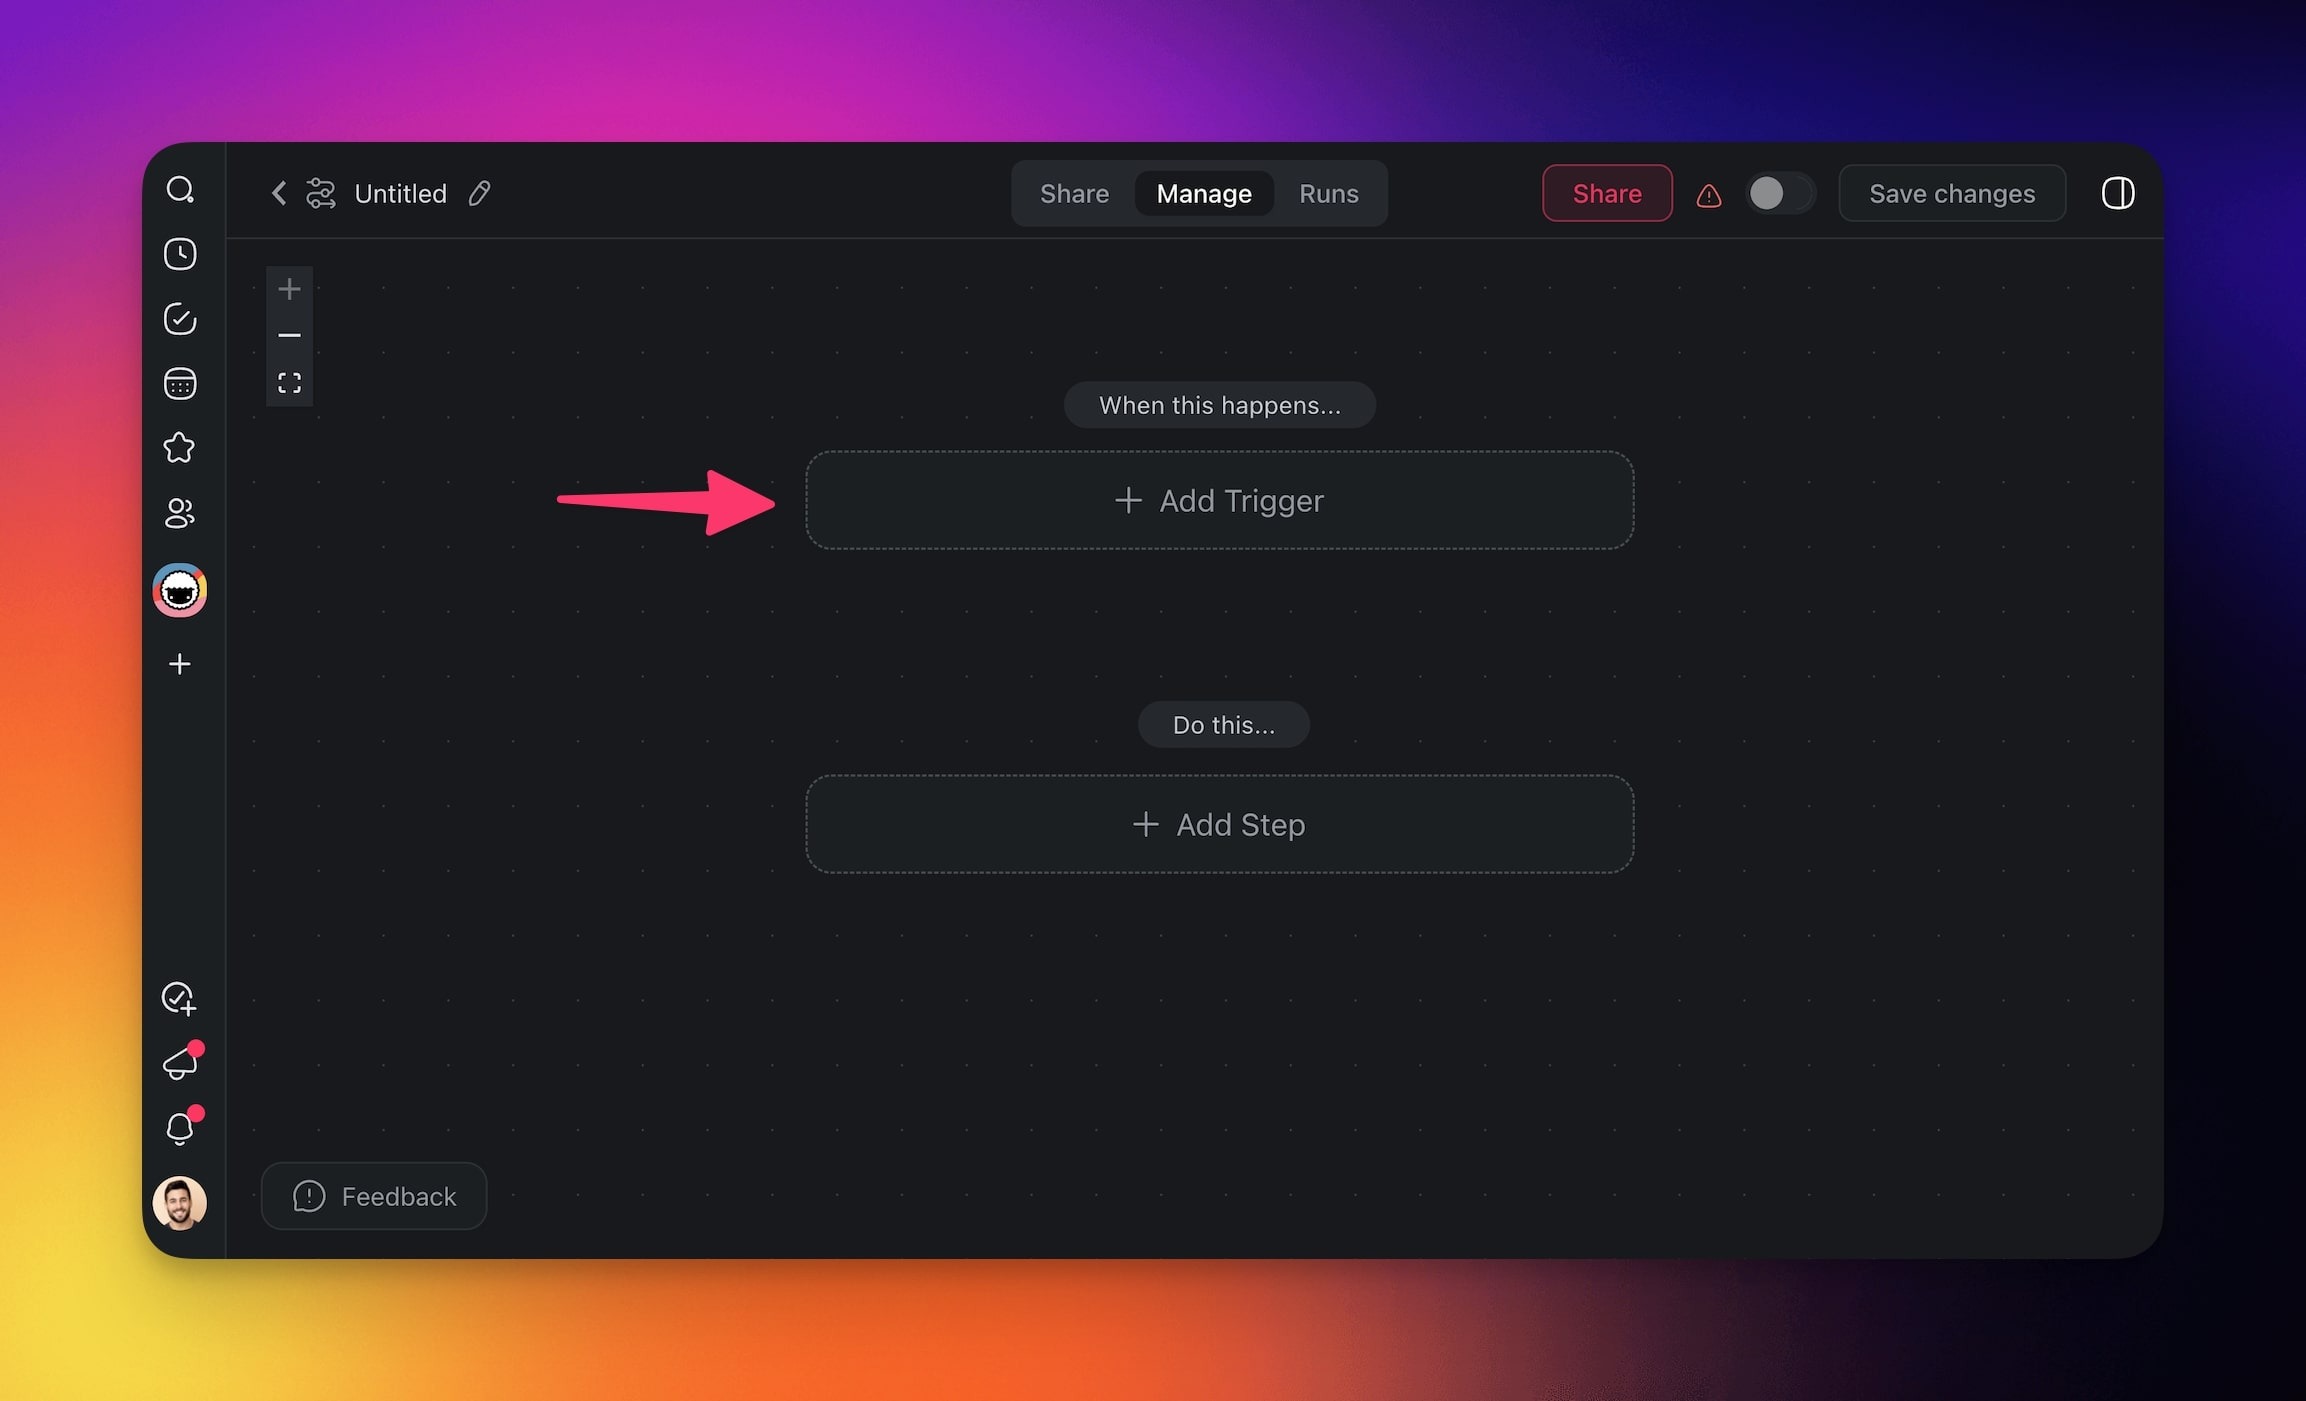
- Create a new automation flow and click ➕ Add Trigger.
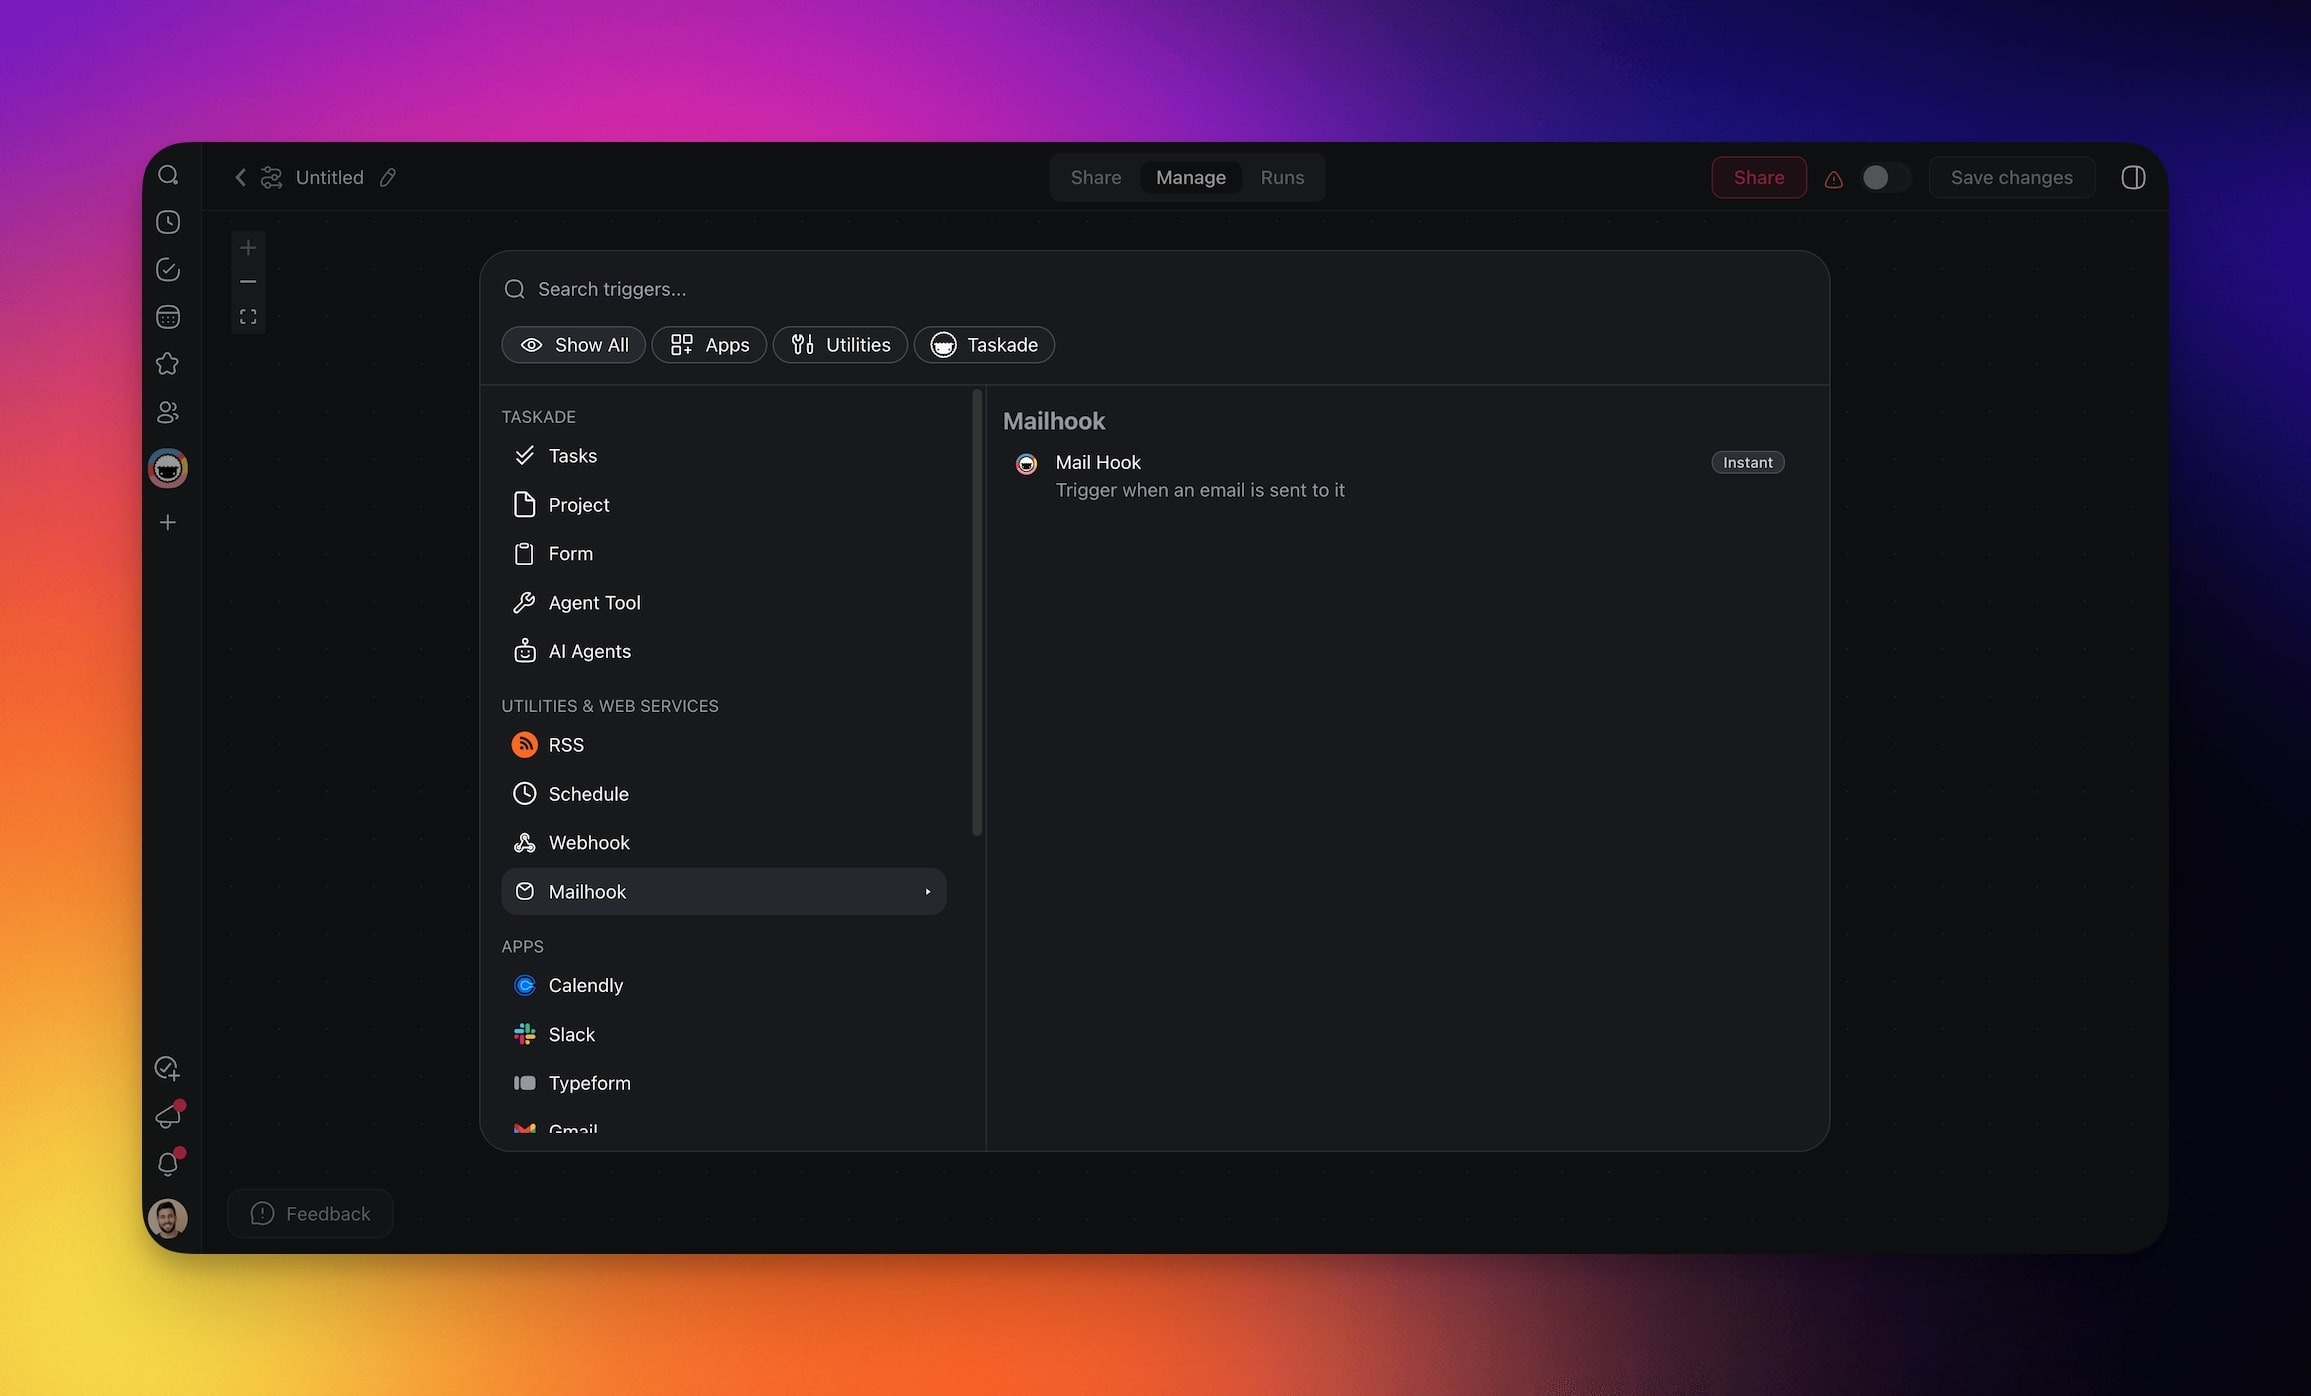
2. Choose the Mailhook trigger from the list.
Configure the Trigger
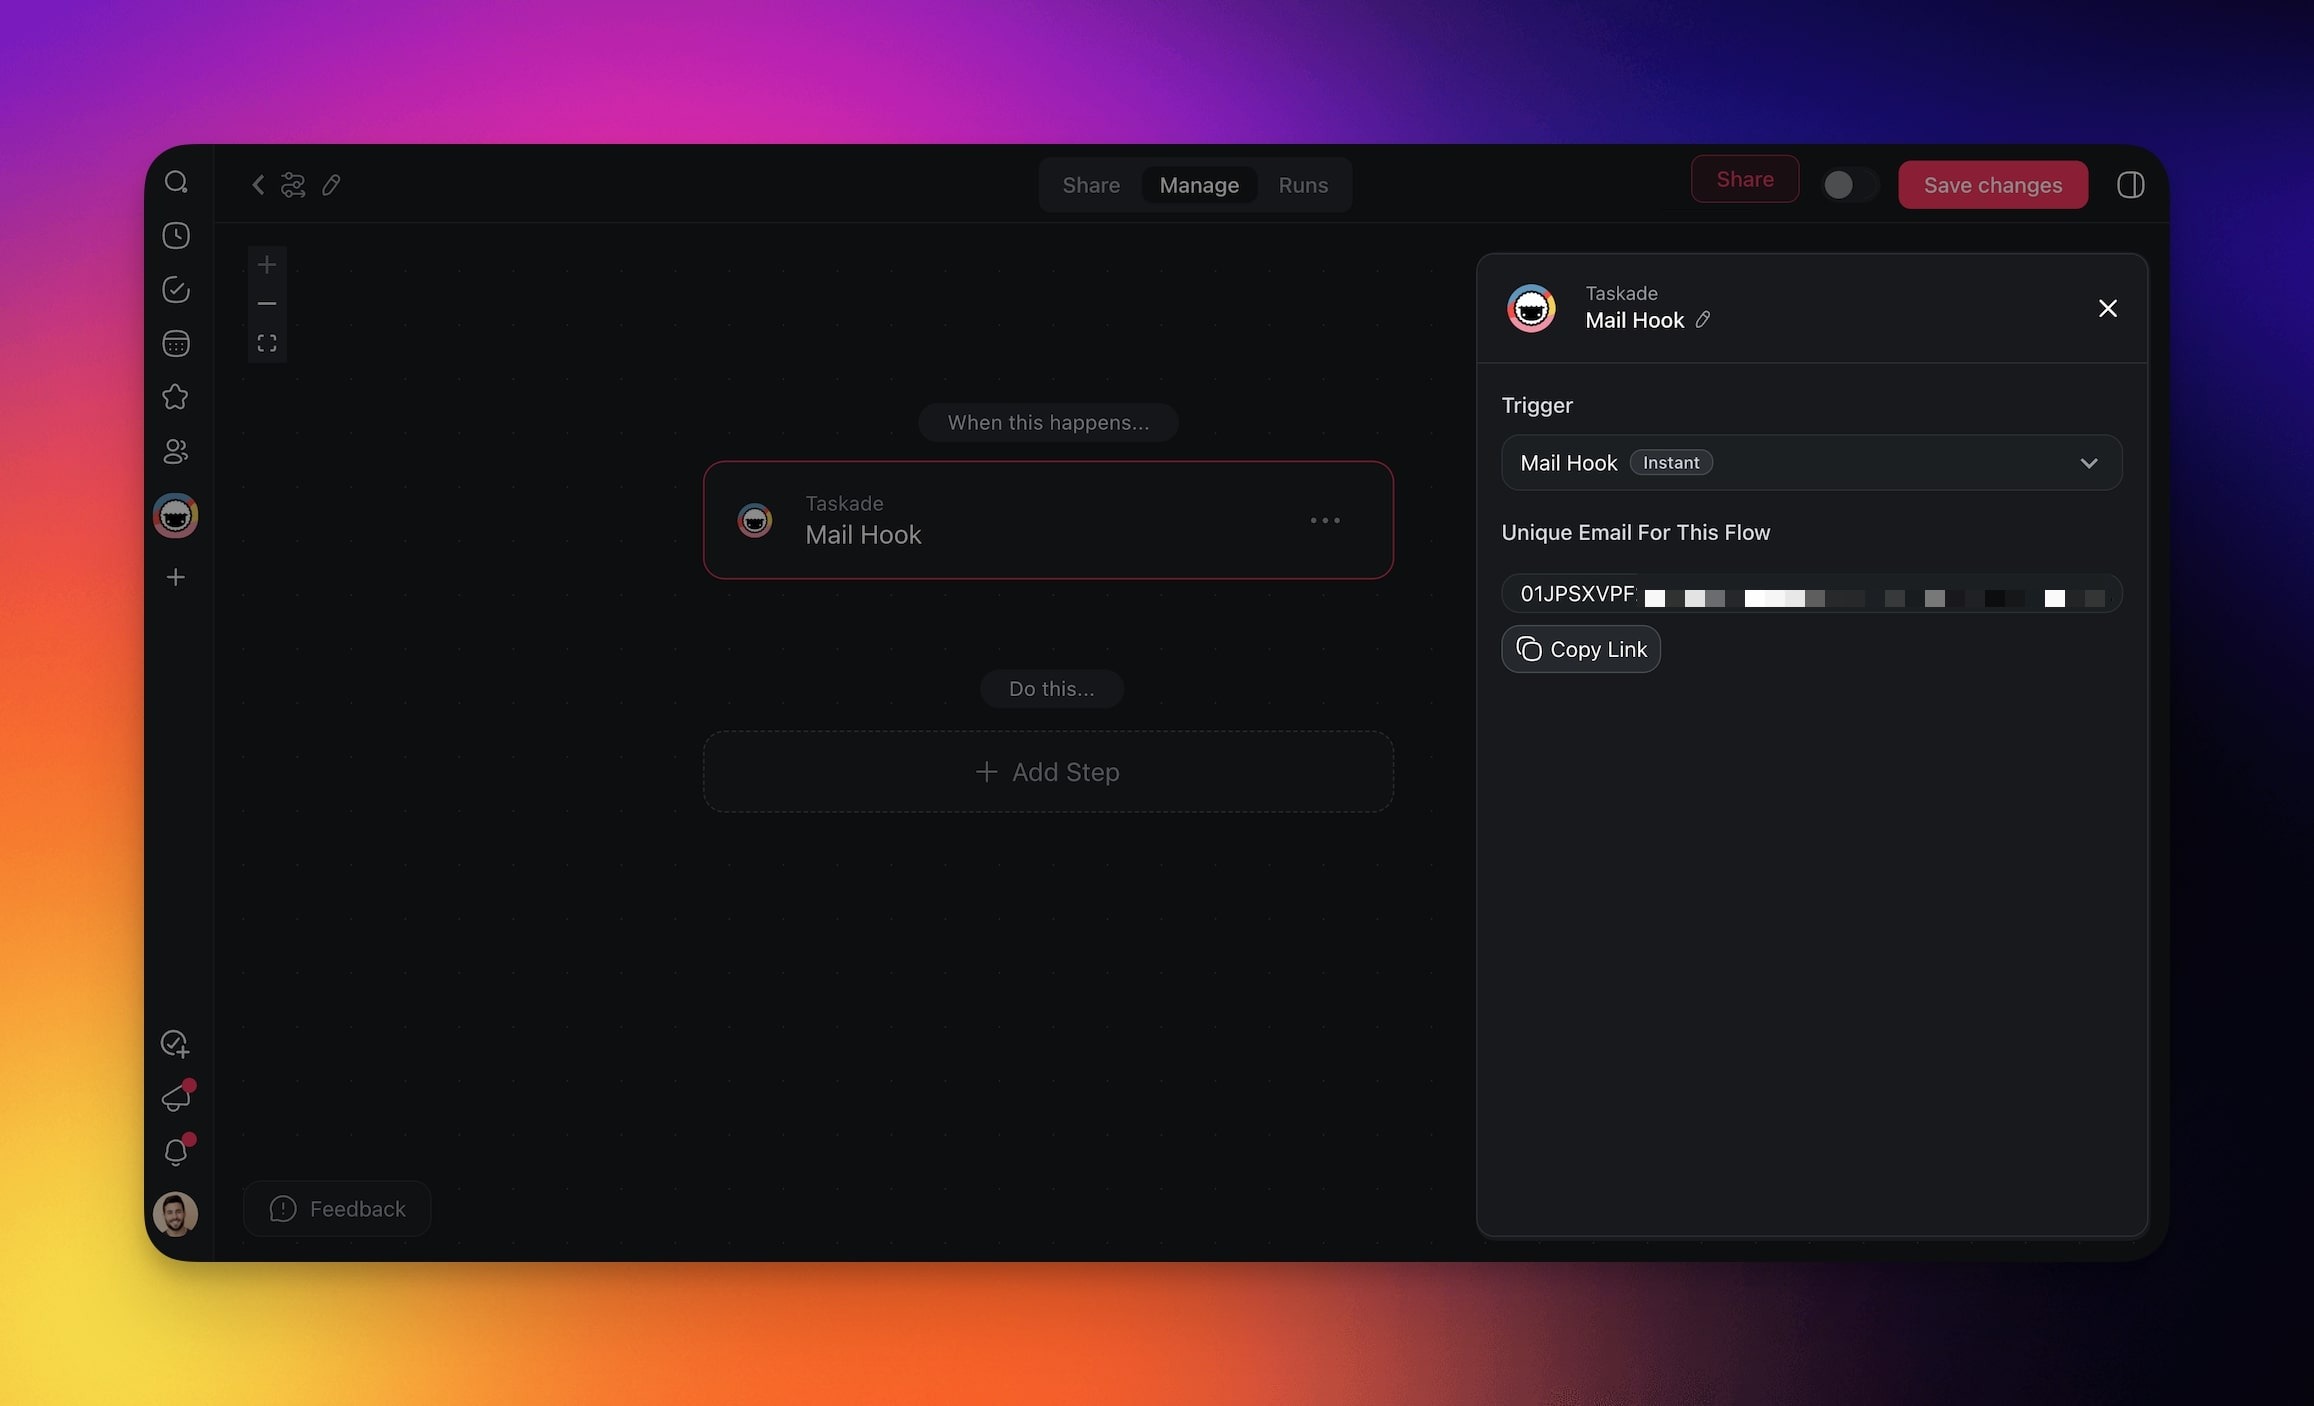
- Click Copy Link in the sidebar to copy the email address.
- Send tasks and data to the address to trigger the automation.
3. Add relevant actions and enable the automation.
Filter Incoming Email
Two optional fields stop a run before it starts. An email that does not match starts no run, so it uses none of your automation runs.
| Field | What it does |
|---|---|
| Only from (contains) | Runs only when the sender address or sender name contains this text. Upper and lower case match. |
| Only when subject contains | Runs only when the subject contains this text. Upper and lower case match. |
Match on the sender address when the filter matters. A sender can type any display name.
Receive Email Attachments
Mailhook saves the files attached to each email in your workspace Media Files before the automation starts. The trigger then passes an Attachments list to the next steps.
| Attachment field | What it holds |
|---|---|
fileName |
The name of the saved file |
mimeType |
The file type, for example application/pdf |
size |
The file size in bytes |
url |
A link to the saved file that file and media steps can read |
isInline |
Whether the file was embedded in the email body |
Choose how Mailhook treats images inside the email body, such as signature logos and pasted screenshots:
- Click the Mailhook trigger in the automation.
- Open the Inline images menu.
- Keep Skip inline images to leave those images out of the list. This is the default.
- Pick Include inline images to add them to the list.
To put a file on a task:
- Add an Attach File to Task step after the step that creates the task.
- Pick the Project.
- In Task ID, insert the task ID from the step that created the task.
- In File, insert the attachment
url.
For an email with several files, run these steps inside a Loop over Attachments.
Mailhook saves up to 10 files from each email. A file that is larger than your plan's upload limit, or of a type that Taskade cannot identify, is left out. The email still starts the automation.
Troubleshooting (SPF record)
If your domain's SPF (Sender Policy Framework) record is not set up correctly, the Mailhook trigger can fail to work. The automation then does not run, and the History tab shows no error.
To solve this:
- Identify the domain of the email address you are using to send emails to the Mailhook trigger. This is the part after the @ symbol.
(for example, for user@yourdomain.com, the domain is yourdomain.com) - Use the domain to find the email service provider.
- For public email domains, the service provider is typically identifiable from the domain itself.
(for example, user@gmail.com - Google Workspace, user@outlook.com - Microsoft 365) - For custom domains (for example, user@yourdomain.com), use the domain's email service provider. If you are unsure, you can search for various online tools to identify the email service provider.
- Follow the steps outlined in the Google Support Article to set up your SPF record accordingly.
Use Cases
Here are a few ideas on how you can use this trigger in your automations:
| 🪄 Use case | 🔤 Description |
|---|---|
| Automated project updates | Send emails with project details to update and notify your team automatically. |
| Customer inquiry processing | Forward customer inquiries via email to trigger automated responses or task assignments. |
| Daily report generation | Email daily reports or data inputs to automate the creation and distribution of detailed reports. |
| Task delegation | Use emails containing task information to automatically assign responsibilities to team members. |
| Event registration confirmation | Send event-related emails to trigger participant confirmations and manage event logistics. |
| Incident alerting and response | Email incident details to activate immediate alerts and response protocols. |
| Invoice and receipt intake | Forward invoices by email, create a task for each one, and attach the PDF to that task. |
Related guides
- Webhooks Trigger. HTTP-based counterpart.
- Forms Trigger. Structured form submissions.
- File Convert Action. Process email attachments.
- Automate Media Files. Work on saved attachments and other media.
- AI Categorize. Triage incoming emails with AI.