
Overview
ClickUp is a project management platform with tasks, docs, goals, and dashboards. To move your ClickUp workspace data, export it as CSV. Taskade AI then converts the spreadsheet for you. Your tasks, statuses, priorities, and other fields land in a structured Taskade project.
TL;DR: Export your ClickUp workspace as CSV, then upload it to the Import CSV tab, mark the column that holds the task name, and set the type of every other column. After import, pick from multiple project views, add custom AI agents, and set up automations.
Export Your ClickUp Data
- Go to the Settings page in your ClickUp dashboard.
- Select Import / Export from the sidebar.
- Click Start Export.
- ClickUp prepares a downloadable archive. Save the CSV files to your computer.
💡 Note: Some ClickUp plans limit the number of exports to 5.
To move only specific lists or spaces, export individual views as CSV from the view menu in ClickUp.
Import to Taskade
- Click the ➕ New project button in your workspace/folder.
- Choose Import and switch to the Import CSV tab.
- Drag your CSV file into the pop-up menu or click to select files.
- Set your column types in the preview, then click Import.
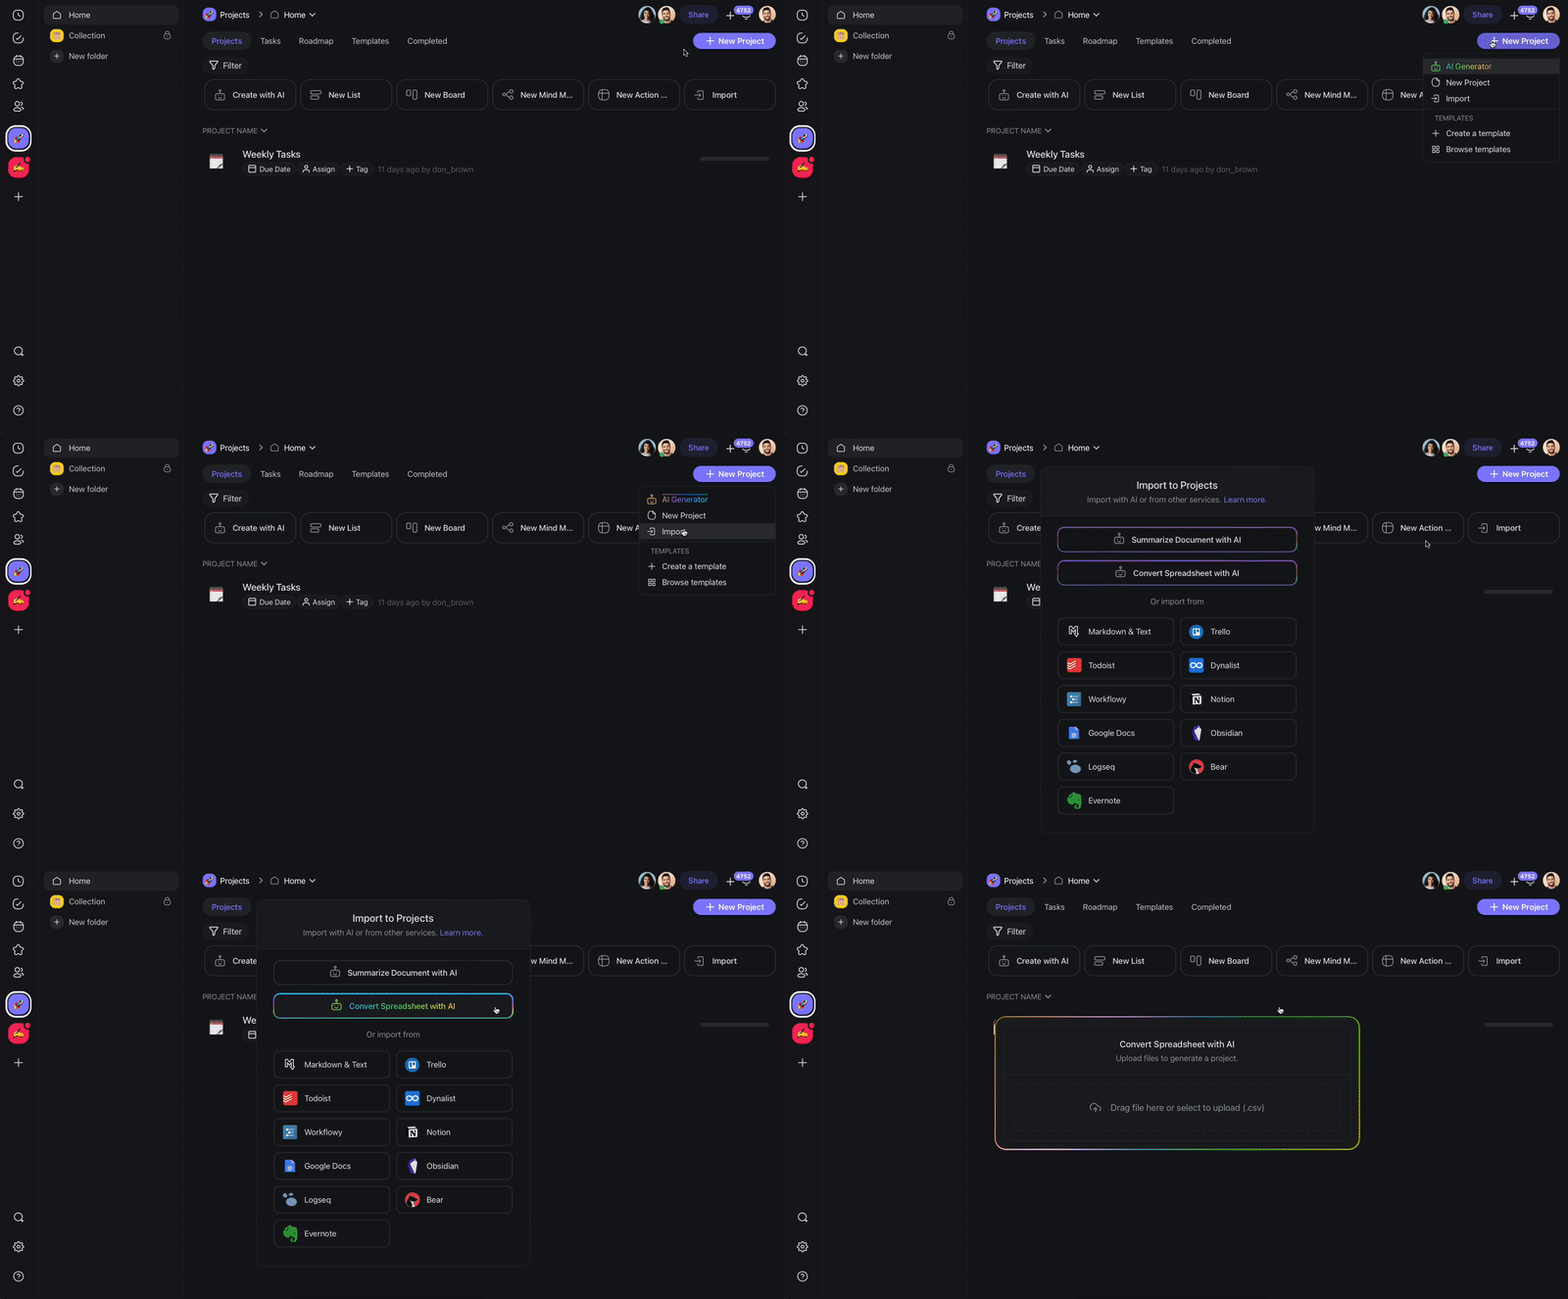
Taskade reads the first row as your column names and shows a preview. Mark the column that holds the task name as Primary, then set each other column to Text, Select, or Number. Click Import to build the project.
The Import CSV tab takes up to 300 rows and 5 MB per file. If your export is larger, split it and import the parts.
After Import
After your ClickUp data lands in Taskade, you can build out your process:
- Choose your view: Switch between List, Board, Table, Gantt, and other views to match how you worked in ClickUp.
- Set up automations: Create automations to handle repetitive actions like status changes, notifications, and task assignments.
- Add AI agents: Use custom AI agents to help manage imported tasks, generate subtasks, or summarize progress.
- Collaborate in real time: Invite your team and work together with real-time collaboration.
Tips
- For large ClickUp workspaces, import each space or list as a separate Taskade project to keep things organized.
- Use folders in Taskade to replicate your ClickUp hierarchy of spaces, folders, and lists.
- After import, try the AI Project Studio to expand on imported tasks or generate new ones based on your existing data.
How the Import Works
ClickUp vs Taskade After Import
| Capability | ClickUp Export | Taskade After Import |
|---|---|---|
| Views | Static CSV | Multiple views: List, Board, Table, Mind Map, Docs, Calendar, plus Gantt Chart, Actionsheet, and Org Chart (paid plans) |
| AI | Add-on | 15+ frontier models built in |
| Automations | Limited | 100+ integrations, branching, looping |
| Roles | Tier-based | Role-based access from Owner to Viewer |
See AI Personas & CSV-to-Project for the background on CSV-to-project imports.
Bring It Into Taskade Genesis
Your imported project is now part of your Workspace DNA. Open the project's ... menu and choose Add to Agent Knowledge so a custom agent answers questions from your ClickUp tasks. Start an automation from the project to act on status changes. Then open Taskade Genesis and describe the app you want on top of it, such as a client portal, a CRM, or a sprint tracker. For a web page or YouTube video, save the link in Media Files instead.