
Overview
Account Settings let you customize every part of your Taskade experience from one panel: profile, security, billing, integrations, notifications, and appearance. Open it anytime from your avatar in the bottom-left corner, or jump straight to taskade.com/settings.
TL;DR: Click your avatar (bottom-left) → Settings. The left sidebar groups everything: General (Account, Password, Connections, Sessions, Profile, Notifications, API), Integrations, then Workspaces, Archives, and a Plans & Billing group holding Plans, Usage, and Billing. Spellcheck toggles from the Features menu, dark mode from the Appearance picker, and two-factor authentication from the Password tab.
Here is how the settings sidebar is laid out:
┌────────────────────────────────────────────────────────────────┐
│  Settings                                                      │
├────────────────────────────────────────────────────────────────┤
│  GENERAL                                                       │
│    Account        Username, email, basic details               │
│    Password       Password and Two-Factor Authentication       │
│    Connections    Google, Apple, and Microsoft sign-in         │
│    Sessions       Devices signed in, revoke access             │
│    Profile        Your public creator page                     │
│    Notifications  Alerts across workspaces and folders         │
│    API            API tokens, OAuth2 Applications, webhooks    │
│                                                                │
│  Integrations     Calendar Feed, Google Calendar, Zapier       │
│  Workspaces       Every workspace you own or belong to         │
│  Archives         Restore or delete archived items             │
│                                                                │
│  PLANS & BILLING                                               │
│    Plans          Pick or change a plan                        │
│    Usage          AI credit balance and spend                  │
│    Billing        Invoices, payment method, cancellation       │
│    Activate       Apply a paid plan to a workspace             │
└────────────────────────────────────────────────────────────────┘
| Where | What it controls | Related guide |
|---|---|---|
| General → Account | Username, email, basic details | Change Email |
| General → Password | Password + Two-Factor Authentication | Reset Password · Two-Factor Authentication |
| General → Connections | Google, Apple, and Microsoft sign-in | Reset Password |
| General → Profile | Your public creator page | Community Profiles |
| General → Notifications | Alerts across workspaces and folders | Enable Notifications |
| General → API | API tokens and OAuth2 Applications | Connect Overview |
| Integrations | Calendar, Zapier, and more | Connect Overview |
| Workspaces | Every workspace you own or belong to | Workspaces |
| Plans & Billing → Plans | Pick or change a plan | Premium Plans |
| Plans & Billing → Usage | AI credit balance and spend | Auto Top-Up |
| Plans & Billing → Billing | Seats, payment, invoices | Manage Subscription |
| Plans & Billing → Activate | Apply a paid plan to a workspace | Upgrade Plan |
Some rows appear only when they apply to you. Workspaces and Activate show for paid workspace owners, and Credits & Rewards shows on the Free plan as the place to earn AI credits.
Access Account Settings
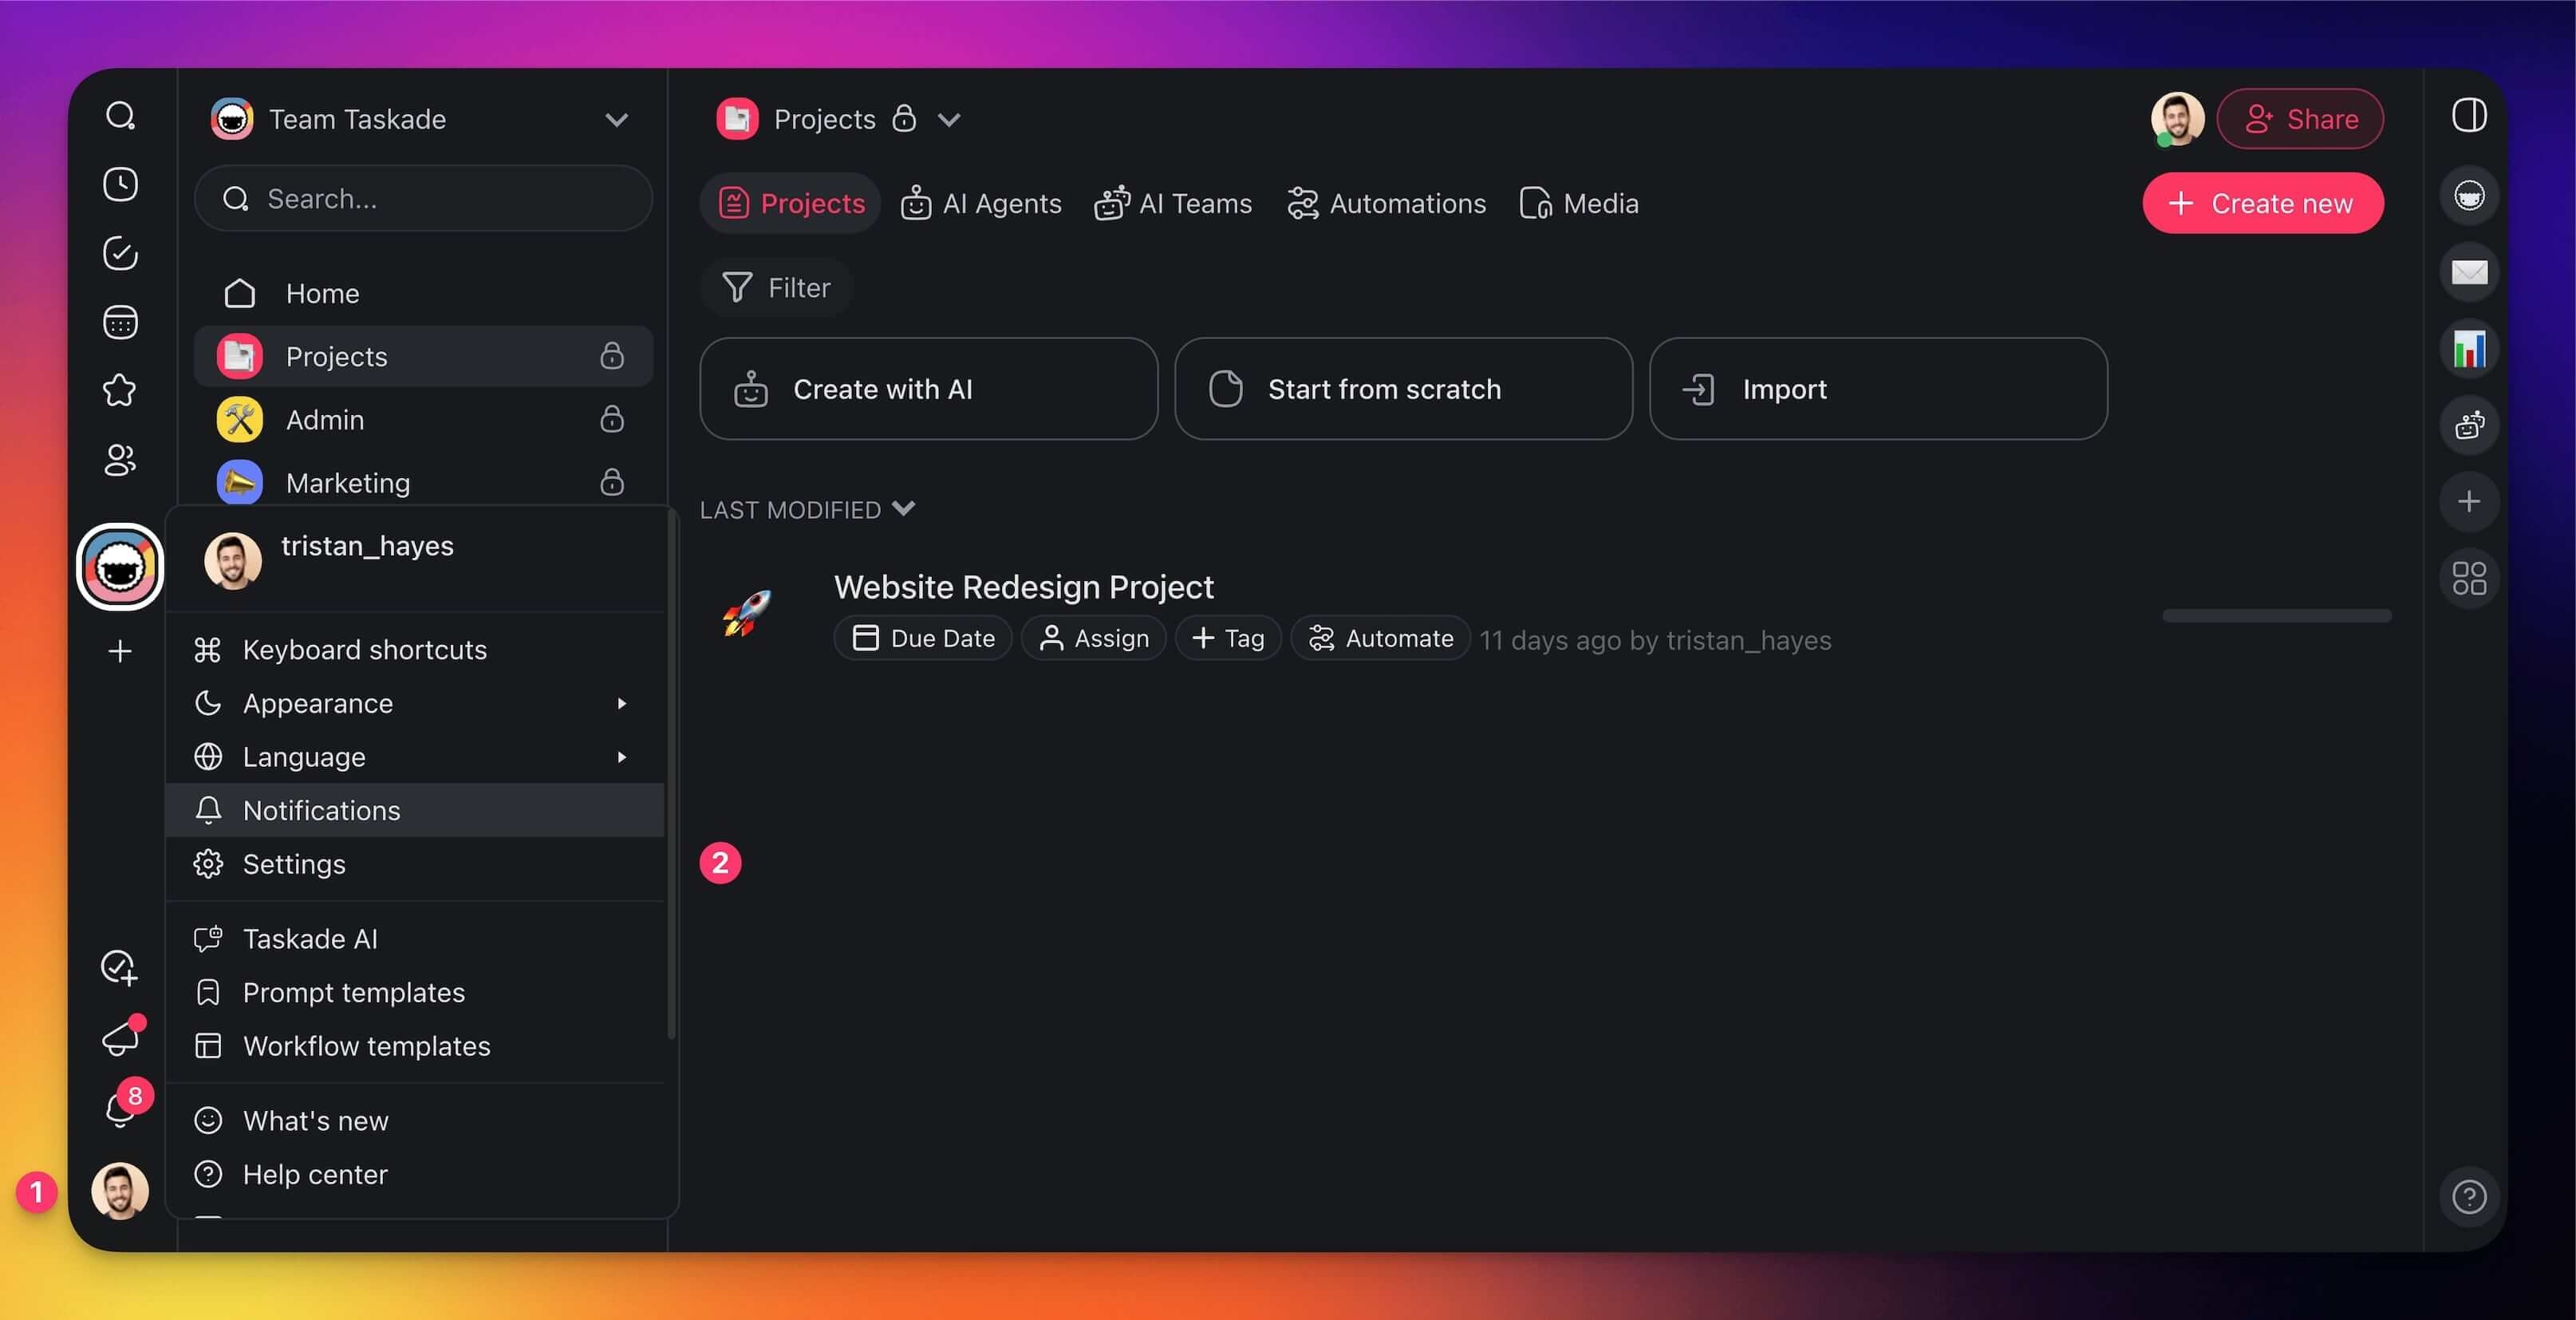
Click your profile picture (bottom-left corner).
(optional) You can also visit taskade.com/settings.
Select ⚙️ Settings from the list.
General
In this section, you can change your basic account information:
- (1) Account: Set your username, email, and other basic account information.
- (2) Password: Change your password and turn on Two-Factor Authentication.
- (3) Connections: Turn social sign-in on or off for Google, Apple, and Microsoft. This is your account sign-in, not the connected apps inside a workspace.
- (4) Sessions: Browse recent sessions and devices, and revoke access.
- (5) Profile: Edit your public creator page, bio, and links.
- (6) Notifications: Set alert rules across every workspace and folder.
- (7) API: Create API tokens and manage OAuth2 Applications. These moved here from the Password screen.
Plans
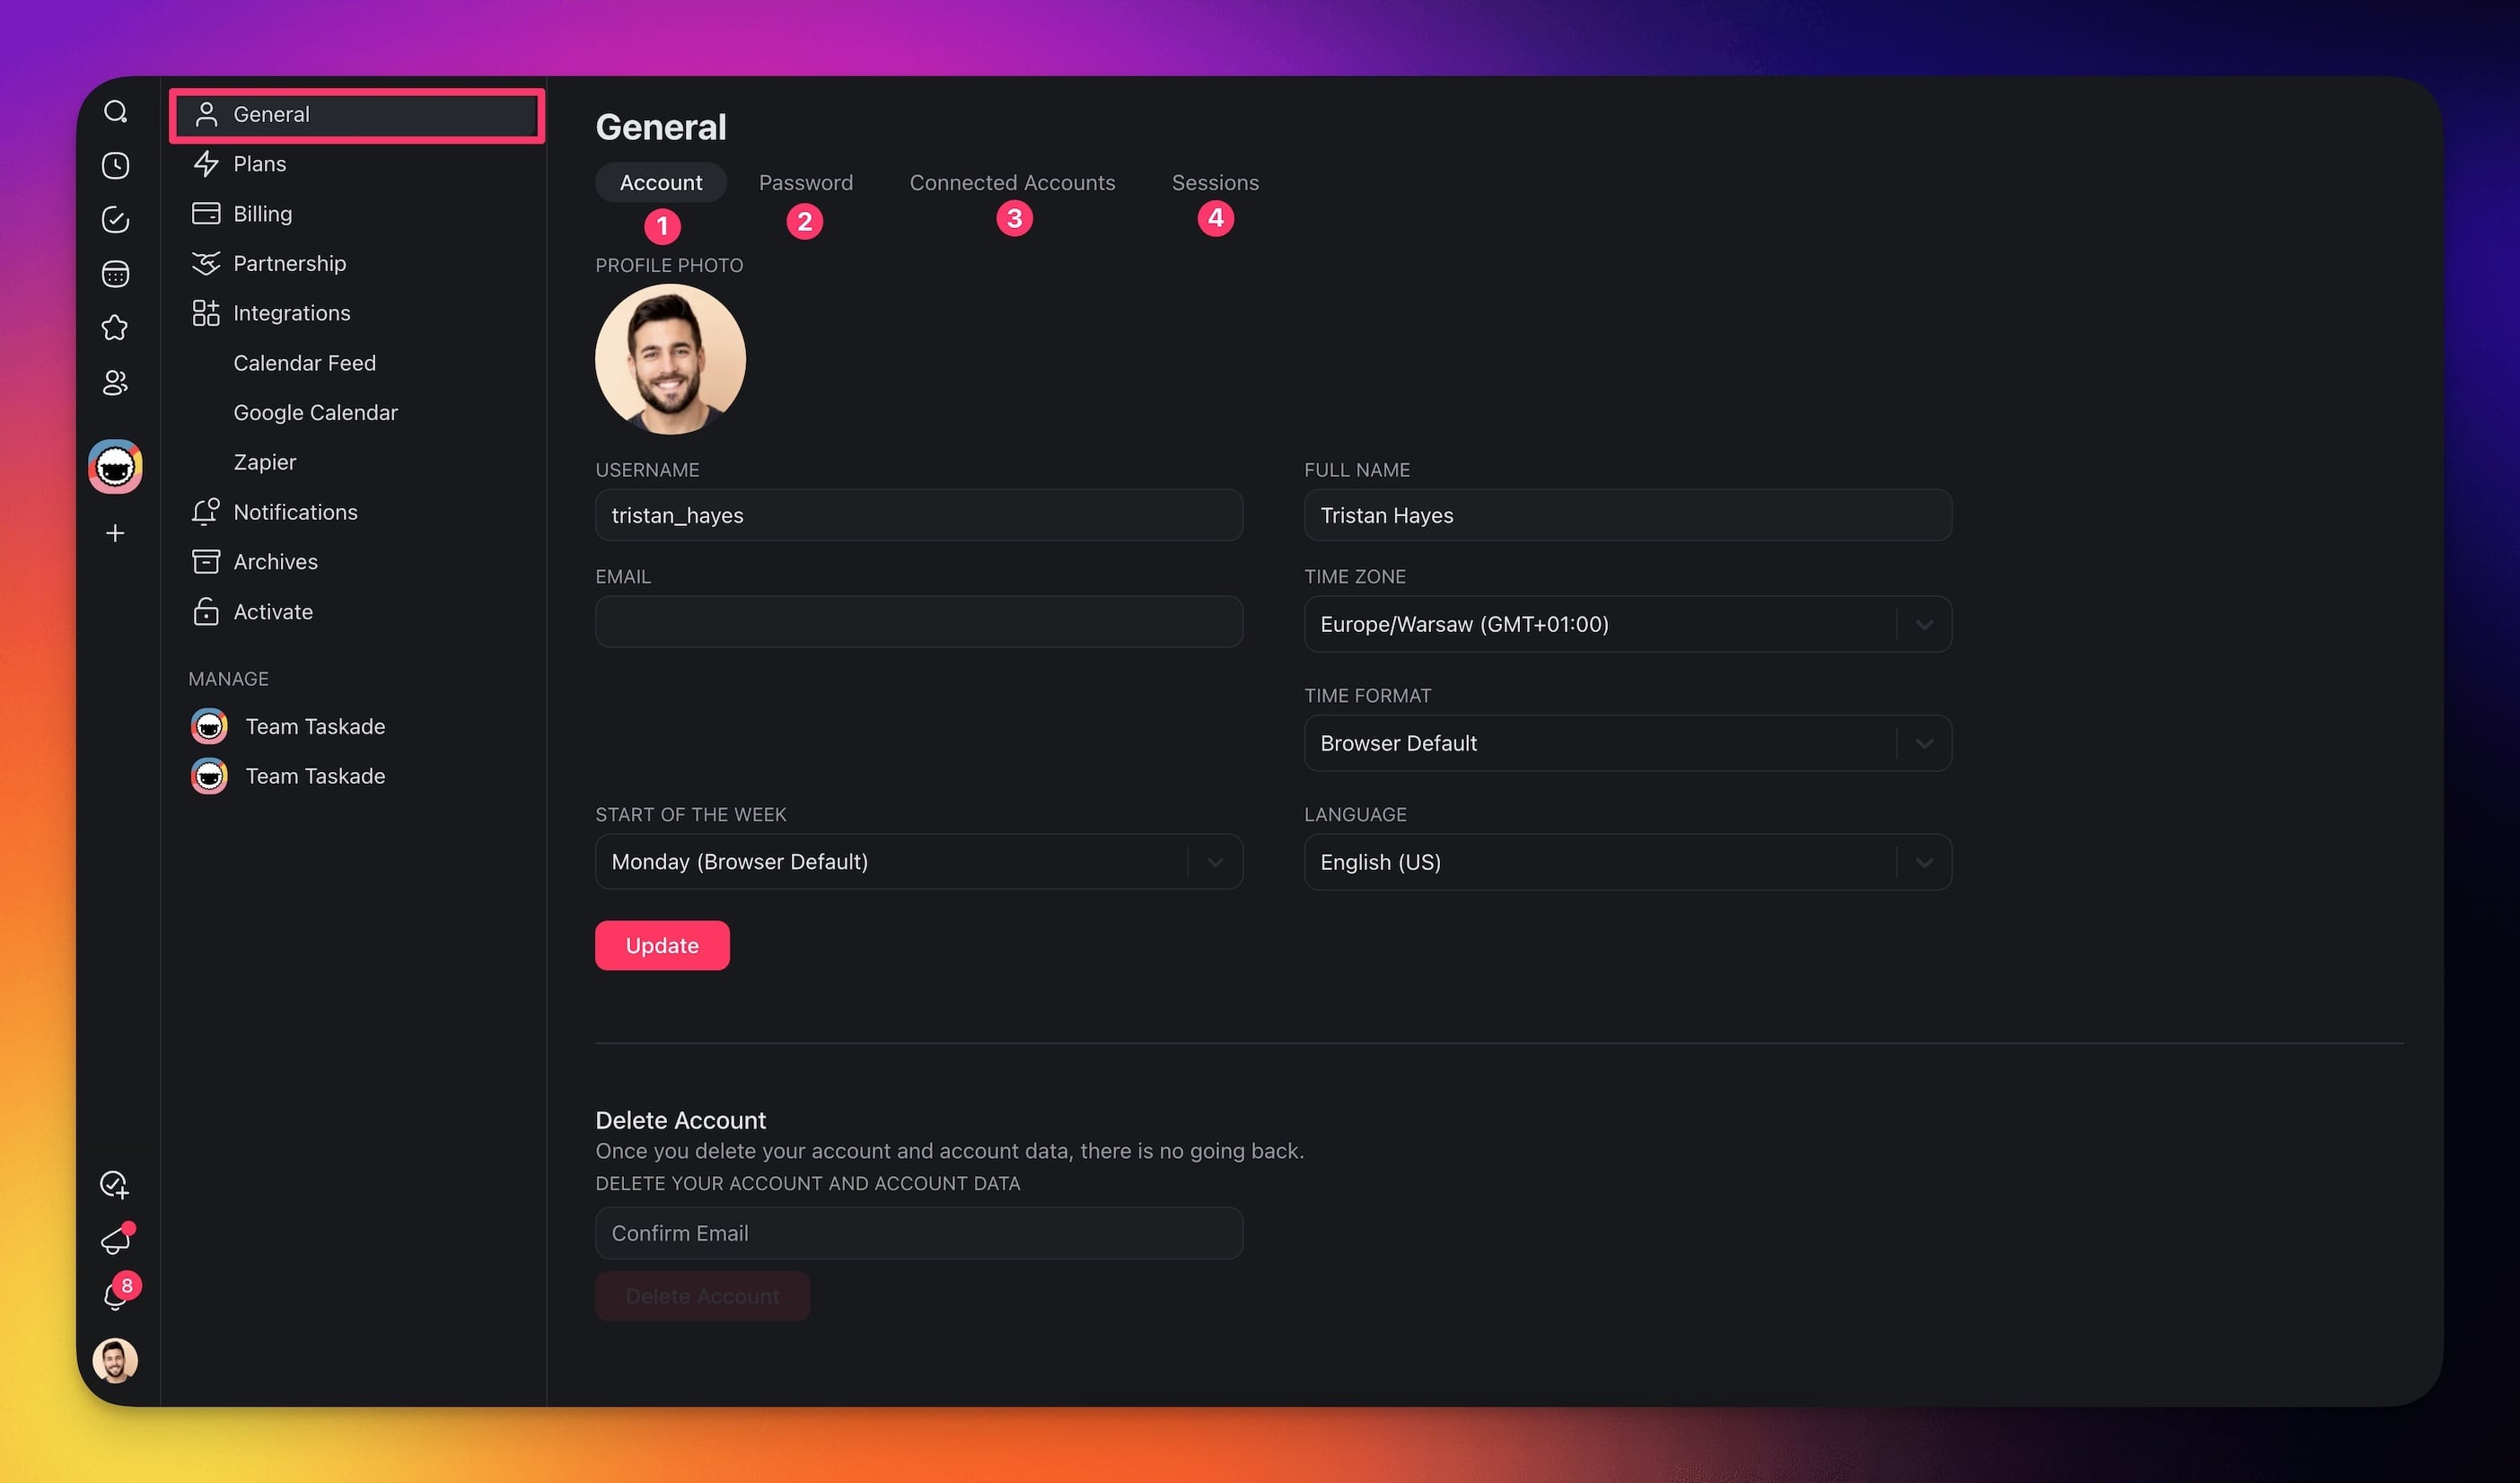
Subscribe to one of Taskade's paid plans.
Note: Visit Taskade's Pricing page to learn more.
Usage
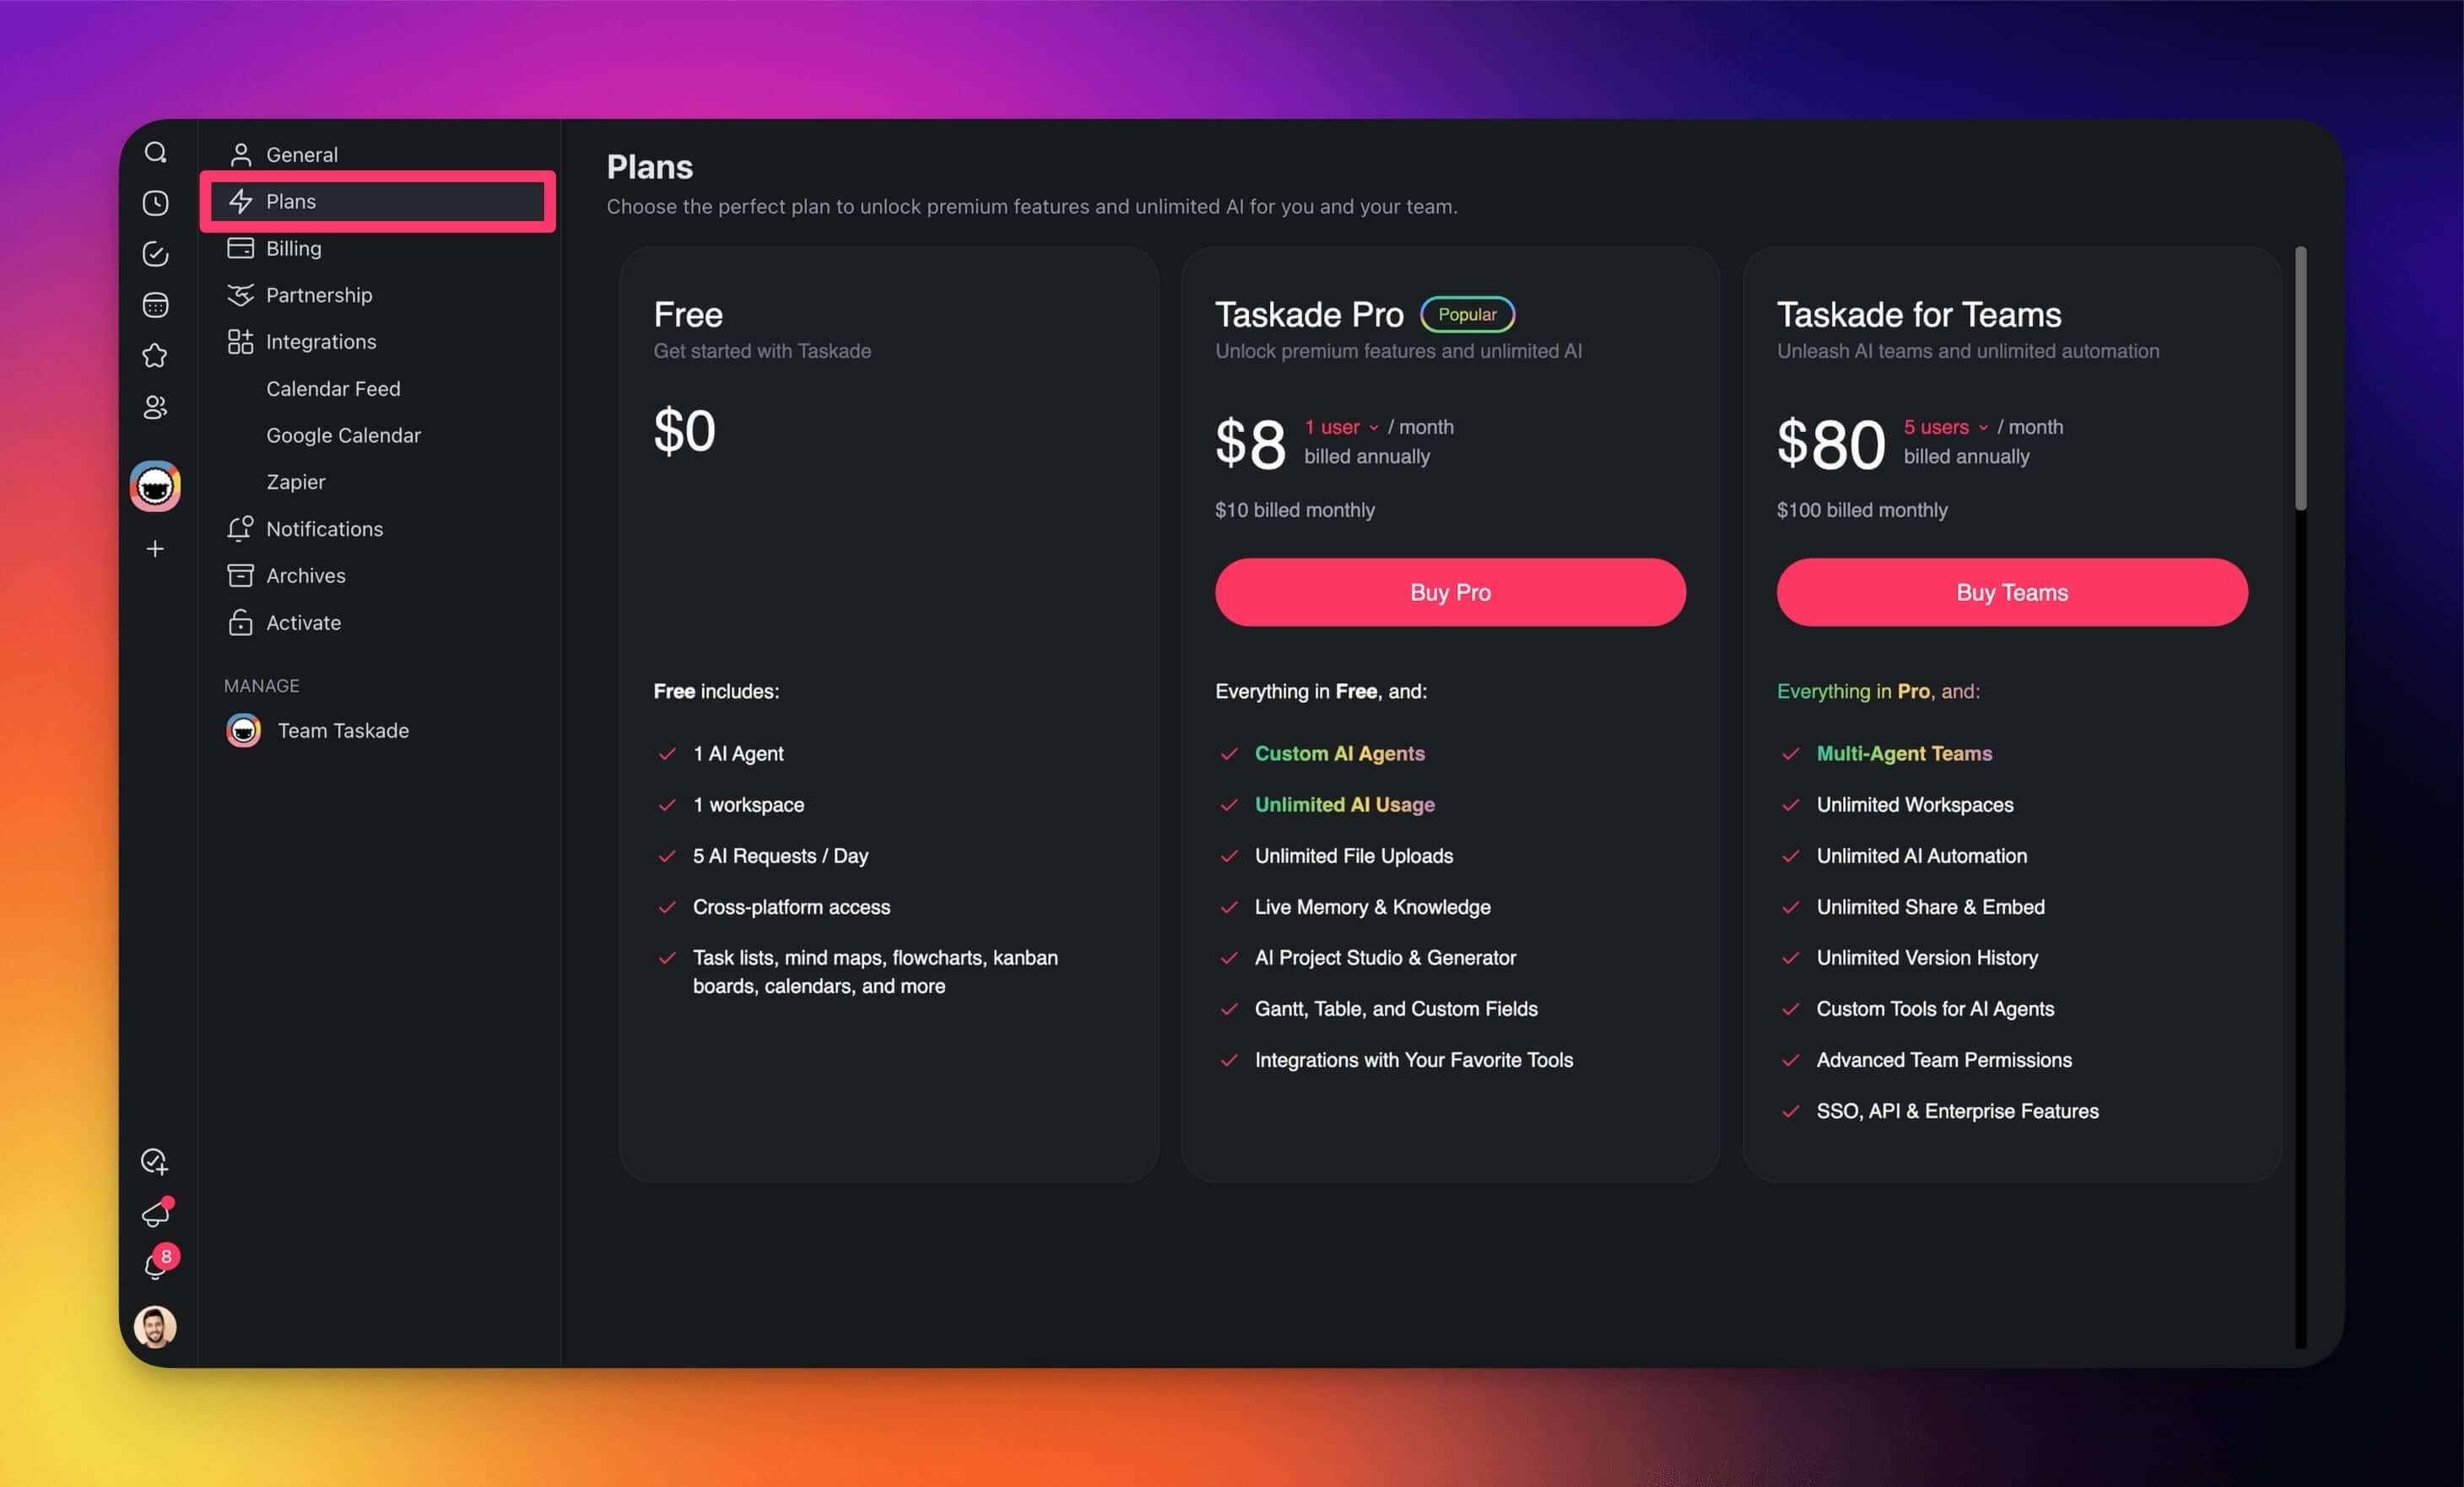
Watch your AI credit balance, see where your credits went, and buy more.
The Auto Top-Up switch sits inside the AI Credits card on this page. See Auto Top-Up to set the refill amount and the balance threshold.
Note: Taskade hides every purchase control, including Buy Credits, Auto Top-Up, and Manage billing and invoices, in the iOS and Android apps and in Taskade installed from the Mac App Store or the Microsoft Store. Open Taskade in a web browser to change those settings.
Billing
Read your current plan, update the card on file, and download invoices. Click Manage billing and invoices to change plans or seats in the secure Stripe portal. Cancellation lives here too.
Note: Visit Manage Paid Subscription to learn more.
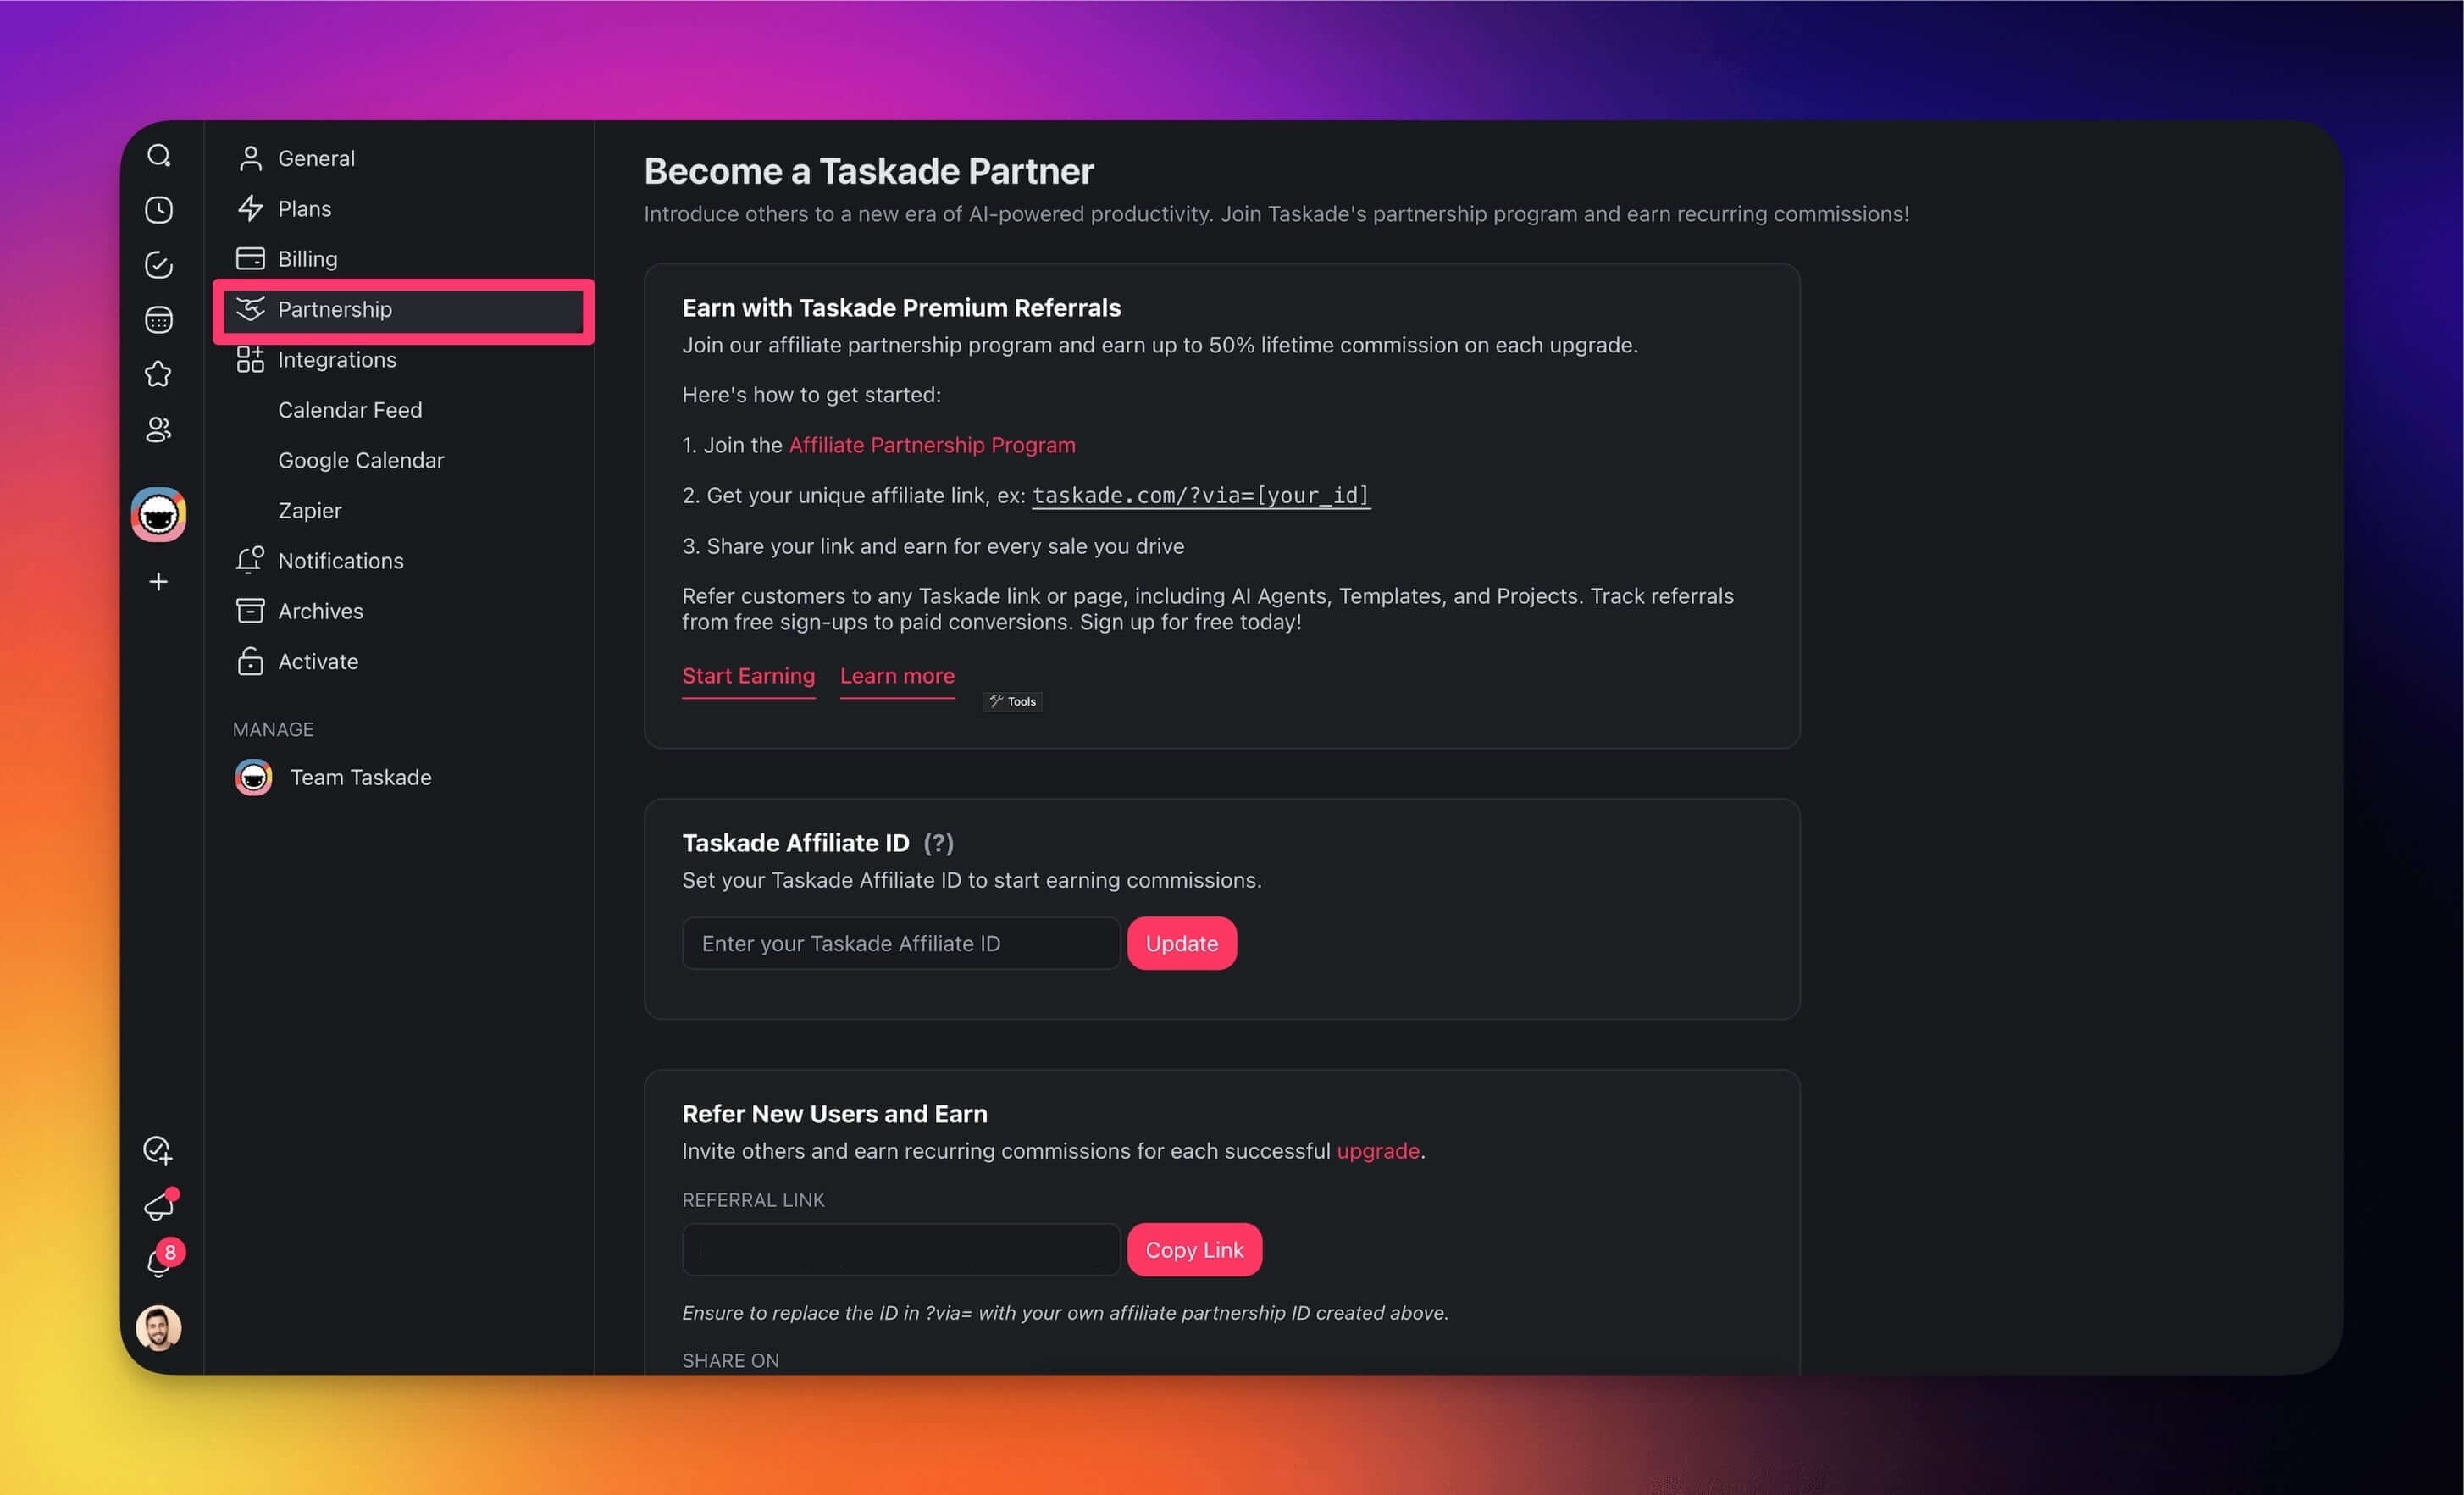
Partnership and Referrals
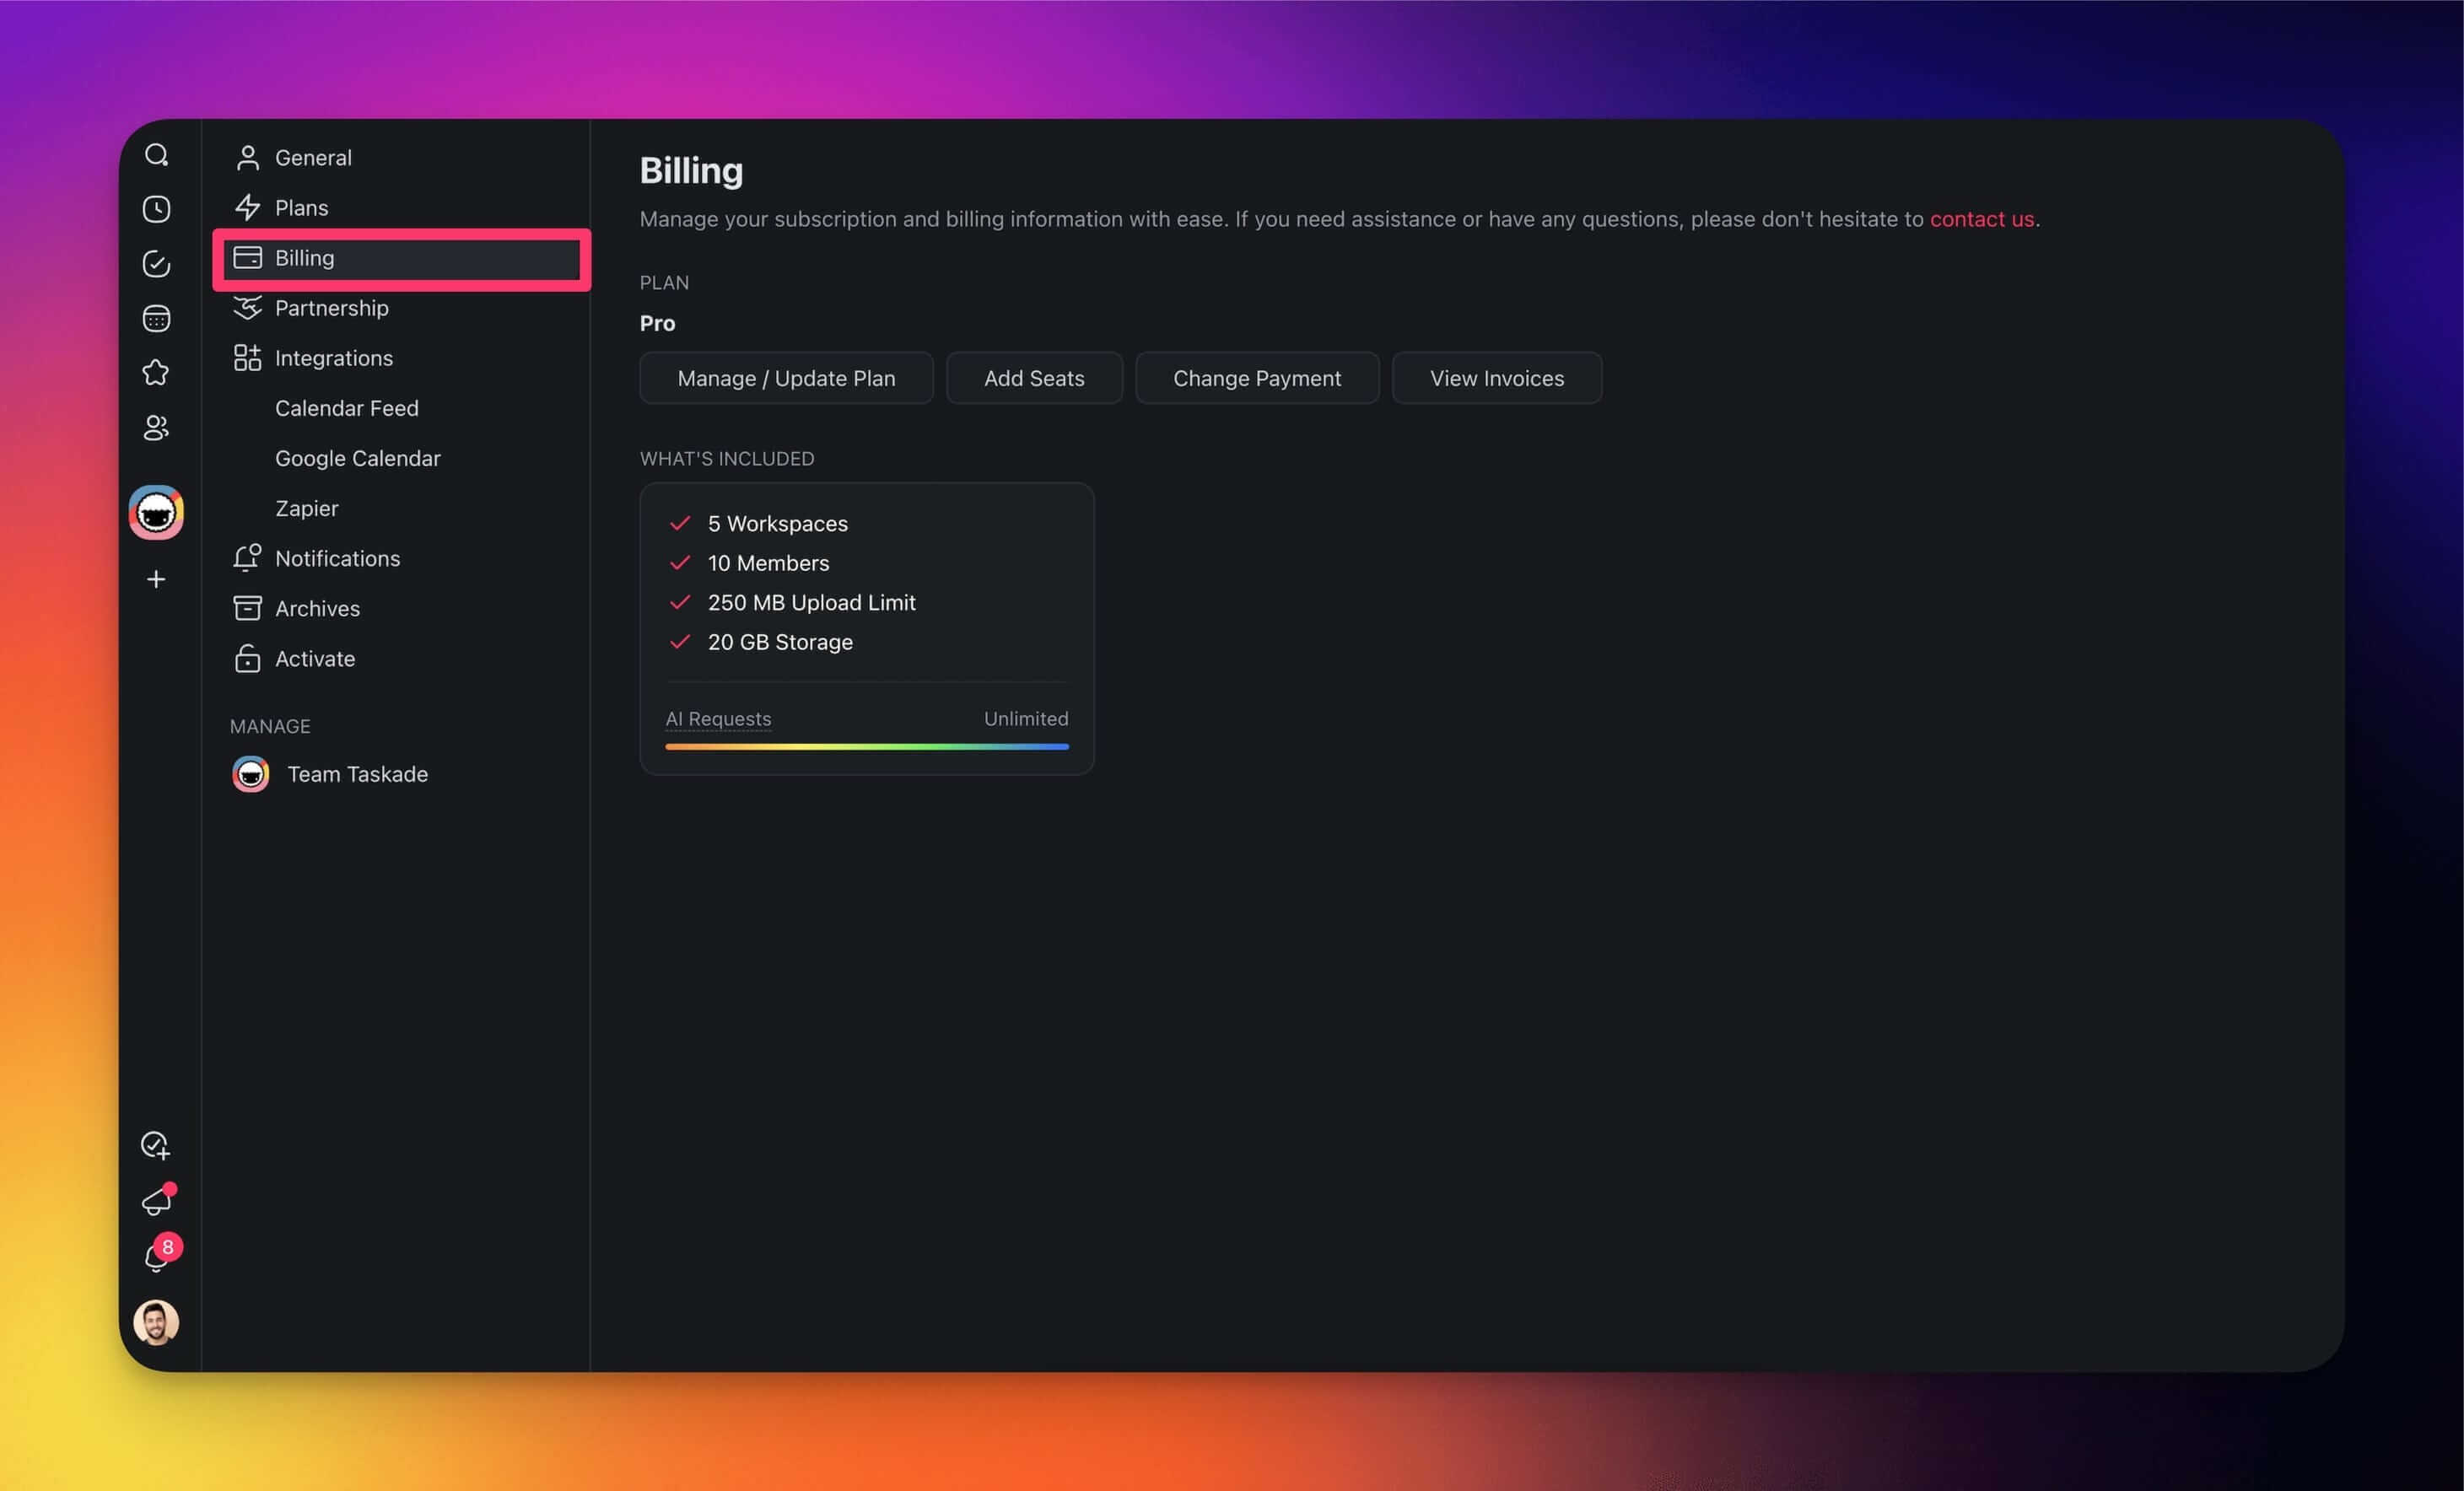
Join Taskade's Partnership Program and receive a 50% commission on referrals.
Everyday referral credits live in a separate place. On the Free plan, open Credits & Rewards to copy your referral link and track the AI credits you earn.
Note: Visit Taskade Partnership Program or Earn AI Credits by Inviting Friends to learn more.
Integrations
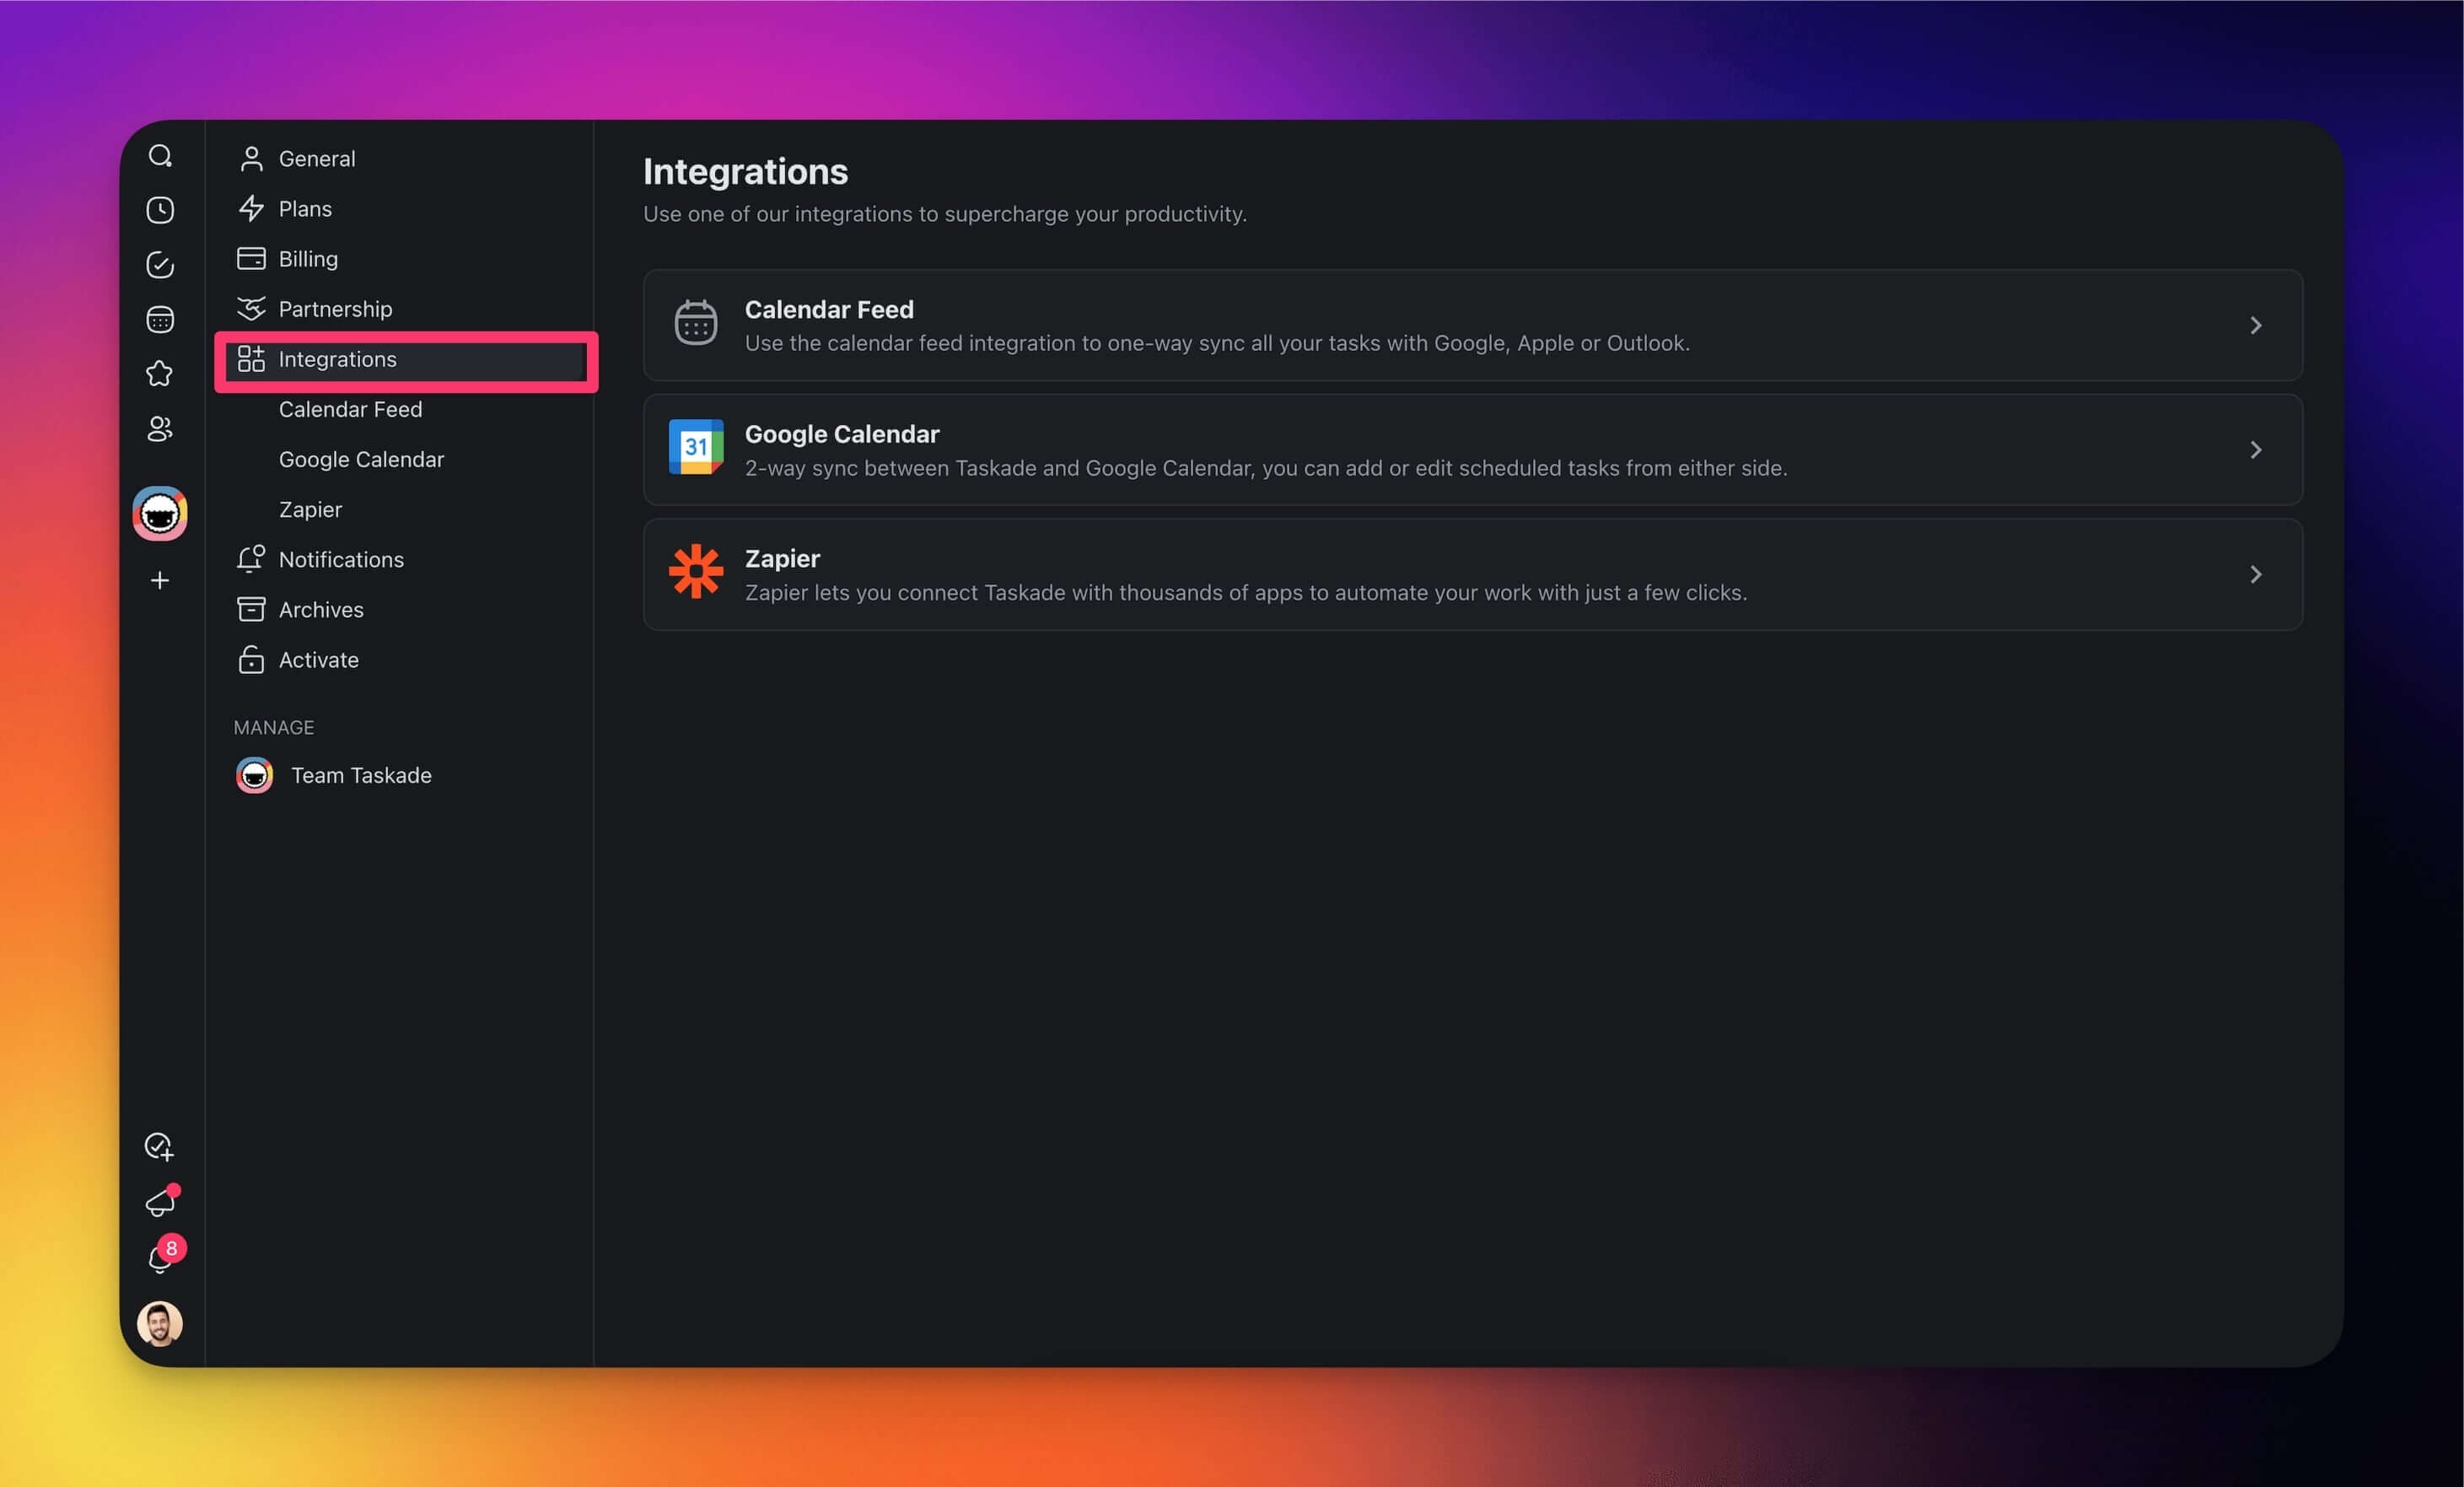
Enable integrations to connect more of your tools to Taskade.
- Calendar Feed: Enable one-way calendar sync with Google, Apple, or Outlook.
- Google Calendar: Enable two-way calendar sync with Google Calendar.
- Zapier: Connect with thousands of apps and services in Zapier's catalog.
Notifications
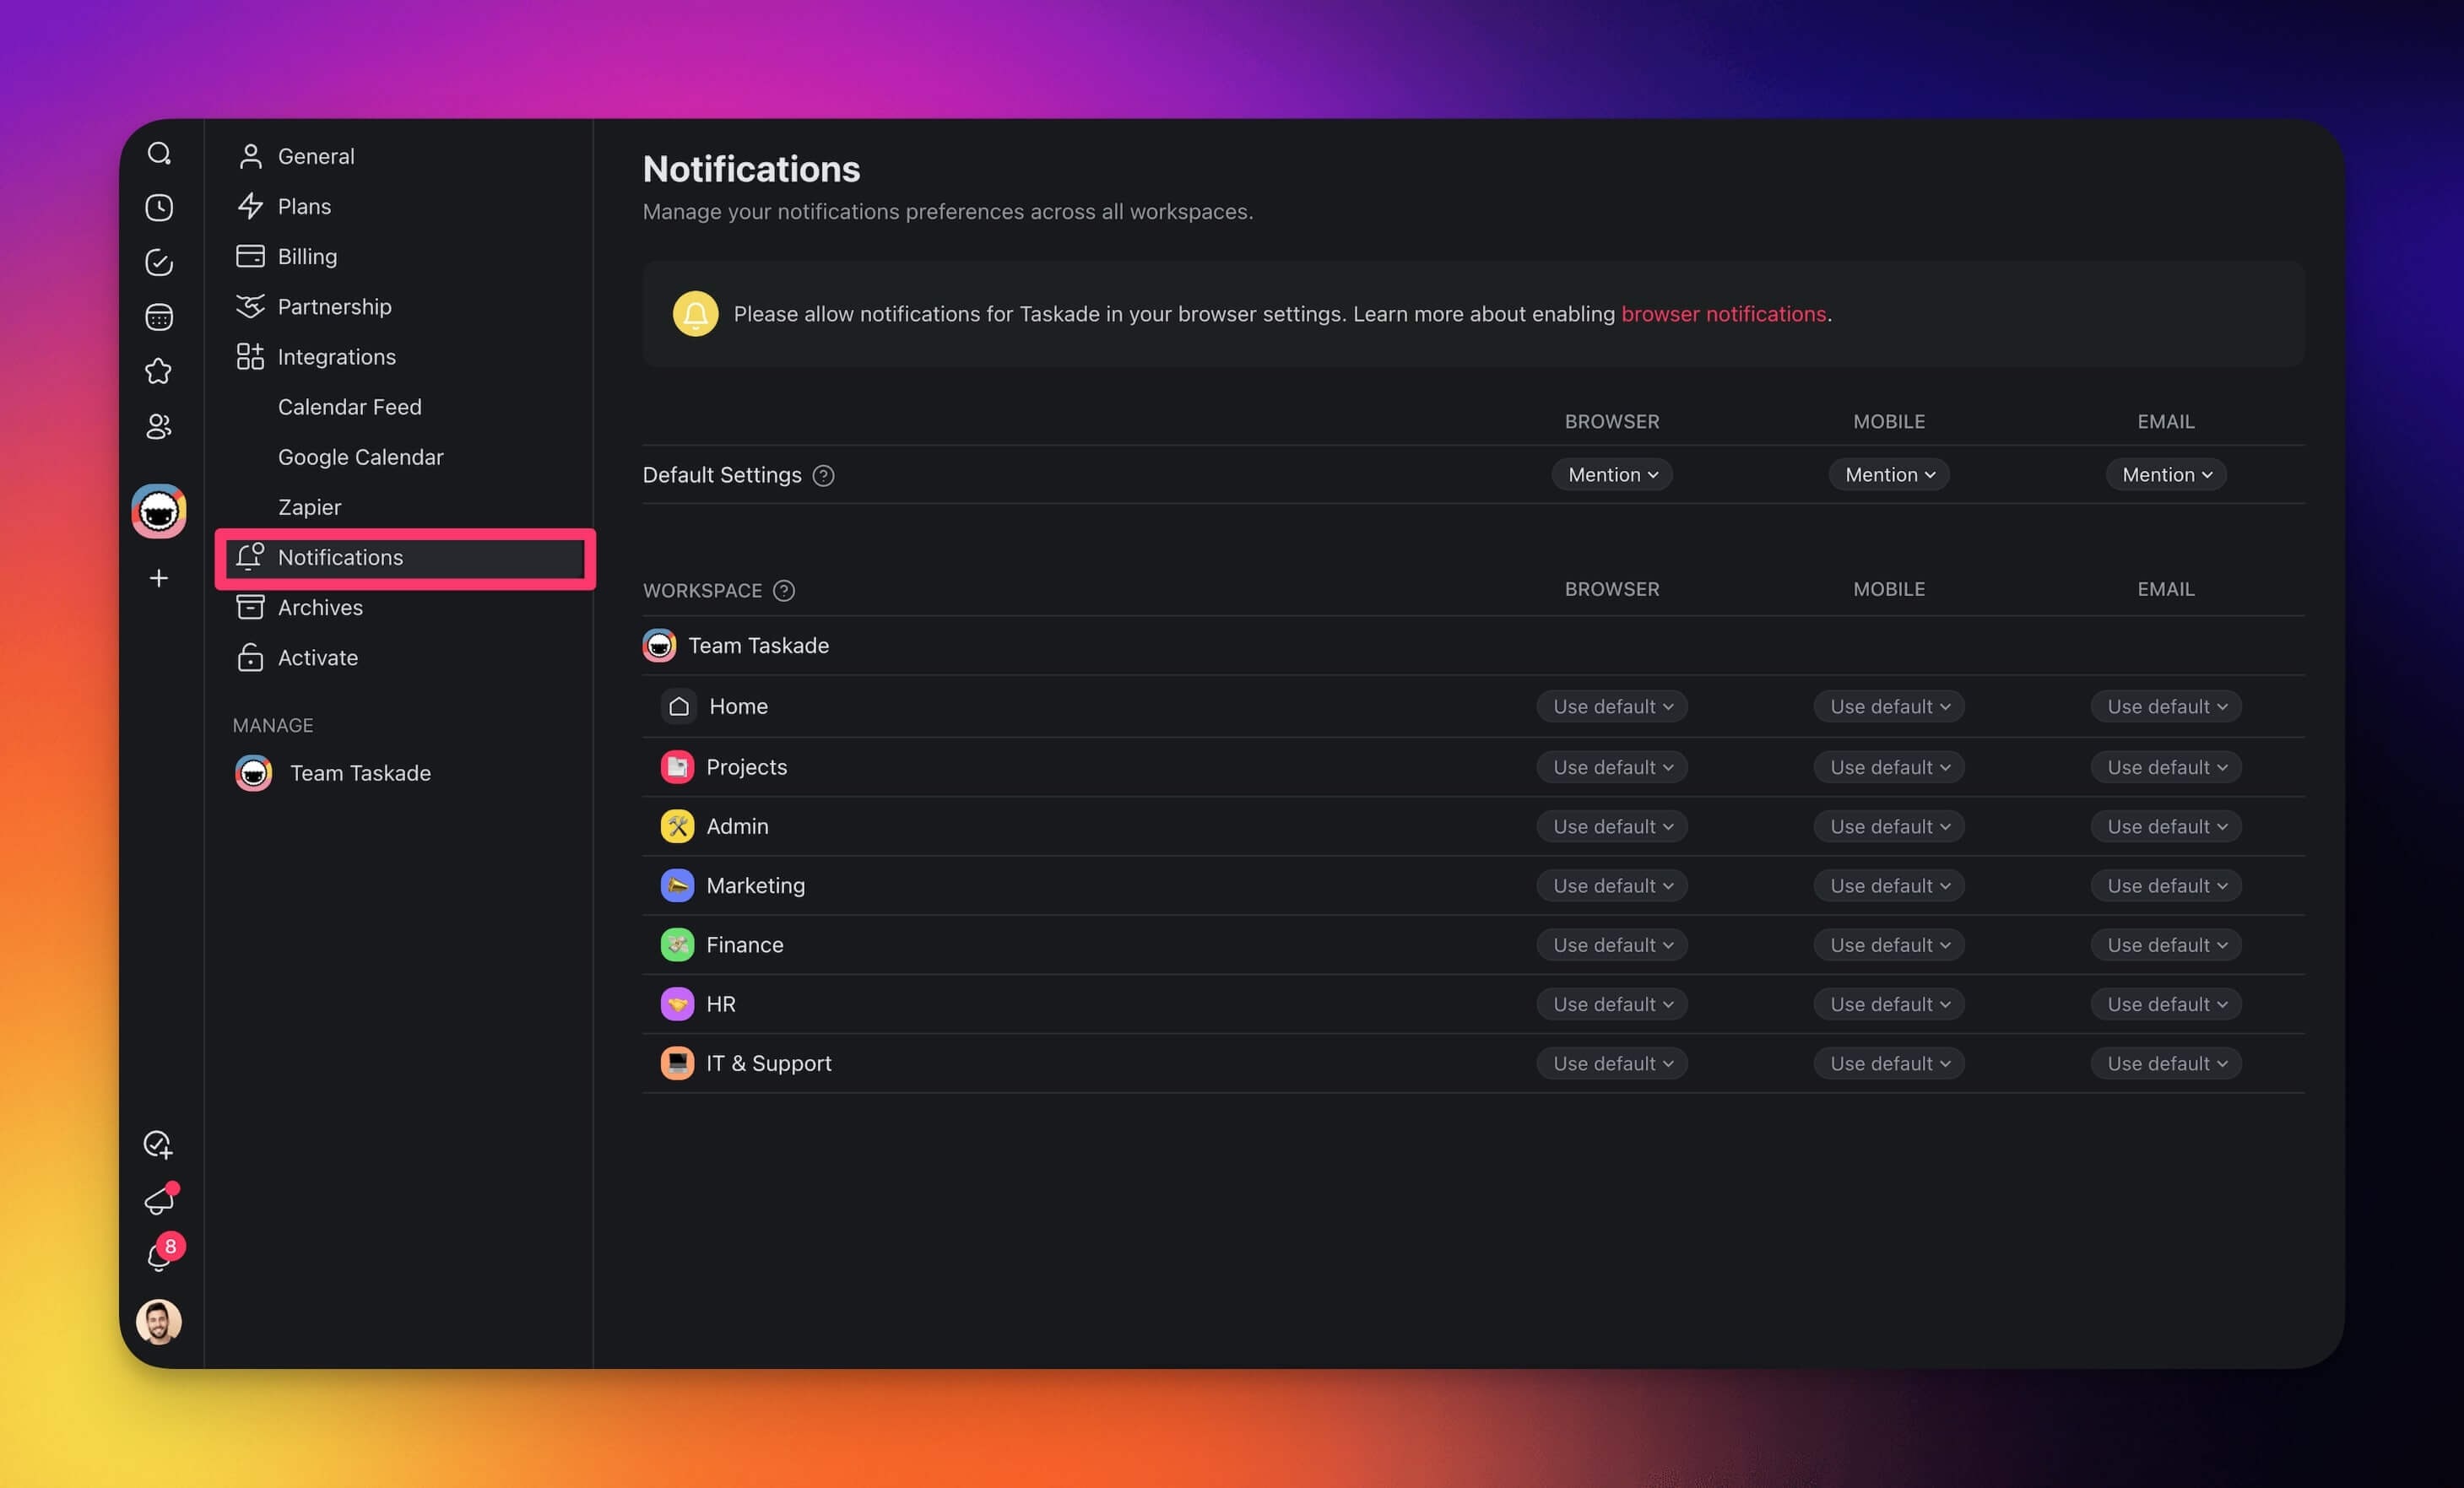
Manage notifications for all your workspaces and folders.
Note: Visit Global Notifications to learn more.
Archives
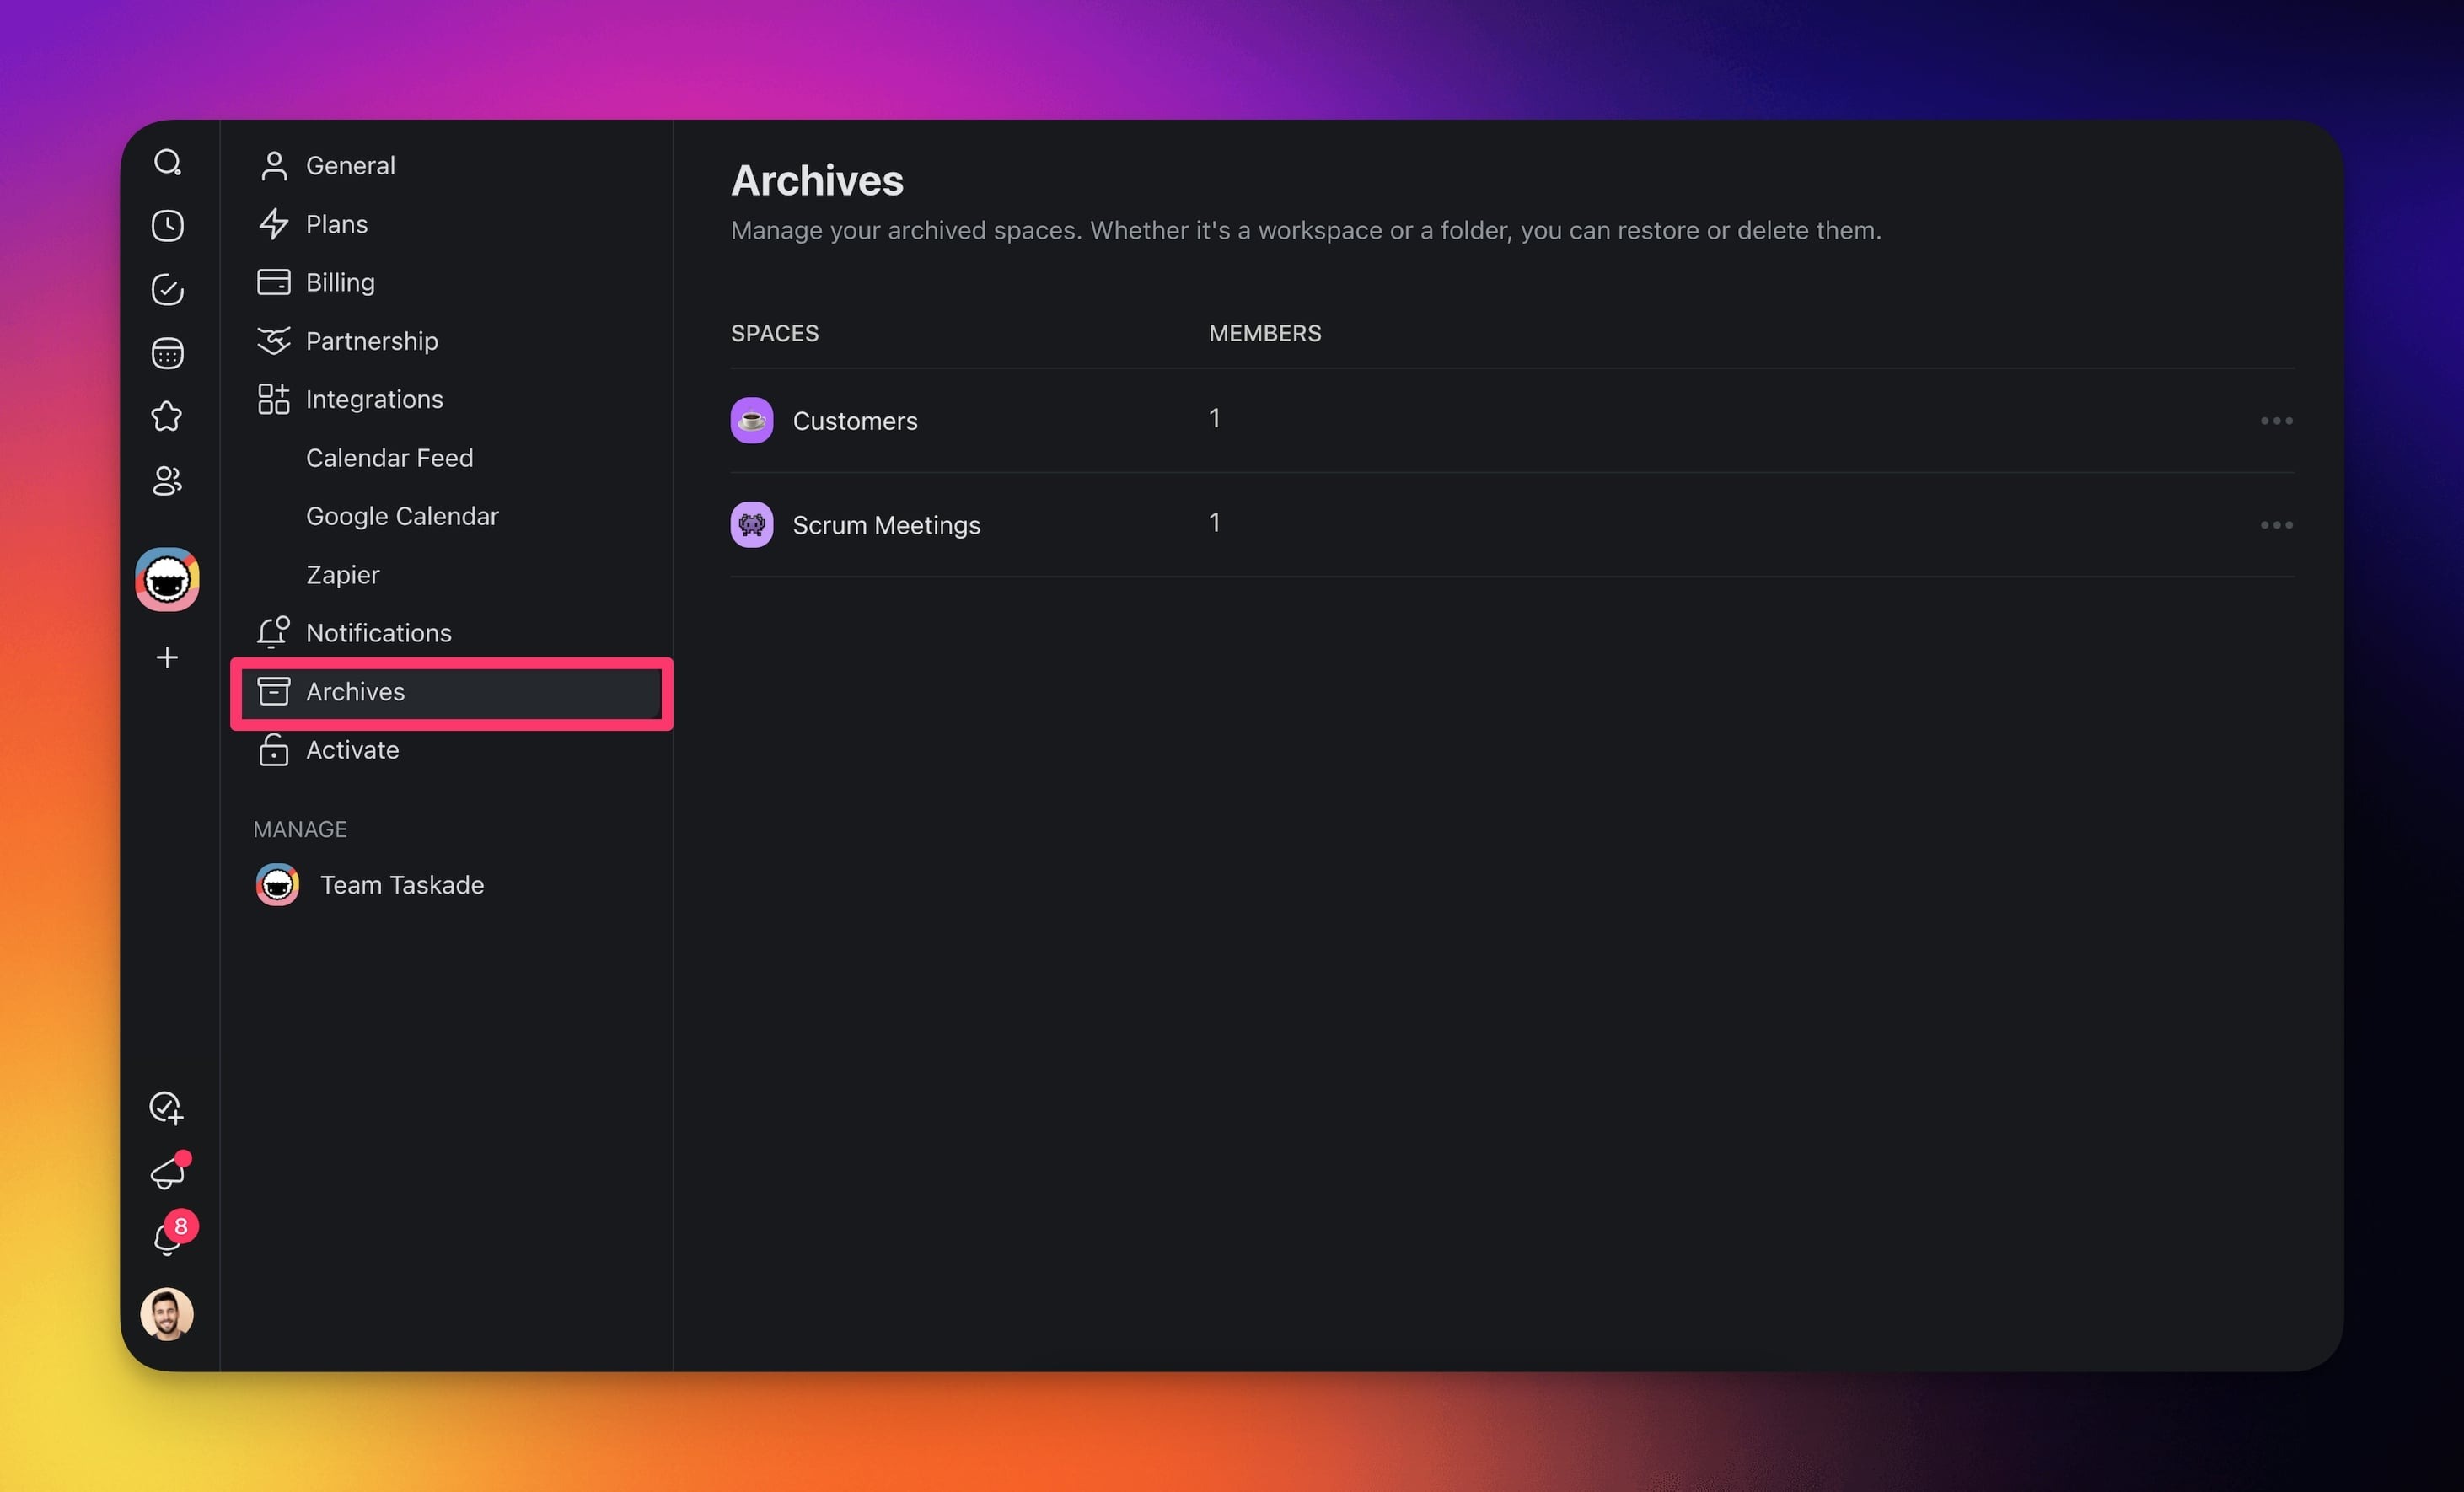
Restore or delete all your archived workspaces and folders.
Note: Visit Manage a Workspace to learn more.
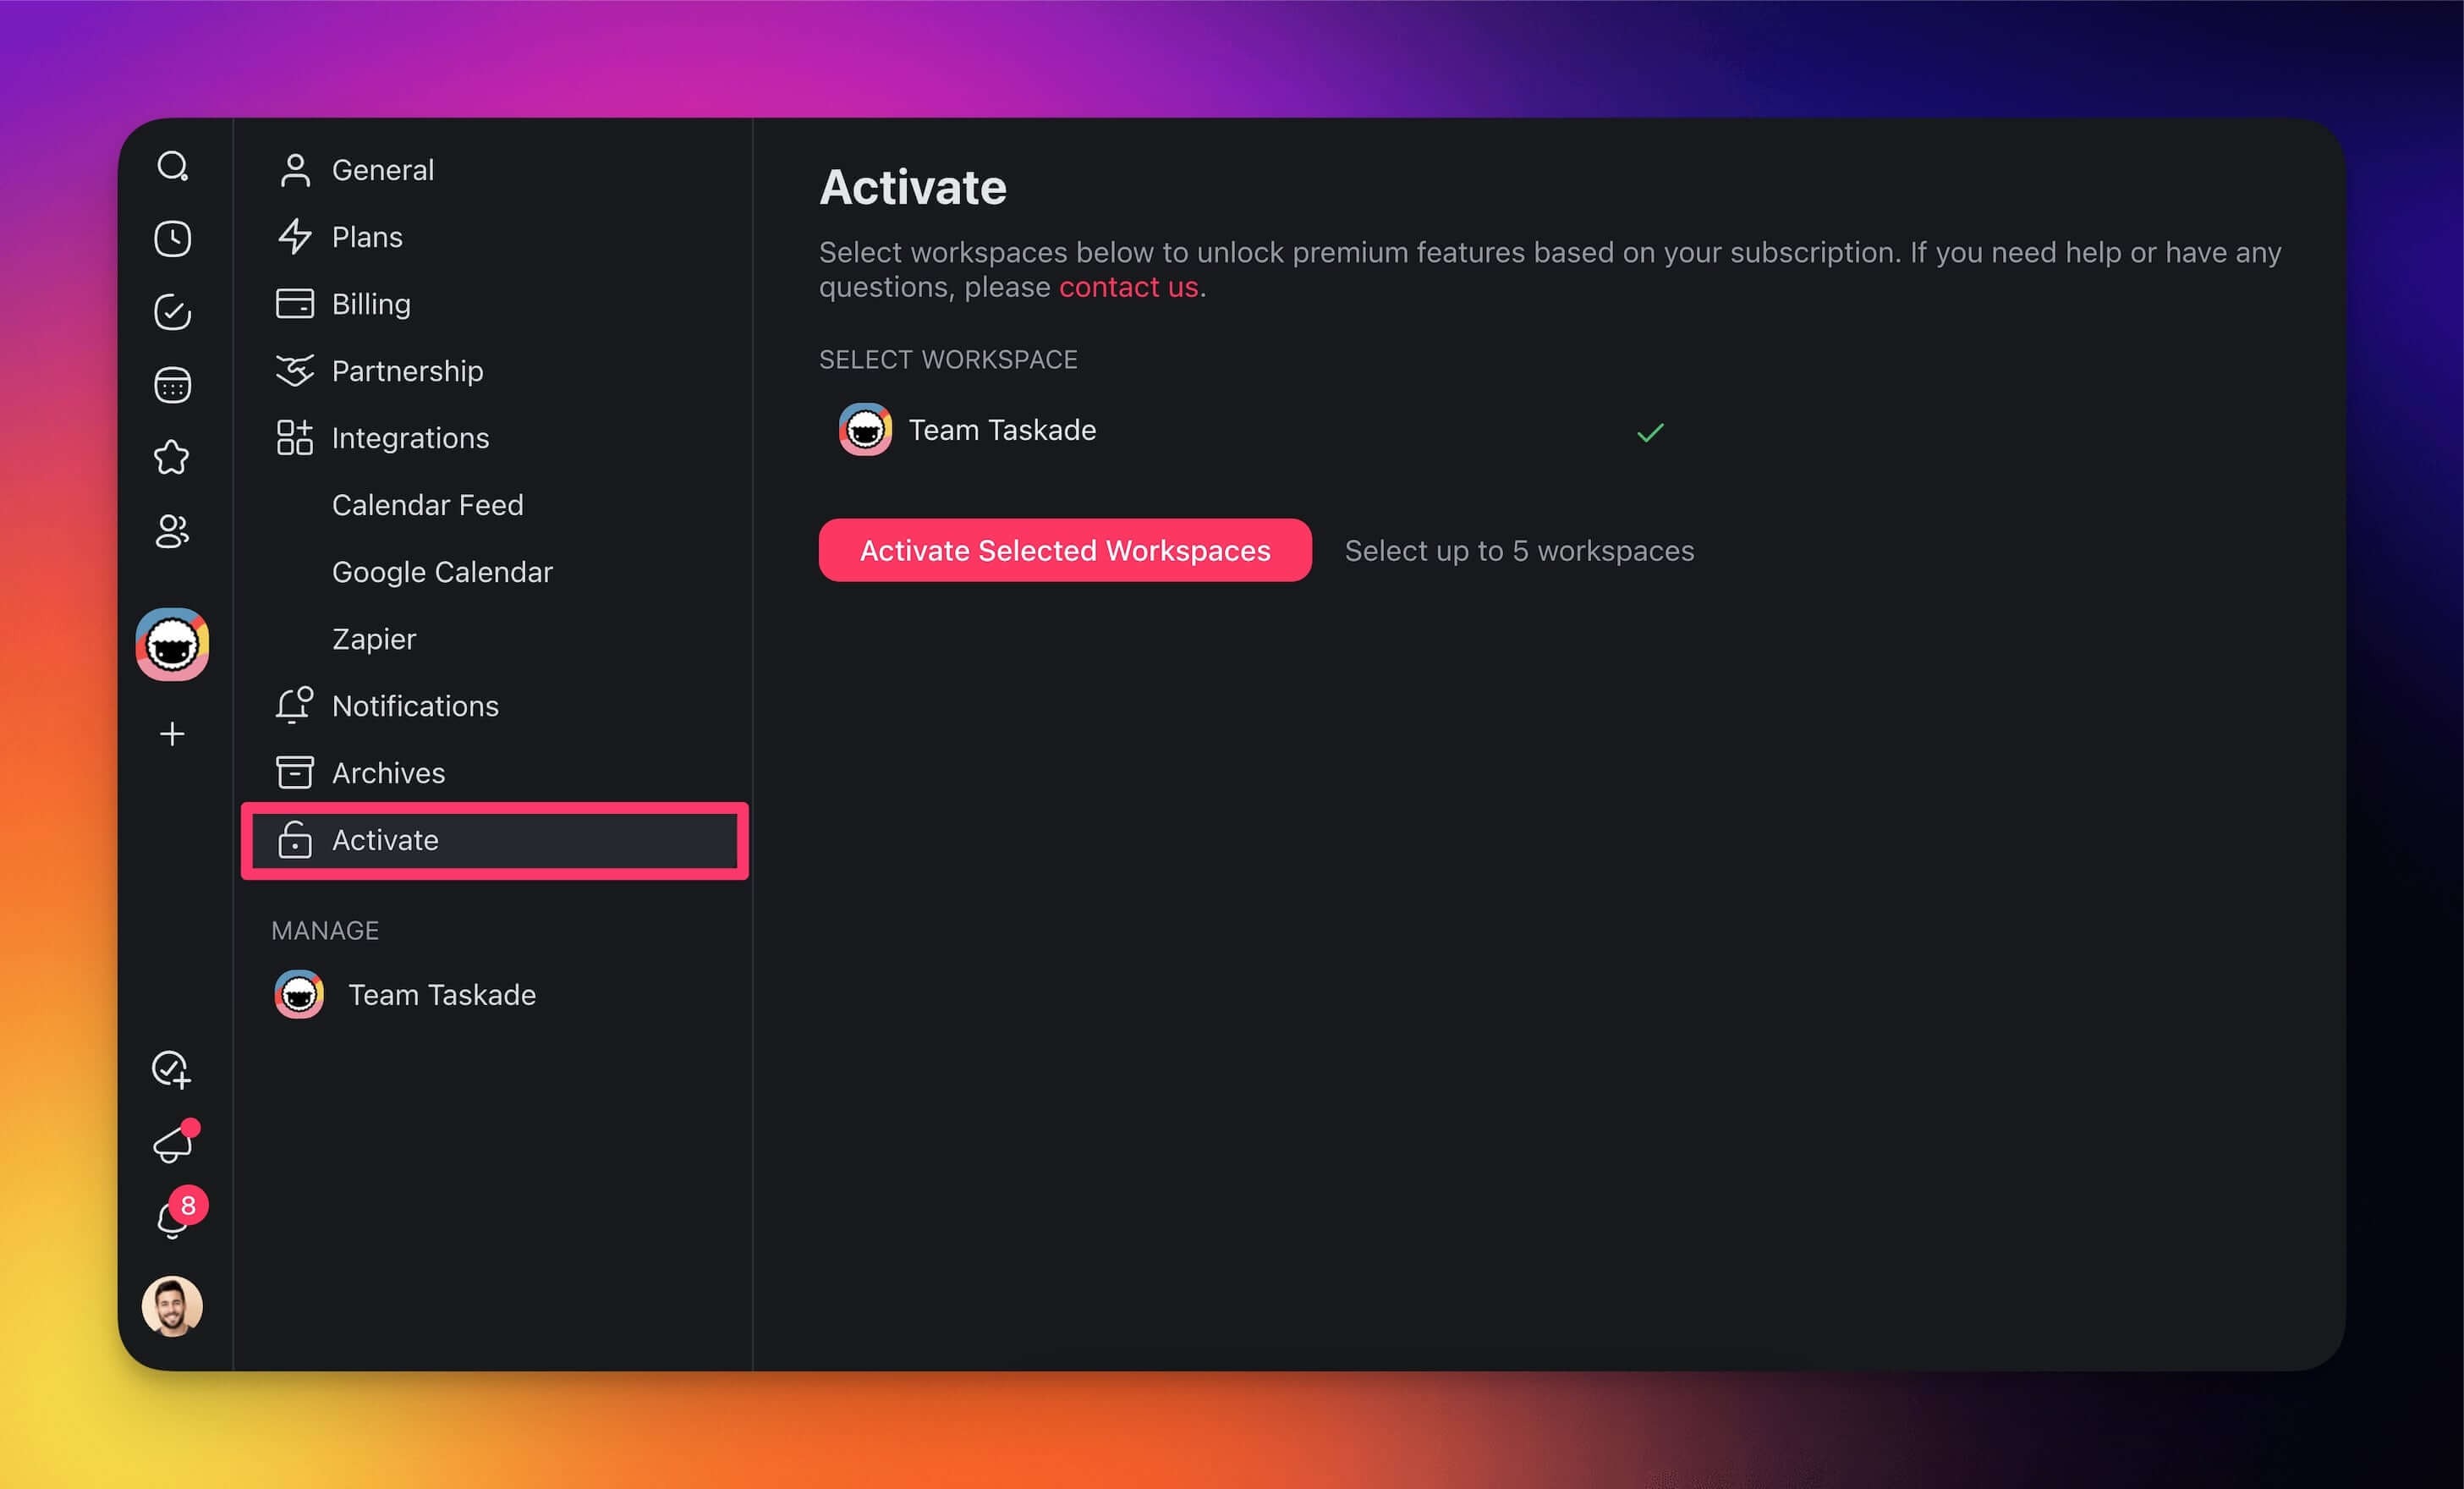
Activate
Activate your workspaces to unlock the premium features in your paid plan.
Note: Visit Upgrade to Premium to learn more.
Disable Spellcheck
Desktop App
🔴 MacOS
With Taskade open, click Features in the MacOS menu bar.
Choose Disable Spell Checker from the drop-down list.
Click Enable Spell Checker to re-enable the feature.
🔵 Windows
Click the Taskade Icon in the top-right corner.
Go to the Features tab.
Uncheck Enable Spell Checker.
Web Browser
🤖 Chrome
Go to "Settings."
Click "Advanced" ➡ "language."
To the right of "Spell check," turn it on or off.
🦊 Firefox
In the Menu bar at the top of the screen, click "Firefox."
Choose "Preferences" from the drop-down menu.
In the "General" panel, go to the "Language" section.
Uncheck or check "Check your spelling as you type."
🌐 Edge
Click the "···" button in the top-right corner.
Choose "Setting" ➡ "Languages".
Under "Check spelling" toggle spell-checking languages on/off.
🦁 Brave
Go to "Settings."
Click "Advanced" ➡ "language."
To the right of "Spell check," turn it on or off.
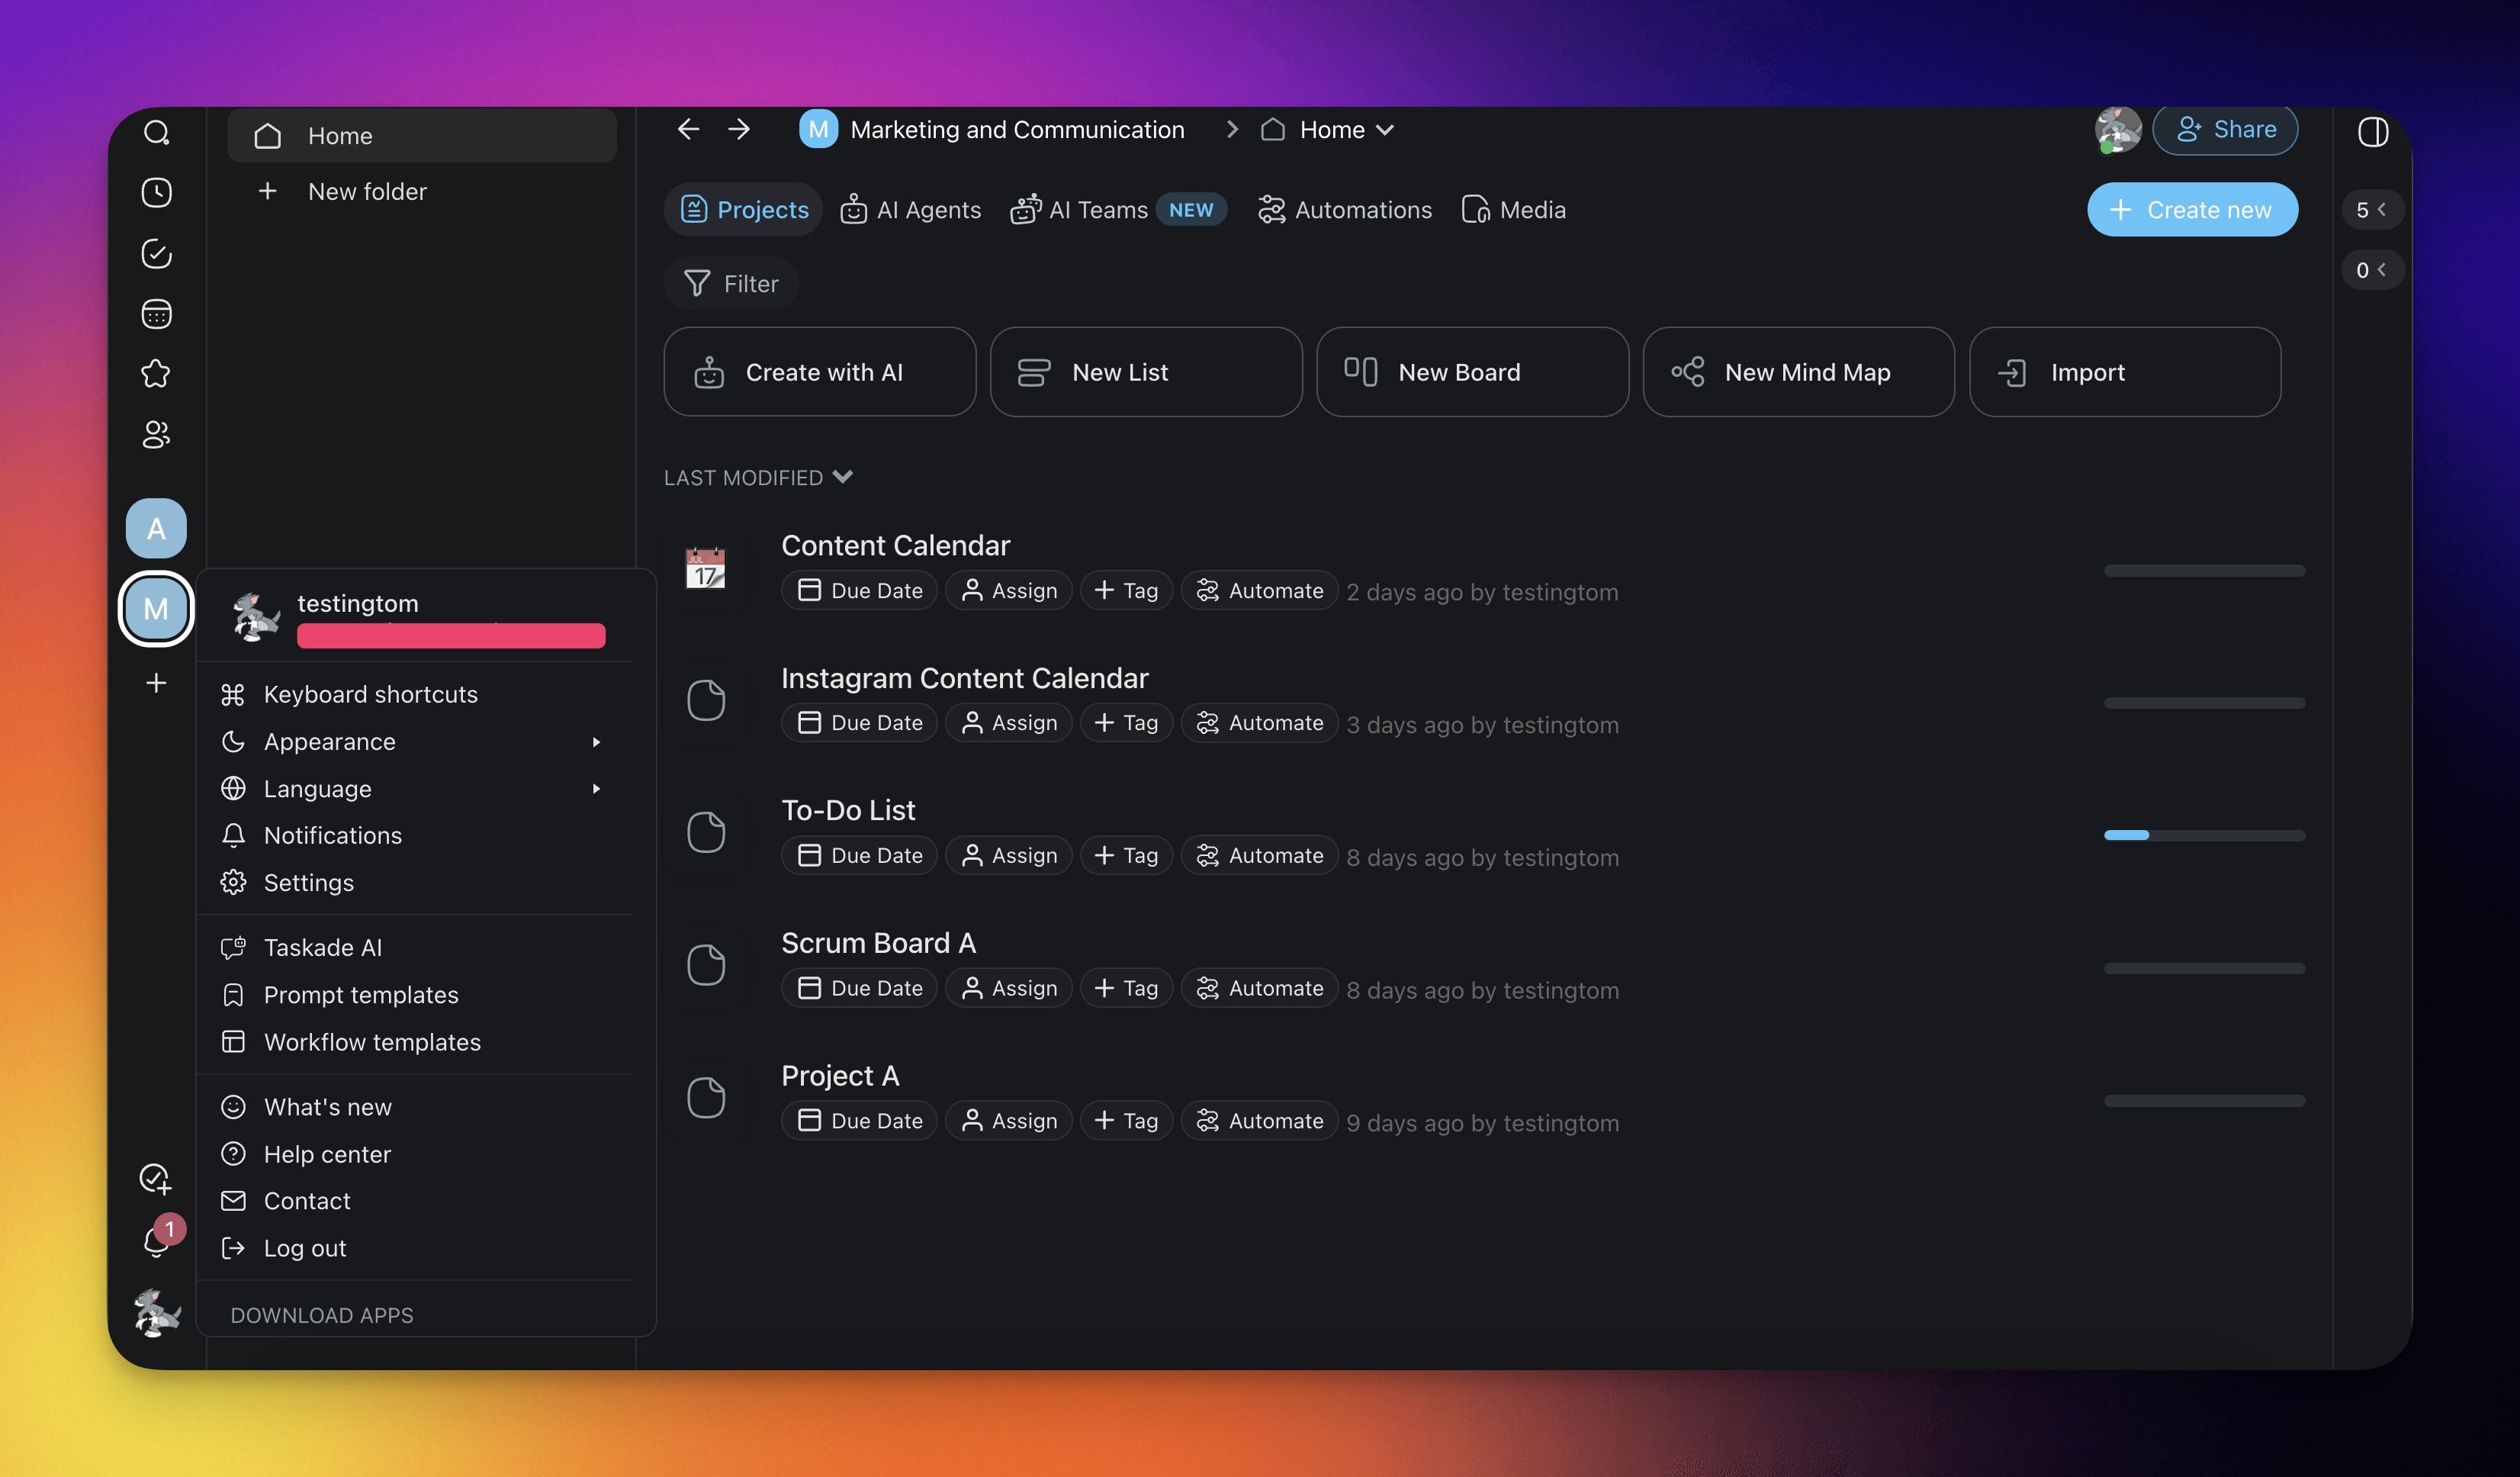
Dark Mode
- Click your profile picture (bottom-left corner) ➡ 🌙 Appearance.
- Select Dark Theme to enable dark mode.
- Select Automatic (System) to follow your OS settings.
Related guides
- Reset Password. Update credentials and recover access
- Two-Factor Authentication. Add a second authentication factor
- Manage Subscription. Update payment, seats, and invoices
- Enable Notifications. Turn on alerts across every device
- Change Email. Update the email tied to your account
- Workspaces. Organize folders, projects, and teams
- Partnerships. Earn affiliate commission on referrals