
What Are Premium Plans?
Taskade premium plans unlock higher AI credit allowances, more seats, advanced agents, automations, integrations, custom domains, and priority support. One subscription works across every Taskade platform — web, desktop, iOS, and Android. After upgrading, activate the paid plan on the workspaces you want to apply it to.
TL;DR: Click your avatar → Upgrade, pick a plan, enter payment. Then visit Settings → Activate to apply the paid plan to your workspace(s). Add more teammates from Settings → Billing → Add Seats.
Note: You don't need to purchase additional plans if you want to use Taskade on different platforms. One subscription gives you access to all our apps.
How to Upgrade
- Open Taskade in a browser and click your profile picture in the top-right corner.
- Select ⚡️ Upgrade, and choose one of the available pricing plans.
- Select Buy, choose your billing cycle, and enter your credit card information.
💡 Note: If you're upgrading between plans, you will only pay the prorated difference. For example, if you're subscribed to the annual Pro plan and want to upgrade to Team, the cost will be calculated by deducting the daily rate of the Pro plan (total annual cost divided by 365) for each day used from the original payment. The remainder is applied to the Team plan.
Activate Workspaces (Desktop)
In order to fully use your paid plan, you need to upgrade your workspaces.
Open Taskade and click your avatar in the bottom-left corner.
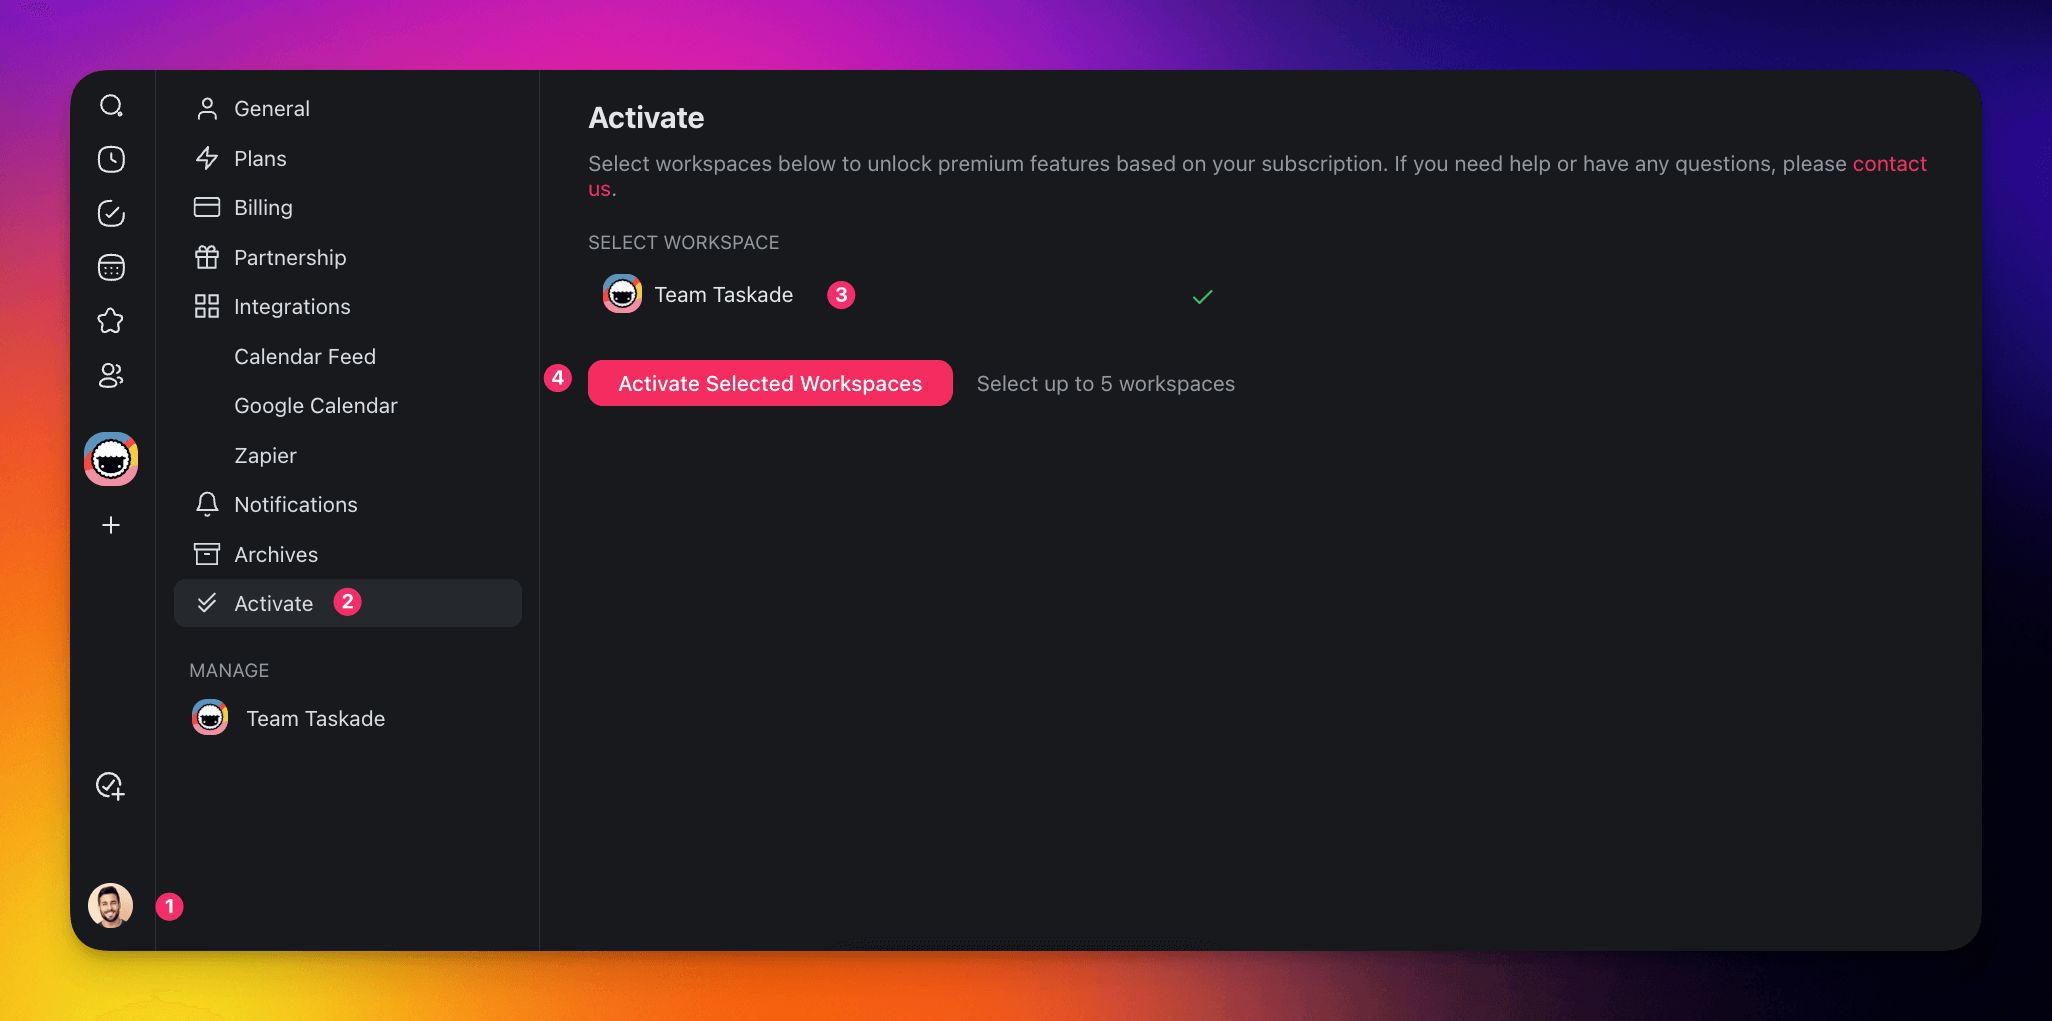
Choose Settings and select the ✔️✔️ Activate tab from the list on the left.
- You can also visit https://www.taskade.com/settings/activate.
Select the workspace you want to upgrade.
Click Activate Selected Workspace.
Activate Workspaces (Mobile)
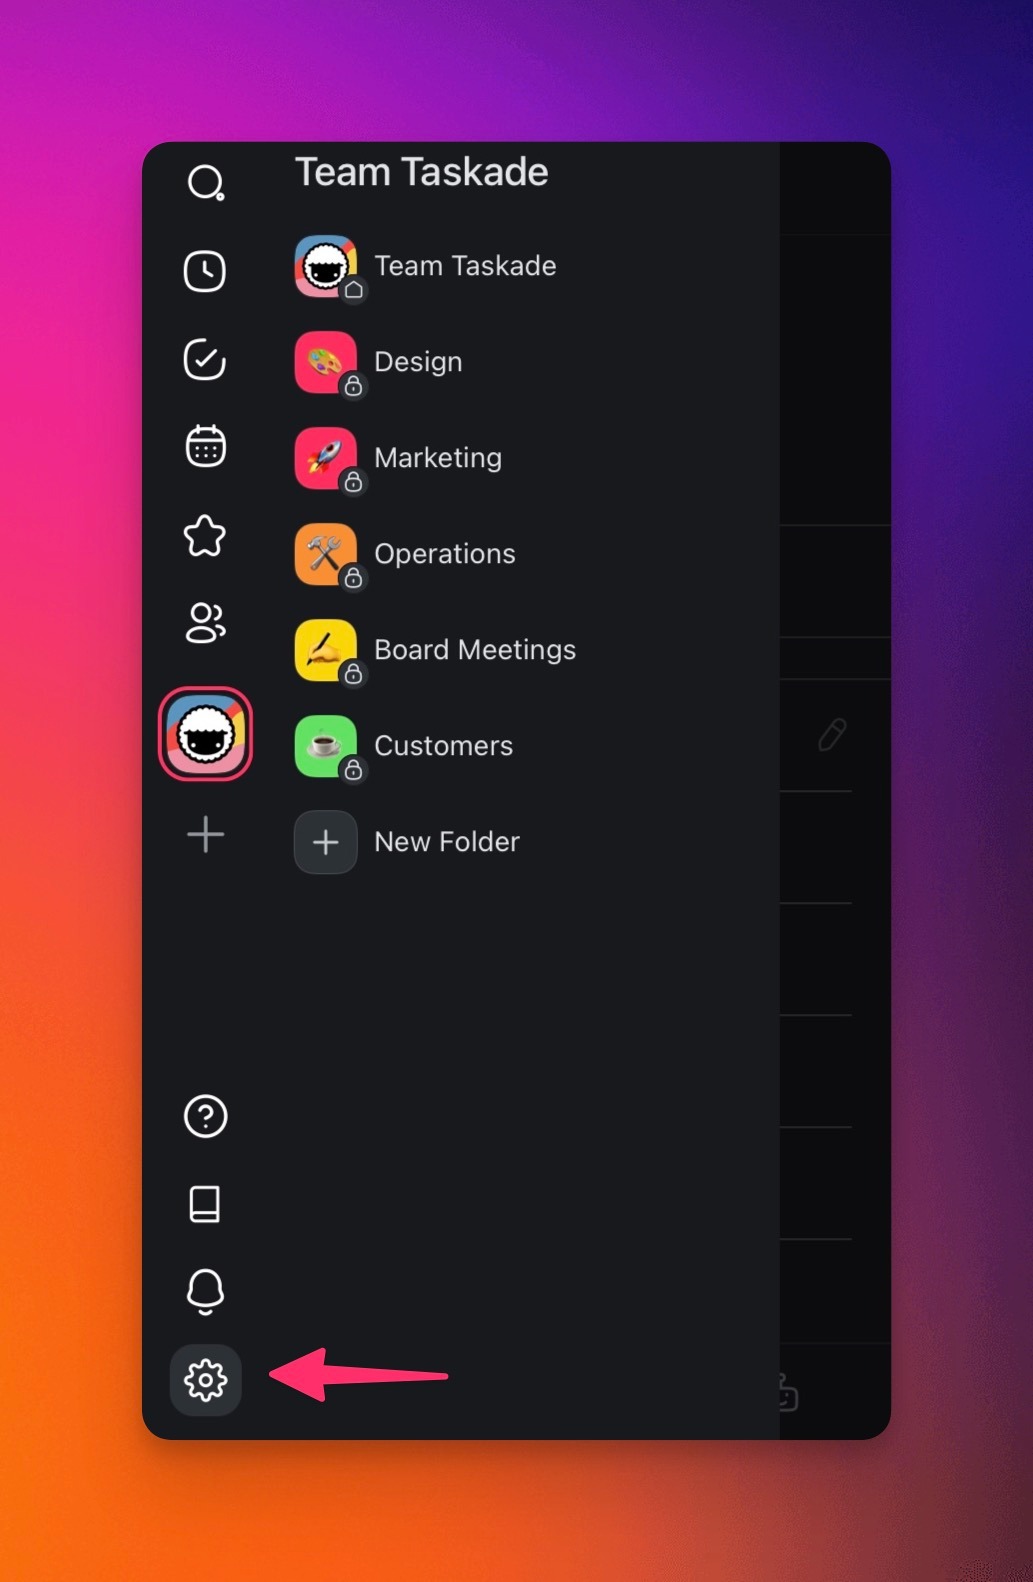
- Open Taskade and tap the gear button ⚙️ in the bottom-left corner.
- Choose Activate Workspaces from the list.
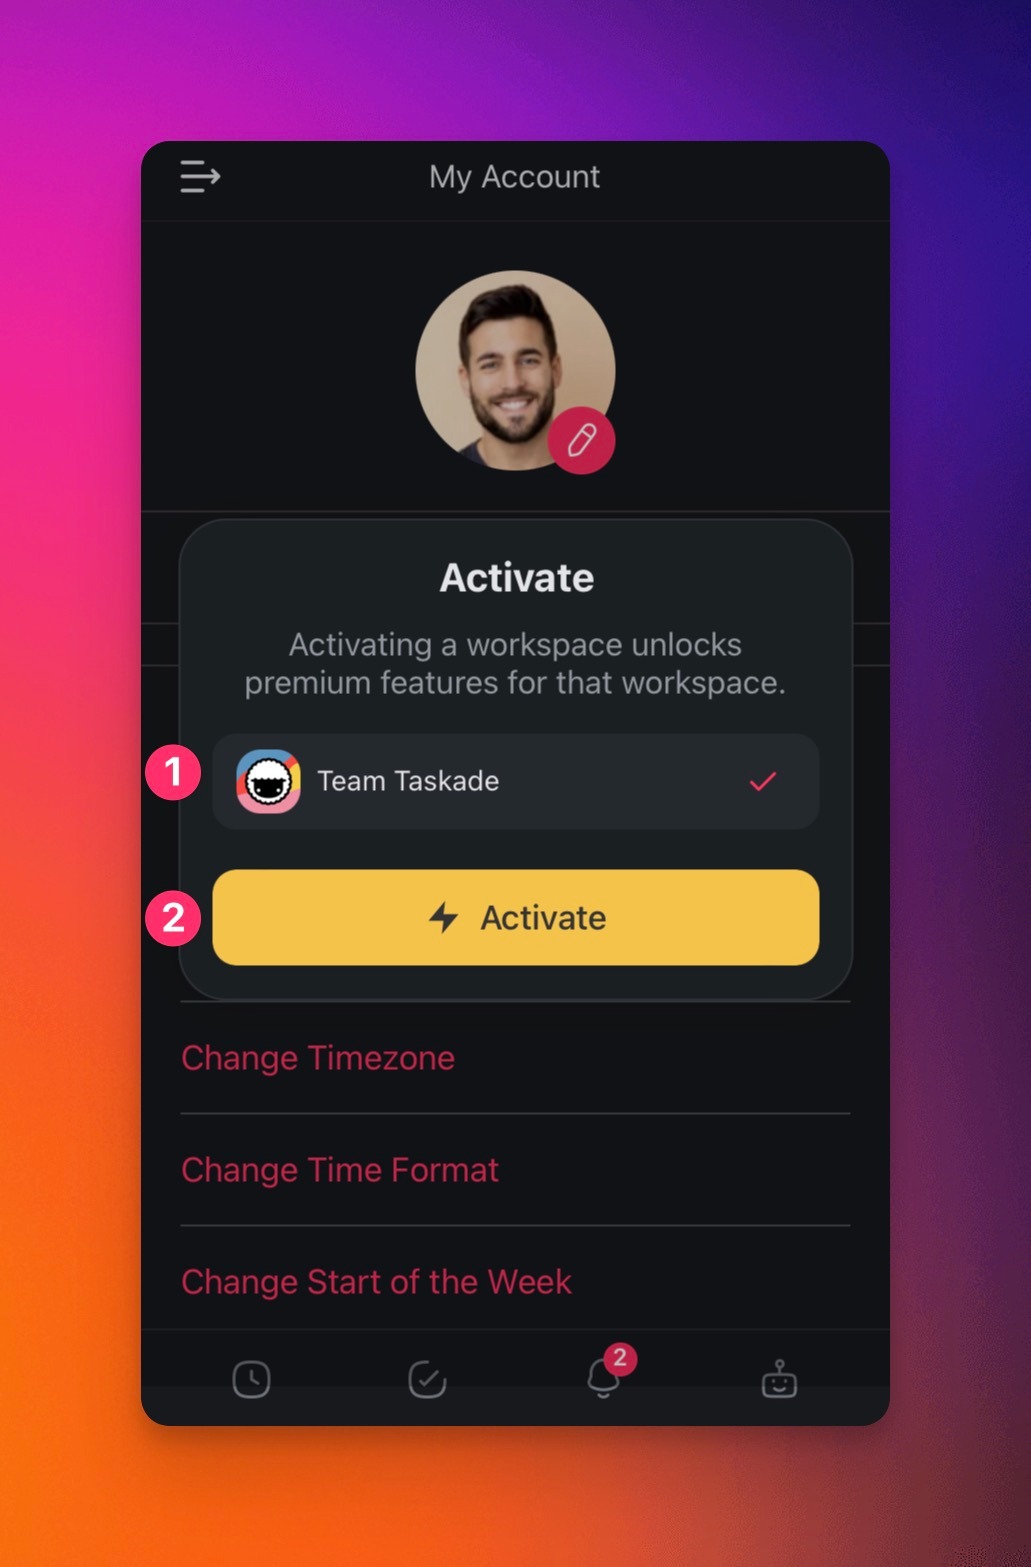
- Select the workspace you want to upgrade.
- Tap ⚡ Activate.
Add Seats / Members
- Click your profile picture (bottom-left corner).
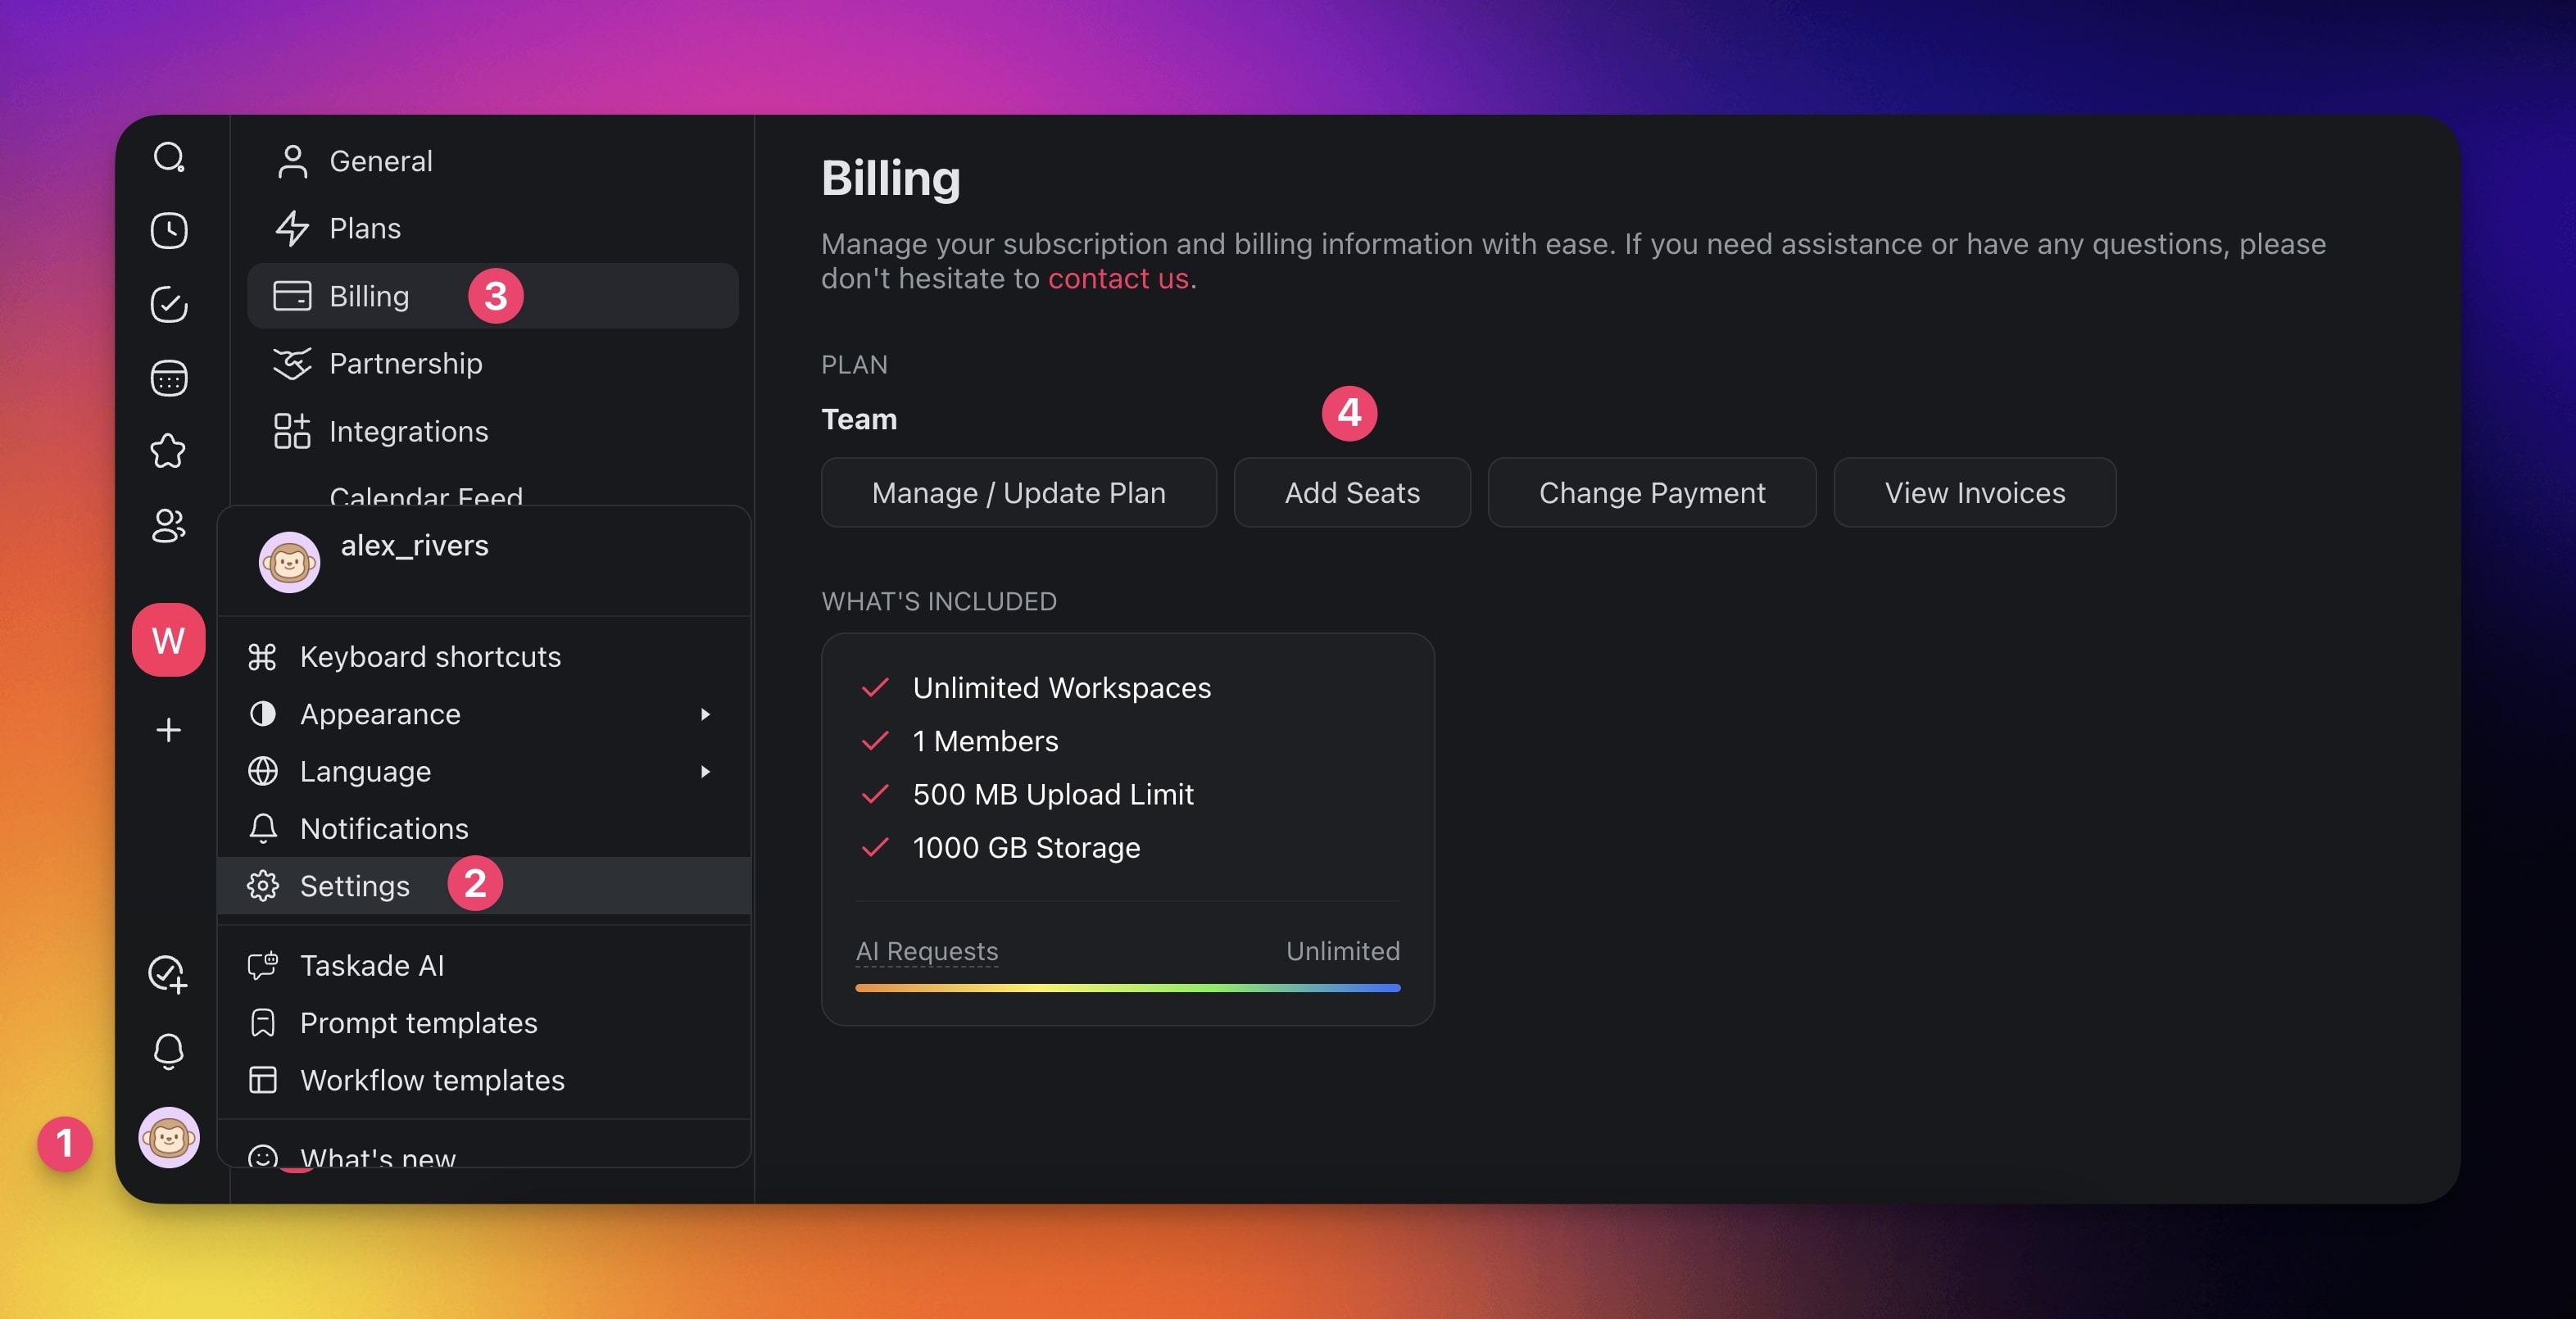
- Choose Settings from the list.
- Navigate to the Billing tab in the sidebar on the left.
- Click Add Seats.
- Use the slider to adjust the number of seats.
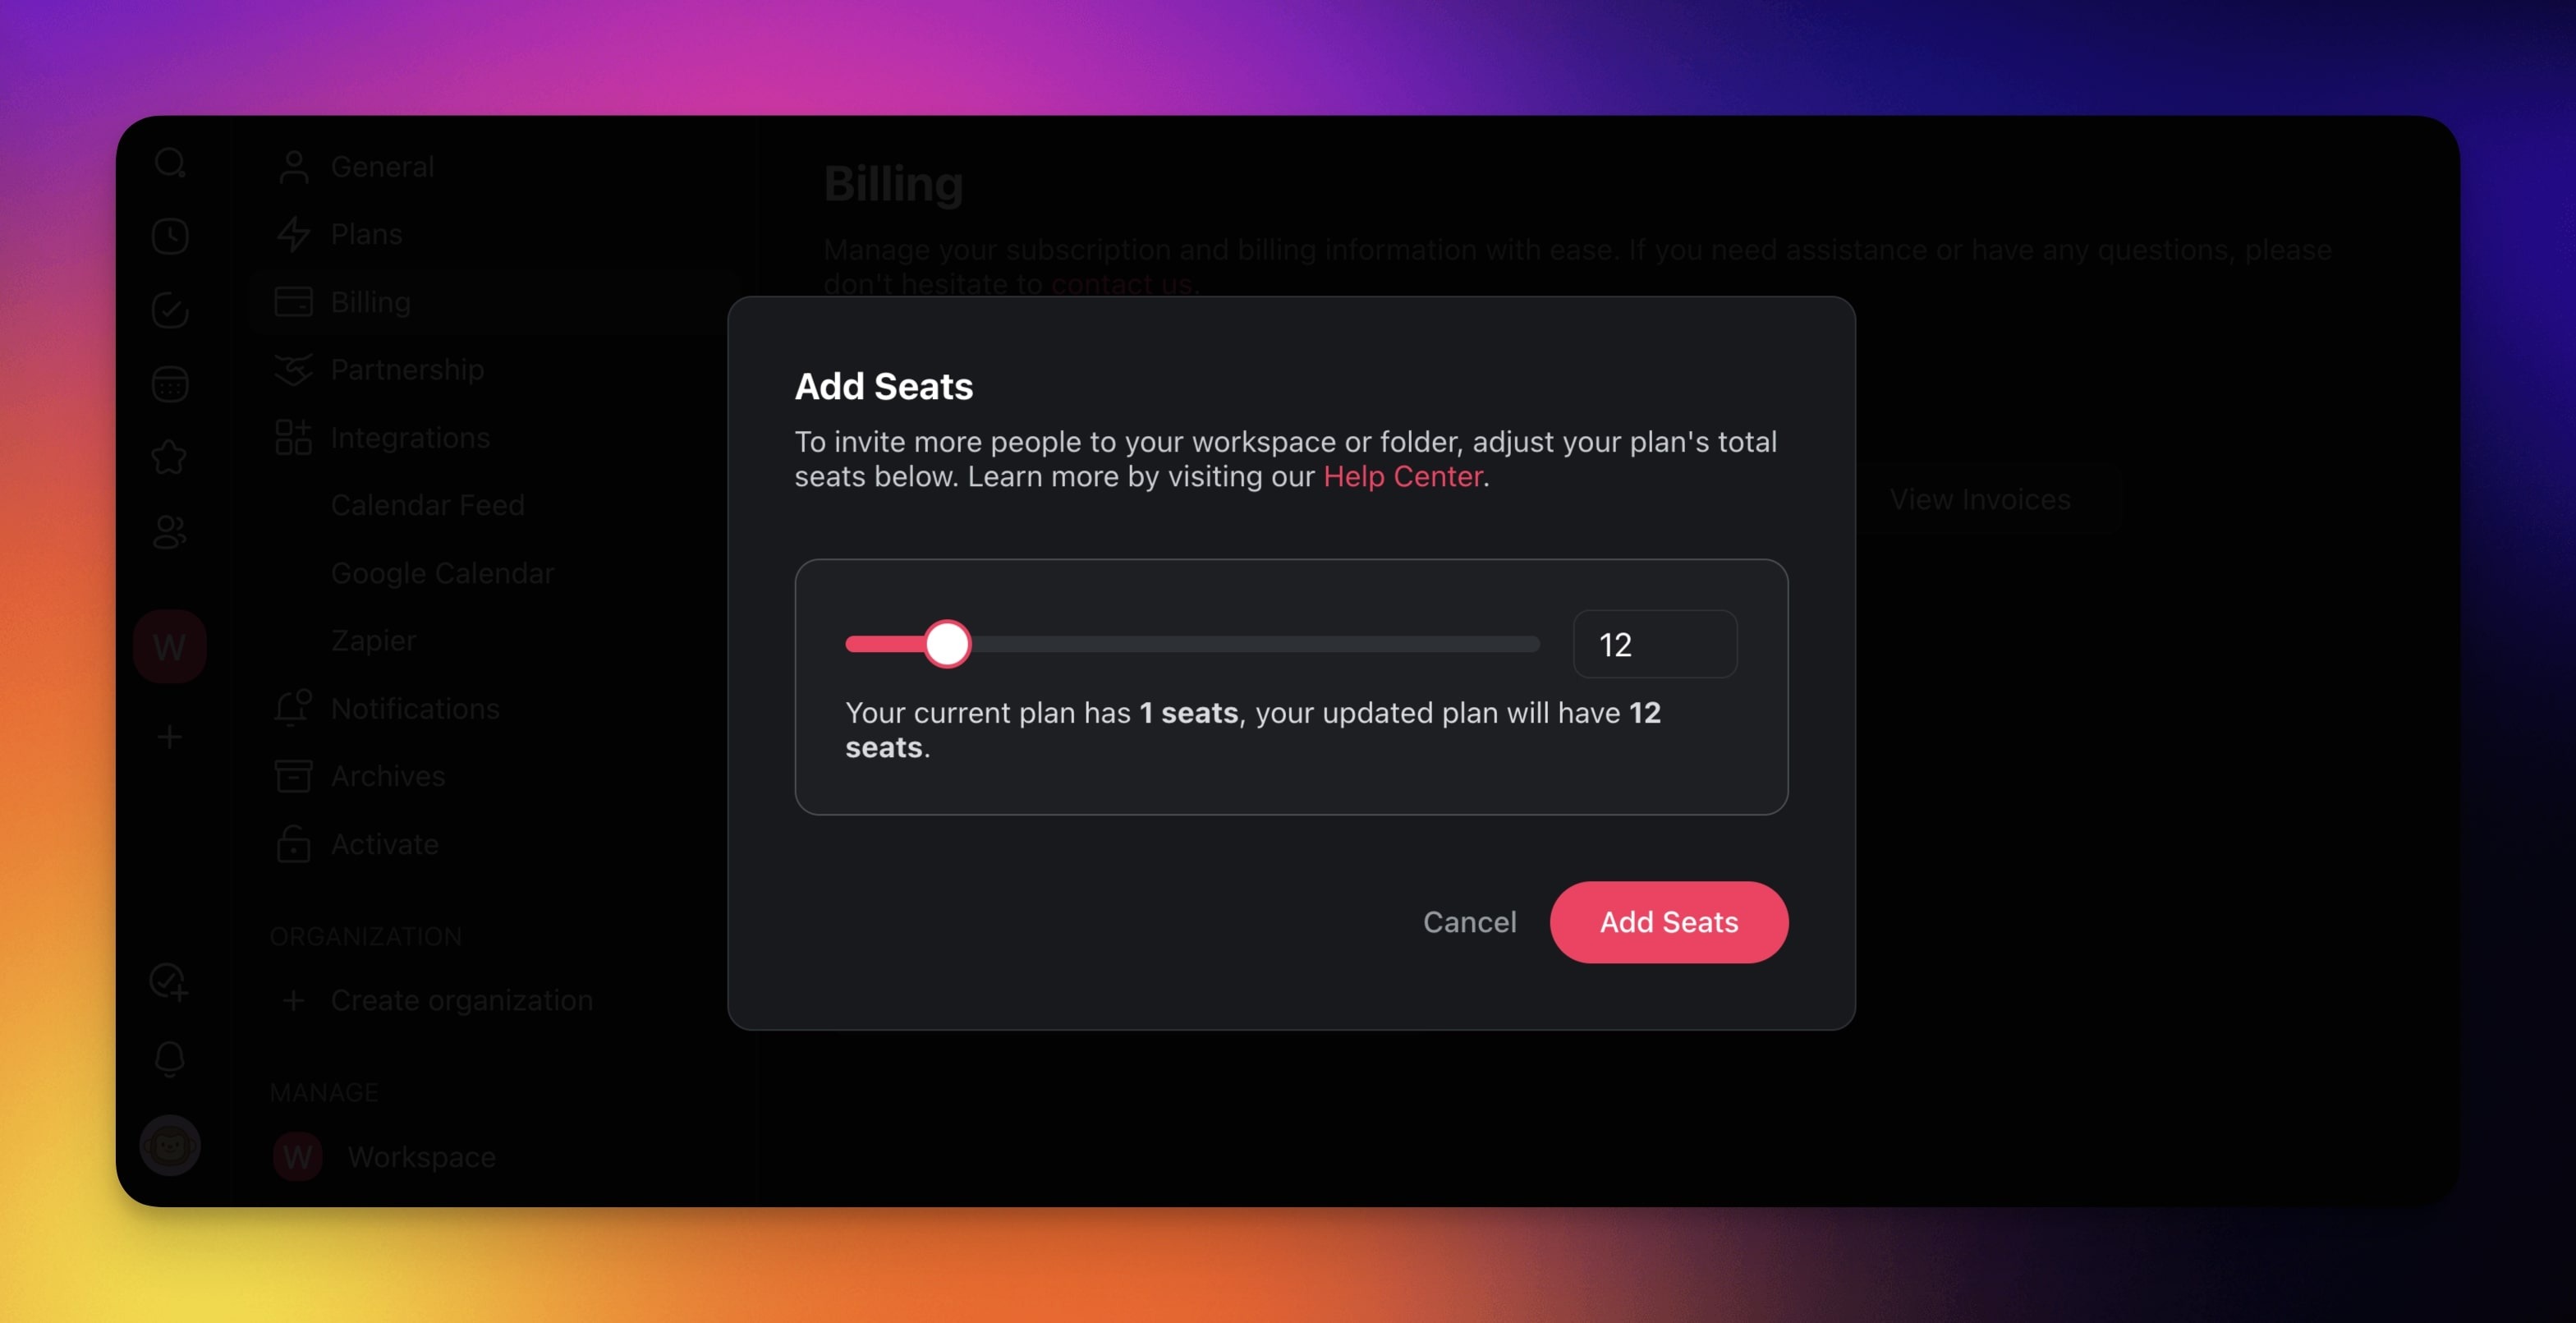
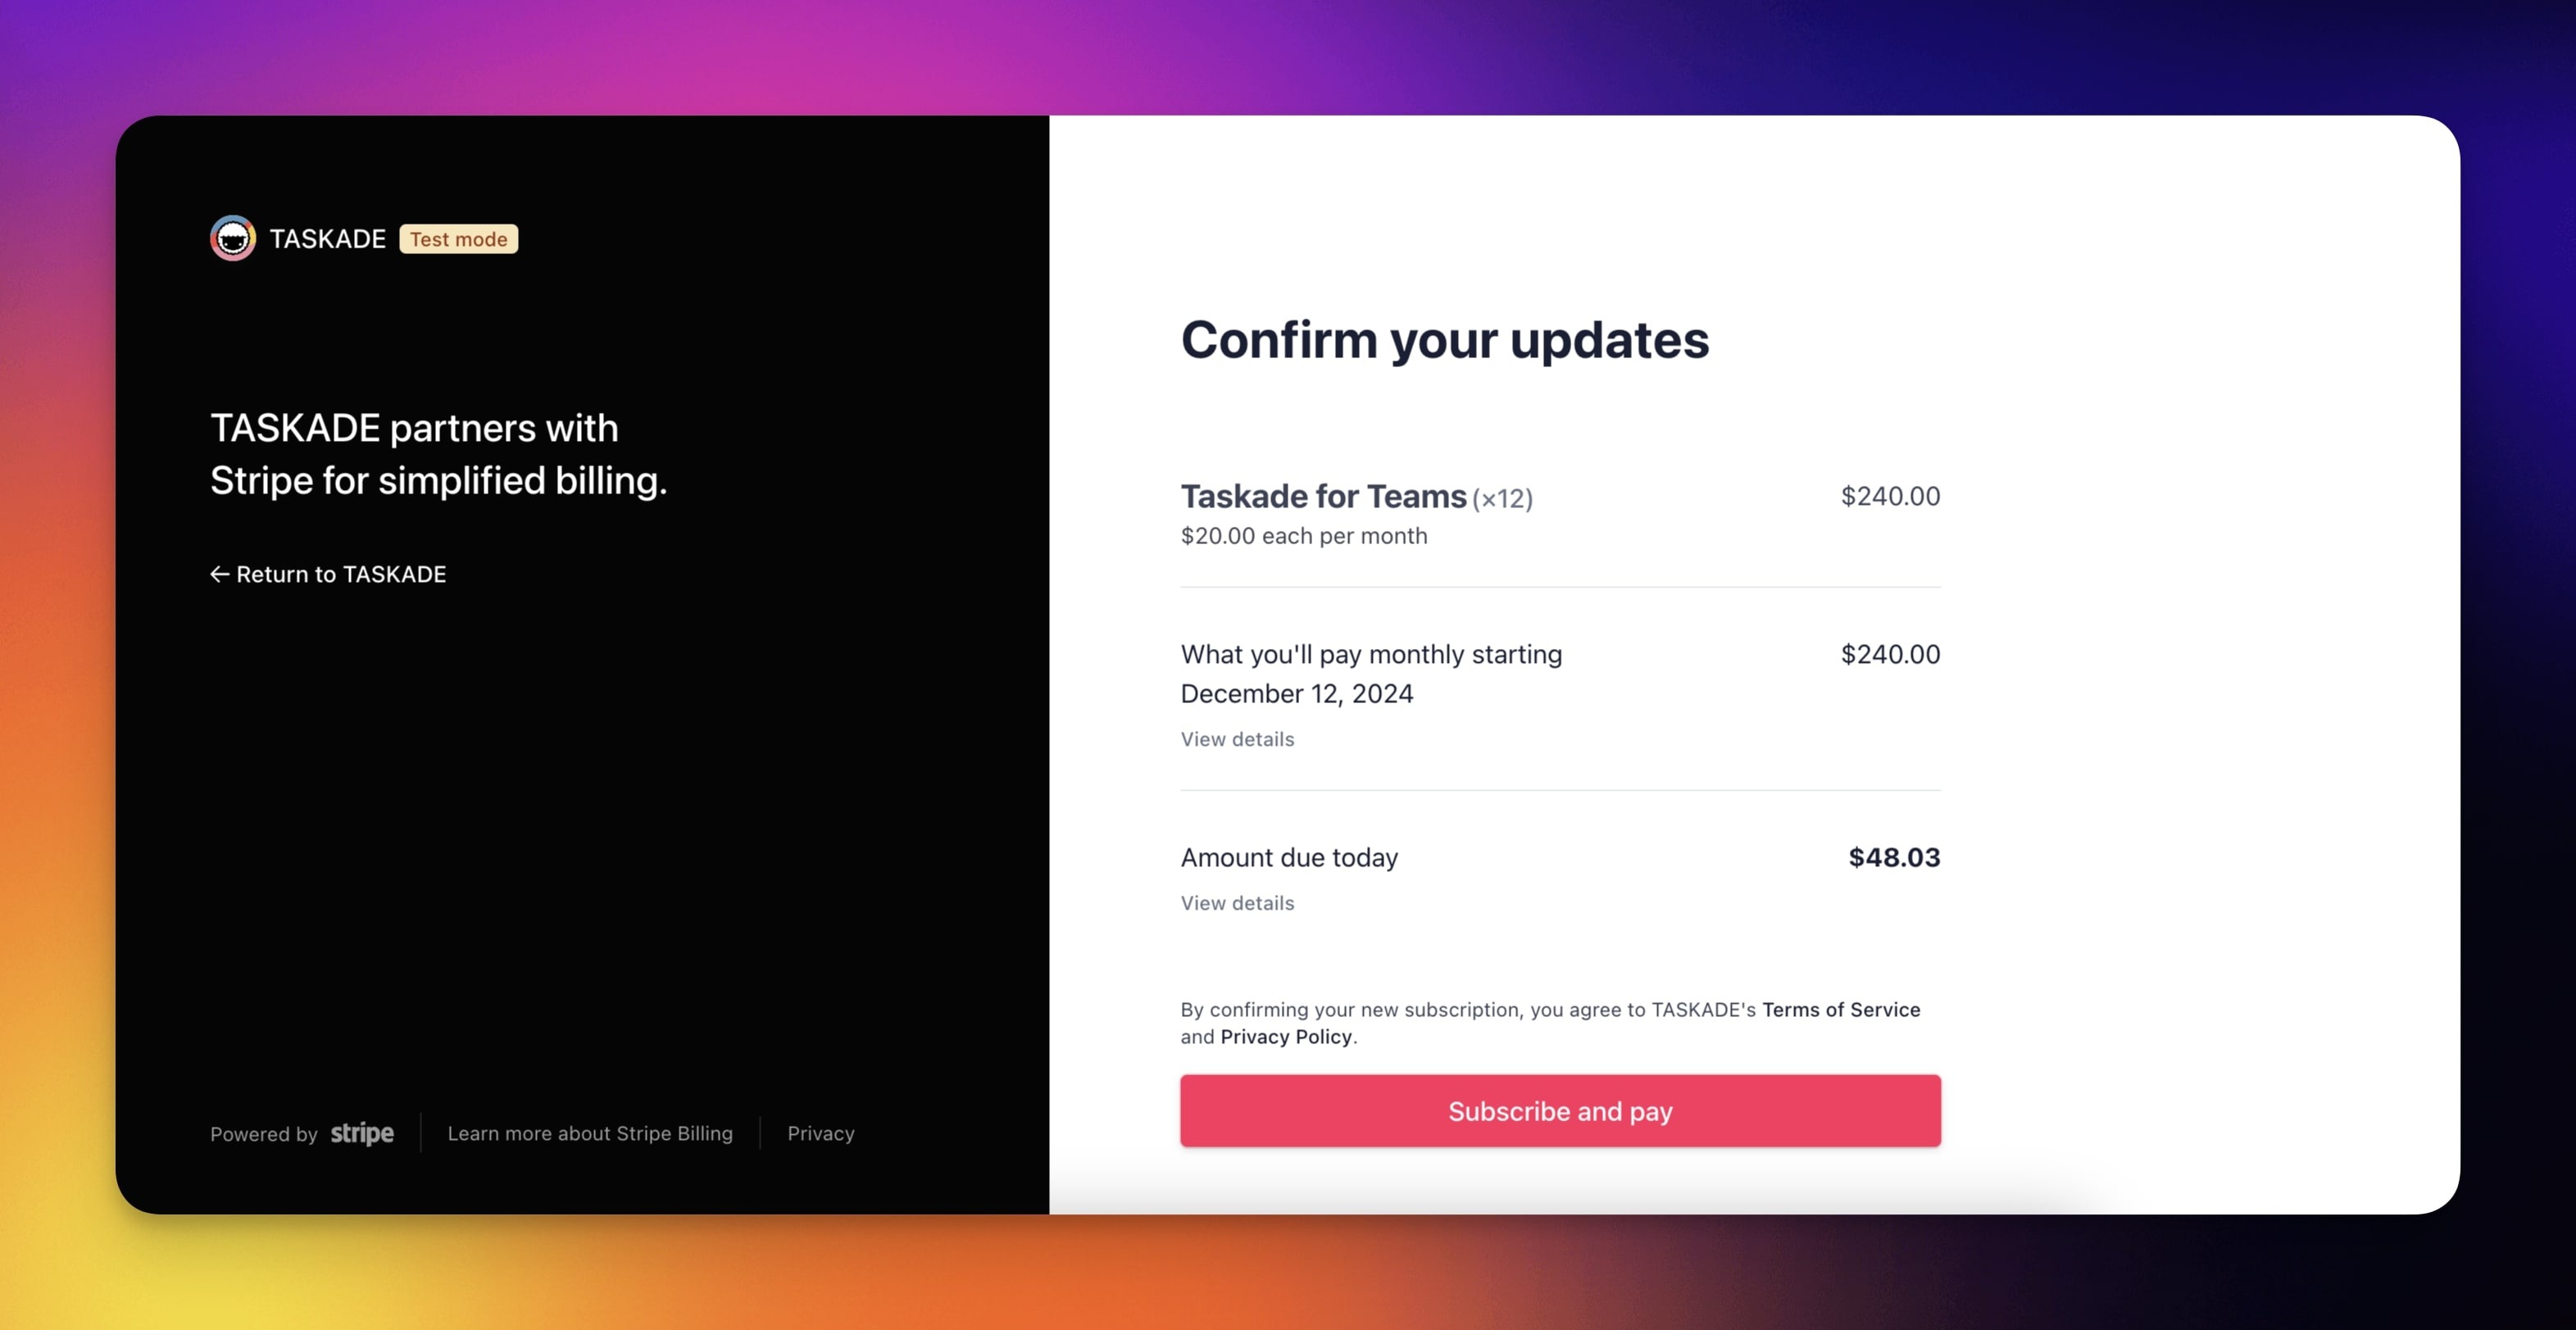
- Finalize the payment.
Definitions and Billing Rules
- Members: Members are individuals who are part of a workspace or a specific folder within Taskade. They have been granted access by the workspace owner or a maintainer and can actively collaborate and contribute. Members are billed, as they use resources and contribute to the collaborative environment of a paid workspace.
- Guests: Guests are users who have been given access to view or contribute to a project without being a full member of the workspace. Guests are not billed as they are considered temporary contributors.
- Seats: A seat represents a subscription slot available for a member in the workspace. Each paid plan includes a certain number of seats, which are filled by the members. Each seat is billed, and the cost is associated with the overall subscription plan of the workspace.
- Users: The term "user" generally refers to anyone who has created an account with Taskade. Users can be either billed or not, depending on whether they occupy a seat as a member in a paid workspace or participate as a guest.
| Role | Definition | Access Level | Billed? |
|---|---|---|---|
| Member | An individual with full access to a workspace/folder and its projects; members actively collaborate and contribute. | Varies | Yes |
| Guest | A user with limited access to specific projects for viewing or contributing without full membership. | Limited | No |
| User | Anyone who has created a Taskade account, which can include both members and guests. | Varies (member or guest) | Varies |
Related guides
- Premium Plans — Compare every paid tier
- Upgrade Plan — Step-by-step upgrade instructions
- Manage Subscription — Update payment, seats, and invoices
- Billing FAQ — Pricing, AI credits, refunds
- Invite Members — Add teammates to fill new seats