

Overview
Connect your Shopify store to your Taskade account to automate order management, customer workflows, and more, using automations, AI agents, or both.
TL;DR: The Shopify integration works both ways. A trigger like New Order pulls each fresh order straight into Taskade, then actions like Update Order, Update Product, or Adjust Inventory Level push changes back out to your store. Build it with one automation, or let an AI agent call Shopify as a tool.
Connect & Configure
Before you start building with Shopify, you need to configure the integration.
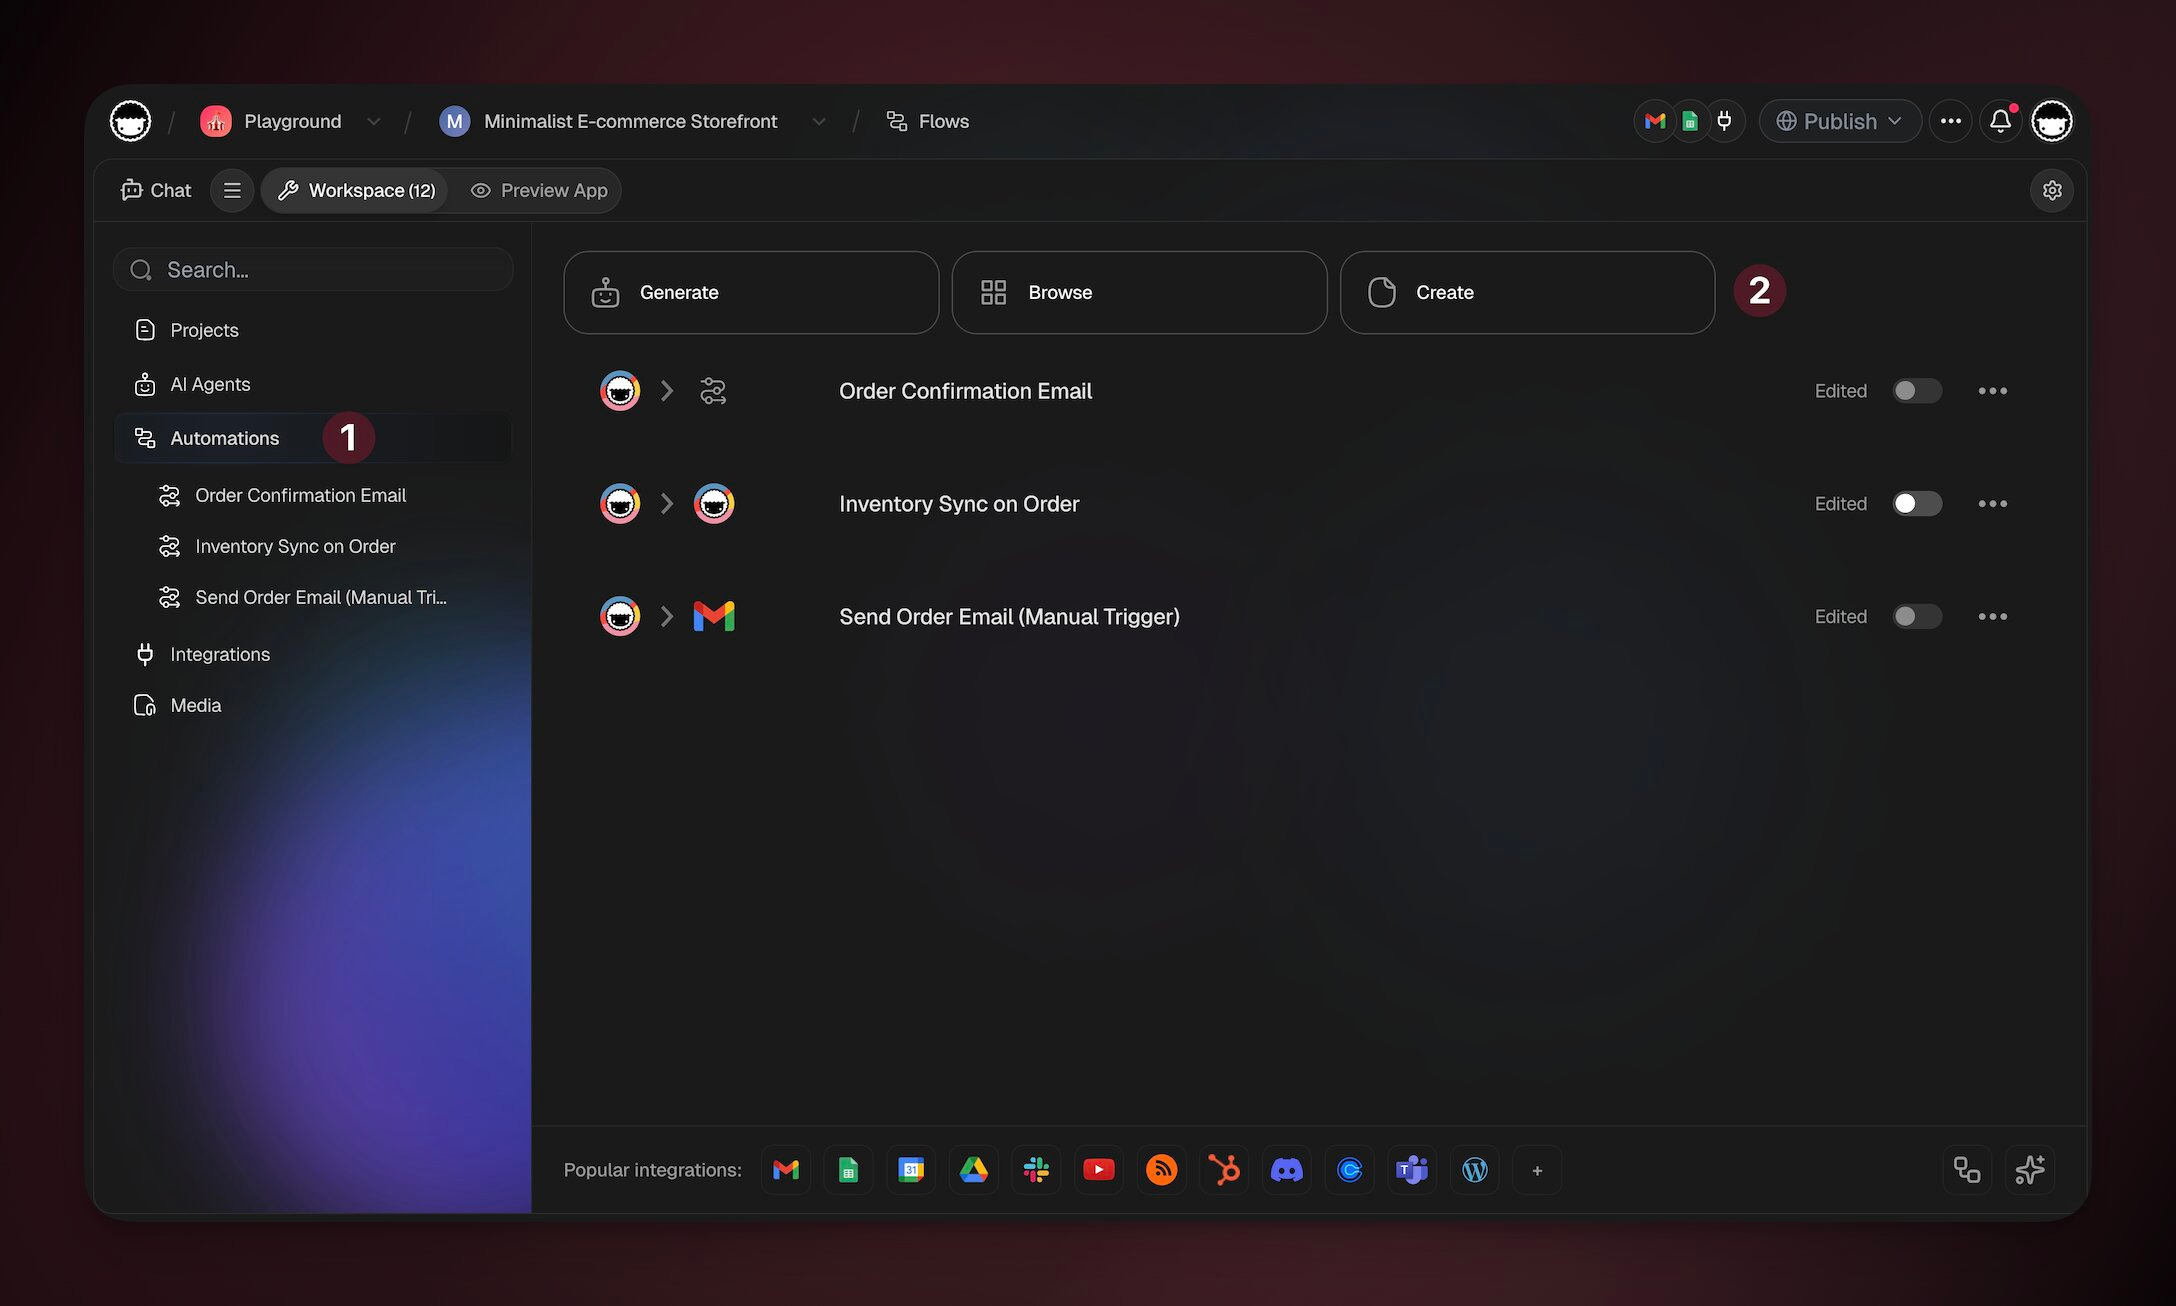
Navigate to Workspace → Automations in your app.
Click Create to build a new automation.
You can also prompt Taskade EVE to build the automation for you.
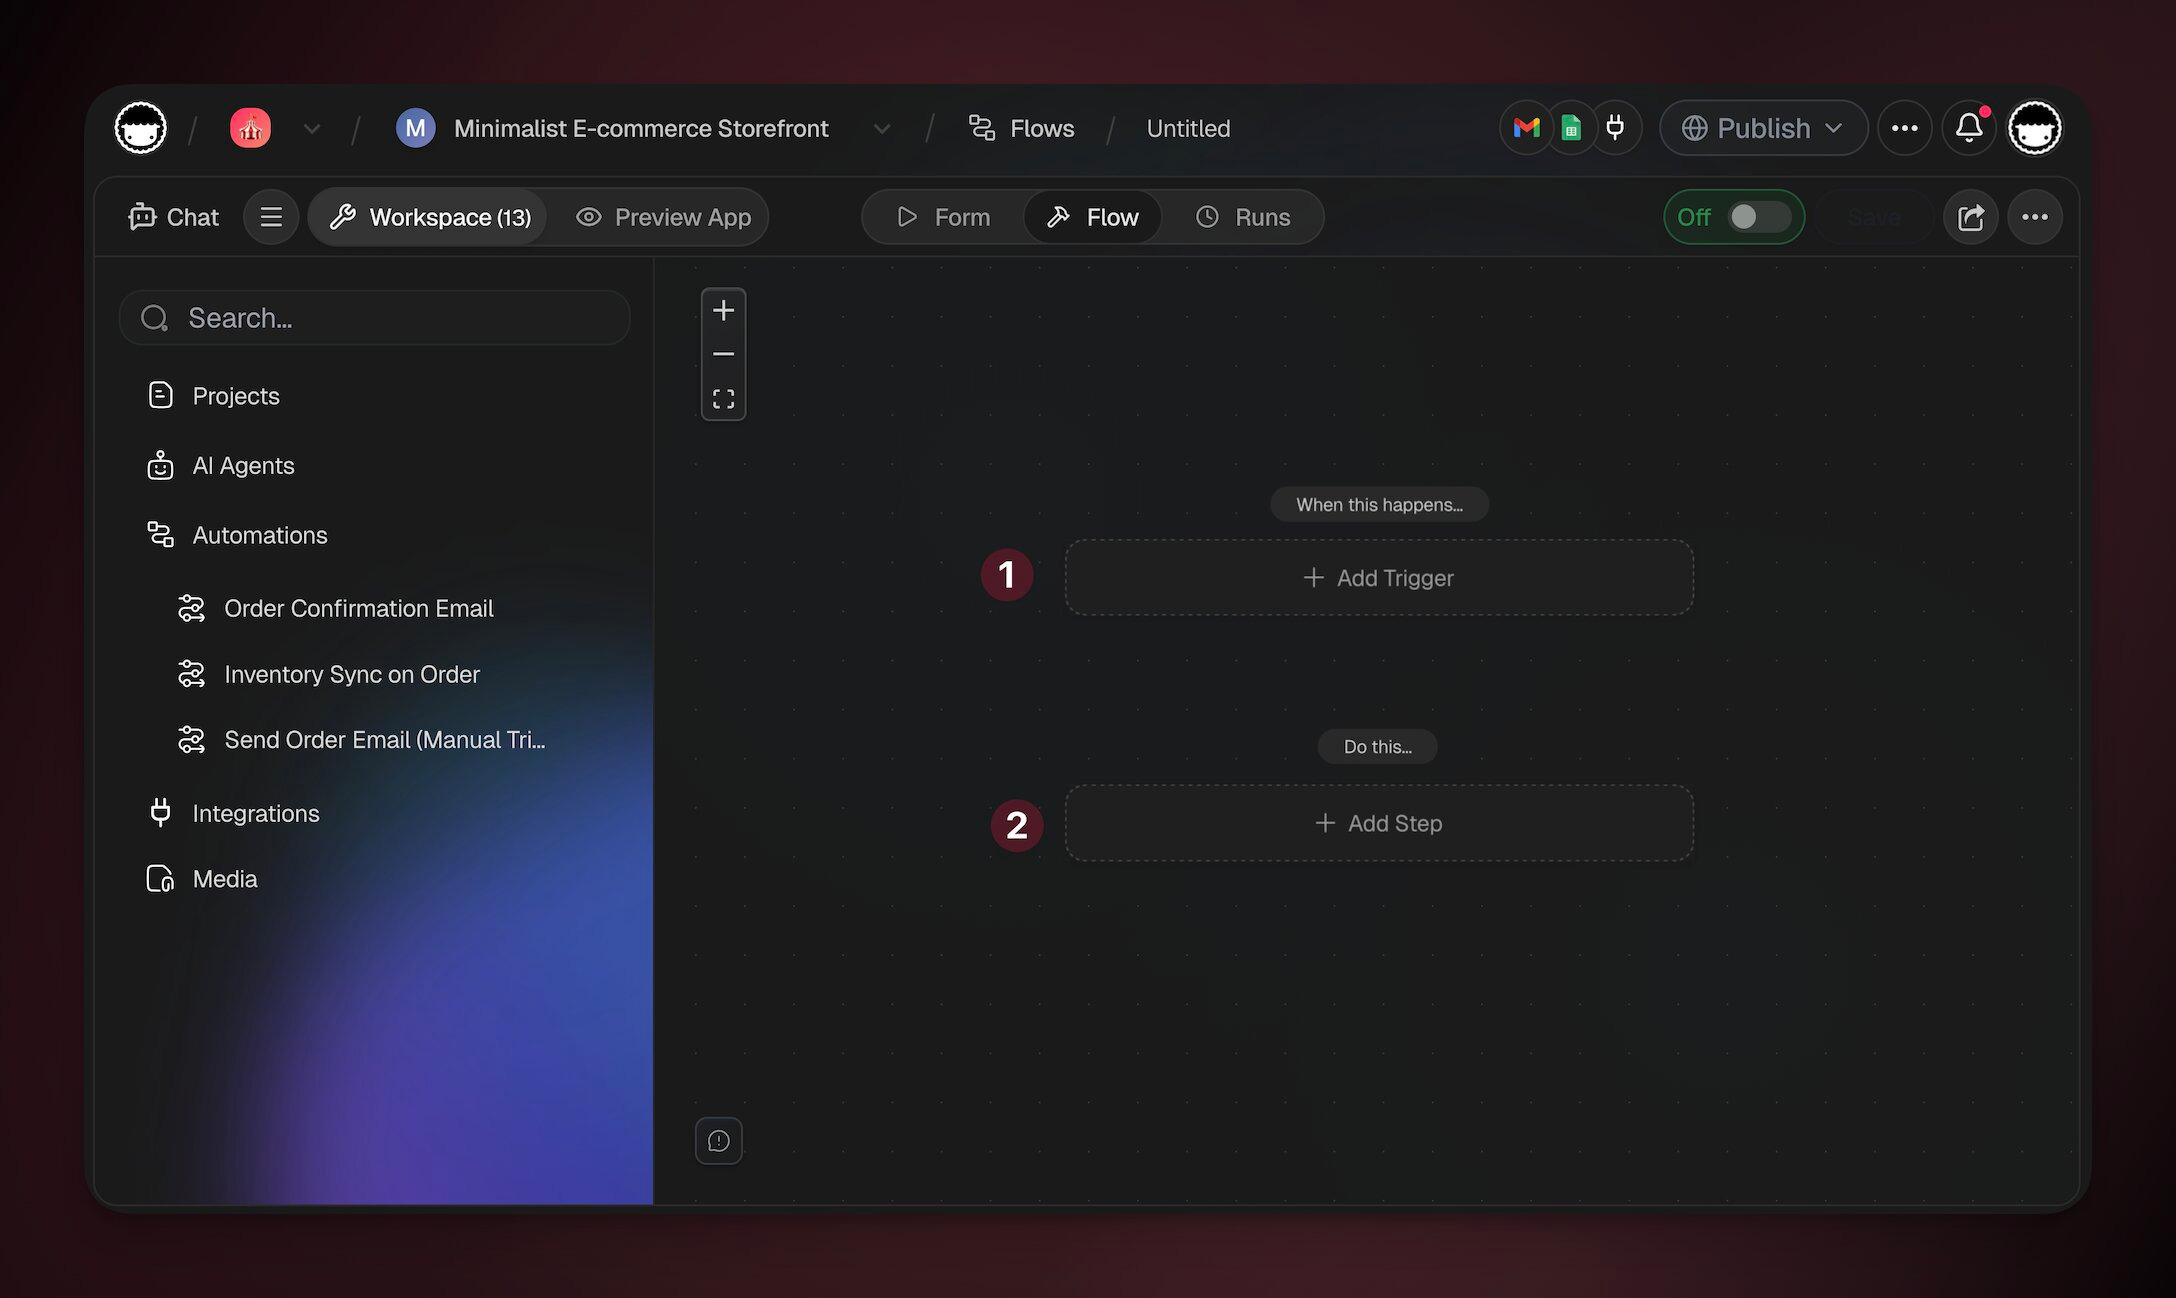
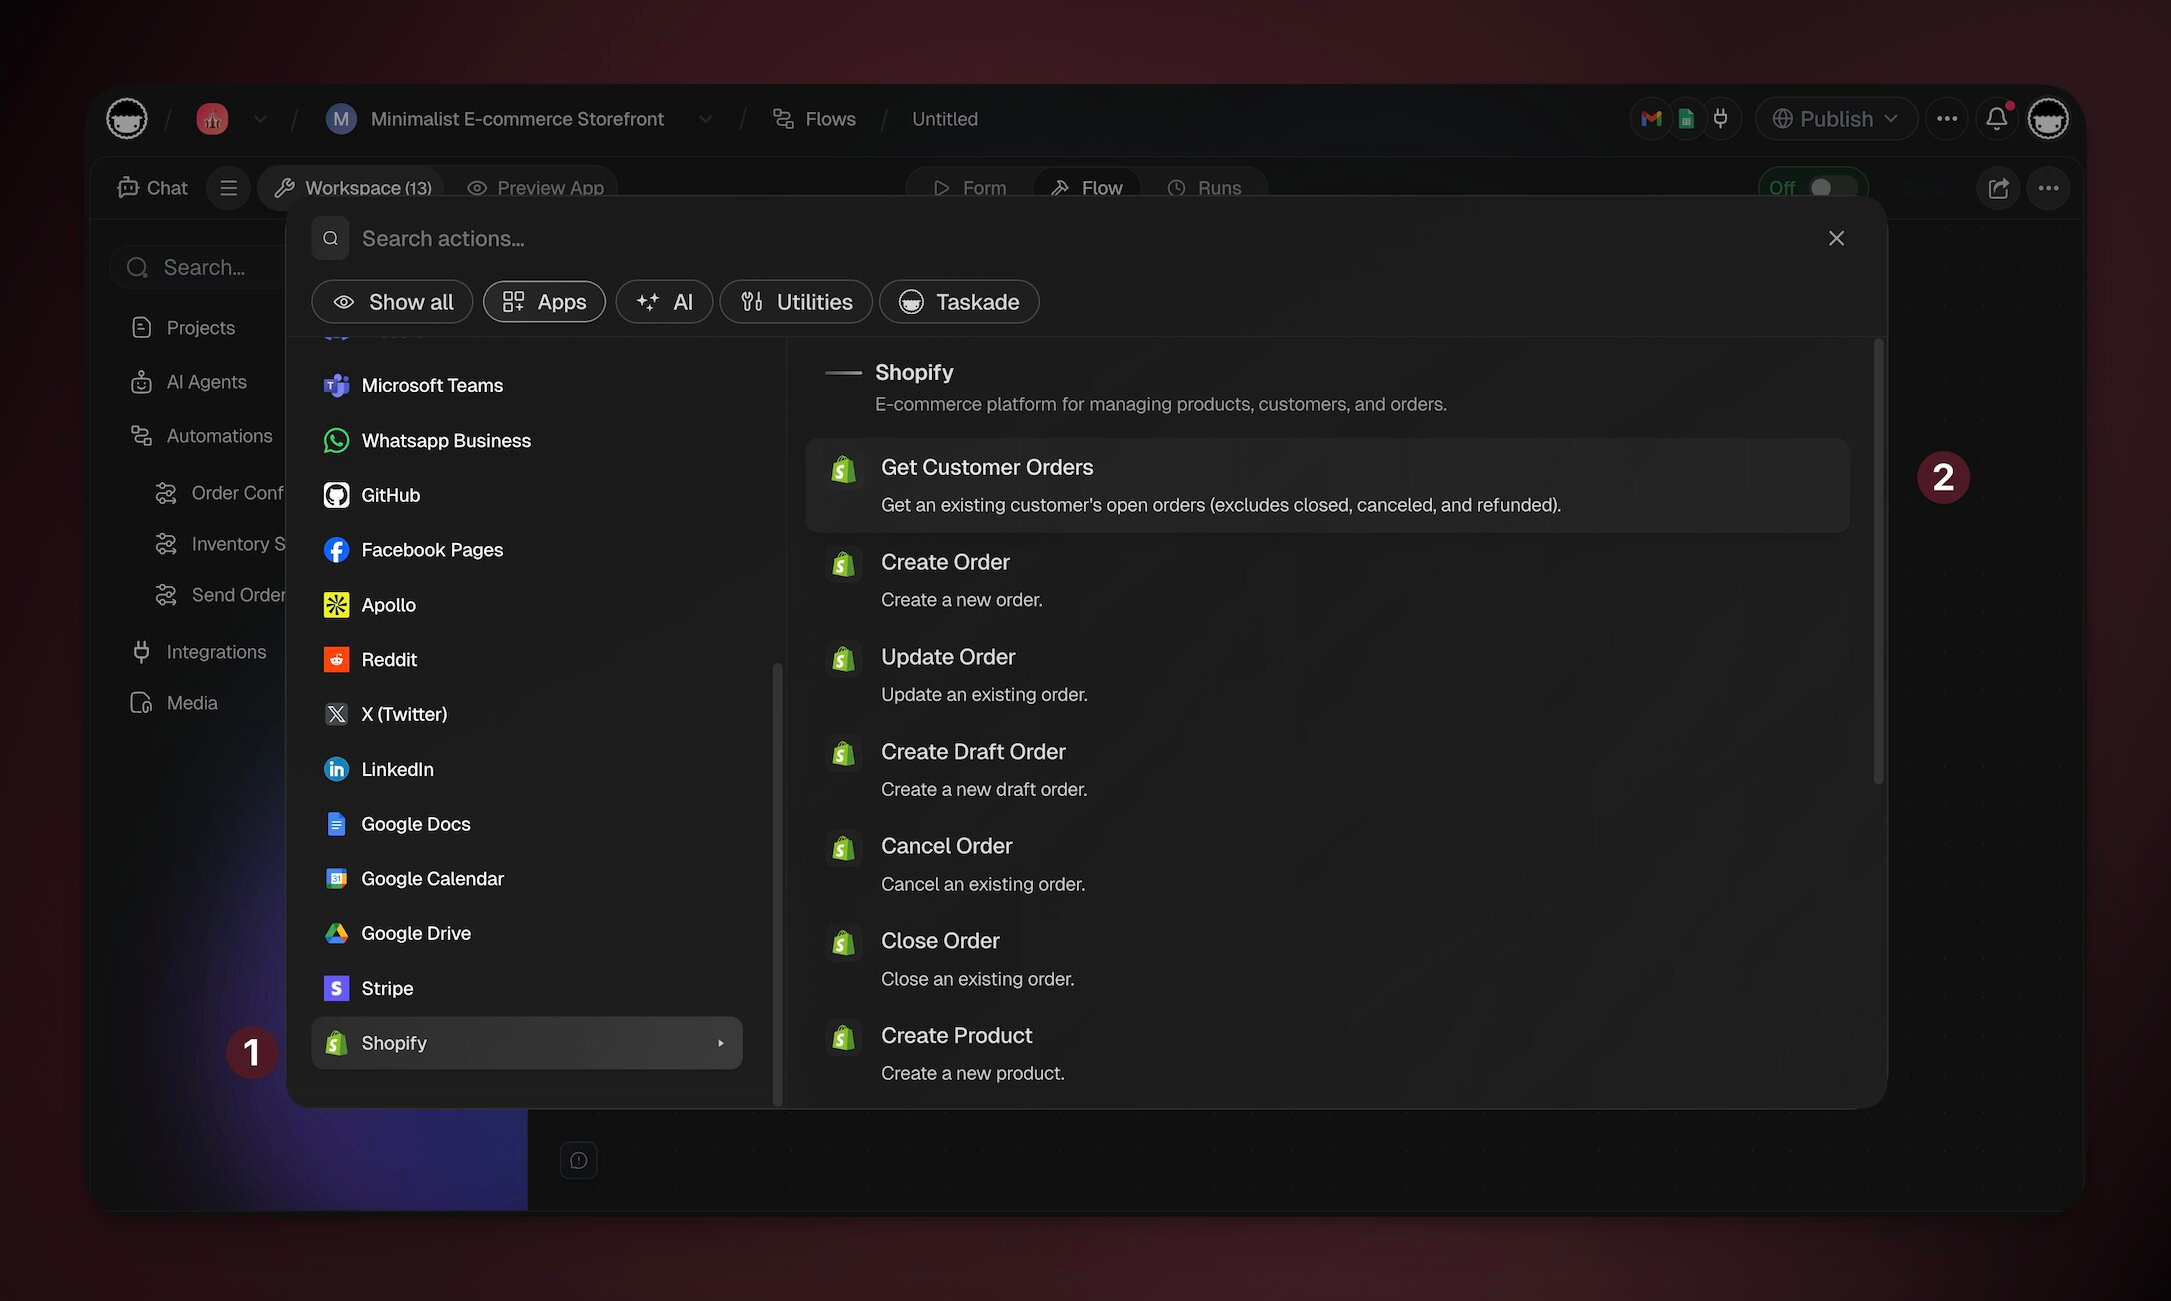
- Add a Shopify trigger / action/step.
Click Connect in the sidebar on the right and authorize Taskade.
If you have multiple stores, select the store you want to connect.
Configure and enable the automation (or continue adding steps).
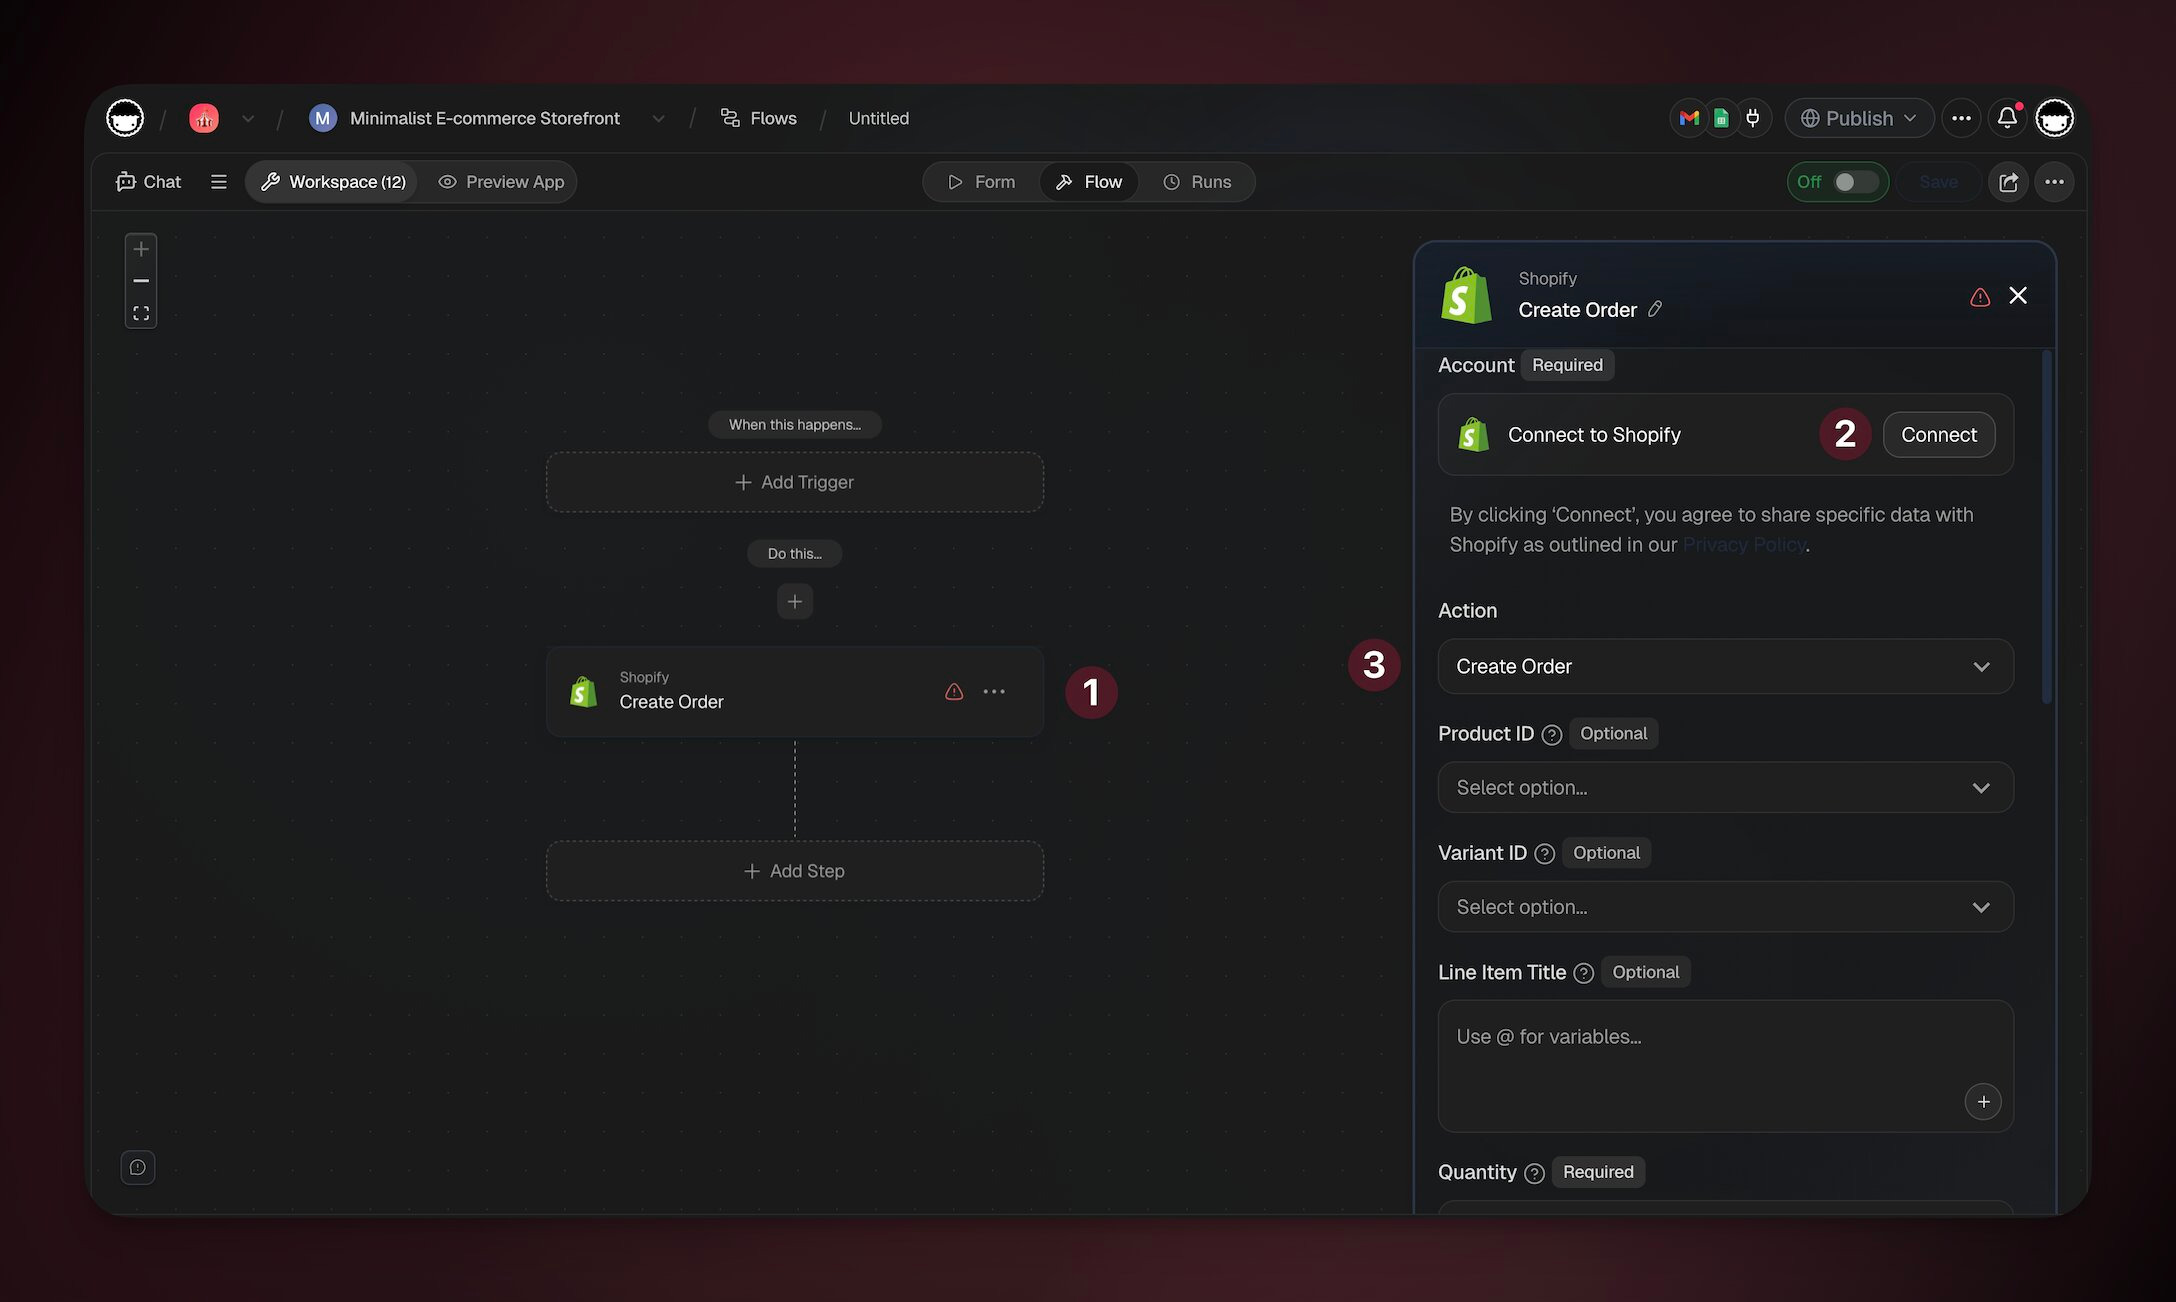
Your Shopify data is now available to automations and agents.
Shopify Triggers
Use Shopify triggers to automate your store's business logic, respond to orders in real time, and create seamless customer experiences.
| Trigger | Description |
|---|---|
| New Order | Triggered when a new order is created |
| New Paid Order | Triggered when an order is paid |
| New Cancelled Order | Triggered when an order is cancelled |
| New Customer | Triggered when a new customer is created |
| New Checkout | Triggered when a new checkout is created |
| New Abandoned Checkout | Triggered when a checkout is abandoned |
| Updated Product | Triggered when a product is updated |
Shopify Actions
Build comprehensive commerce workflows with 26 Shopify actions across six categories. Manage customers, orders, products, fulfillments, transactions, and store assets.
Customer Management
| Action | Description |
|---|---|
| Create Customer | Create a new customer |
| Get Customer | Get an existing customer's information |
| Get Customer Orders | Get a customer's open orders (excludes closed, canceled, and refunded) |
| Get Customers | Get customers from the store (max 250 per request) |
| Update Customer | Update an existing customer |
Order Management
| Action | Description |
|---|---|
| Create Order | Create a new order |
| Update Order | Update an existing order |
| Create Draft Order | Create a new draft order |
| Cancel Order | Cancel an existing order |
| Close Order | Close an existing order |
Fulfillment Management
| Action | Description |
|---|---|
| Create Fulfillment Event | Create a fulfillment event (e.g. mark as shipped, in transit, delivered) |
| Get Fulfillment | Get a fulfillment's information |
| Get Fulfillments | Get fulfillments for an order |
Transaction Management
| Action | Description |
|---|---|
| Create Transaction | Create a transaction for an order |
| Get Transaction | Get an existing transaction's information |
| Get Transactions | Get an order's transactions |
Product Management
| Action | Description |
|---|---|
| Create Product | Create a new product |
| Get Product | Get an existing product by ID |
| Get Products | Get products from the store (max 250 per request) |
| Get Product Variant | Get an existing product variant by ID |
| Update Product | Update an existing product |
| Upload Product Image | Upload an image to a product by URL |
| Adjust Inventory Level | Adjust available inventory quantity at a location |
Store Management
| Action | Description |
|---|---|
| Get Locations | Get all locations for the shop |
| Get Asset | Get a theme asset by theme ID and asset key |
| Create Collect | Add a product to a custom collection |
Use Shopify with AI Agents
Your AI agents can call Shopify actions as tools during conversations, allowing them to look up orders, retrieve customer data, and respond with live information.
Configure Shopify Tool
- Connect Shopify to your workspace (see above).
- Open your agent → Tools tab.
- Enable Automation Actions or add Shopify as a custom tool.
- The agent will call Shopify actions automatically when relevant during chat.
Prompt Examples
Your AI agents can use Shopify actions as tools during conversations:
User: "What's the status of order #1042?"
Agent → shopify.get_order(1042) → Order #1042: Shipped, tracking ABC123
Agent: "Order #1042 has been shipped! Tracking number: ABC123."
Example Workflows
Here are a few ways to put Shopify automation into practice. Mix and match triggers, actions, and AI agents to fit your store's workflow.
Order Notification Flow
Trigger: Shopify New Order
→ Action: Create task in project "Orders"
→ Action: Notify team via Slack
→ Action: Update Google Sheets tracker
Customer Support Agent
Agent trained on product docs + FAQ
→ Custom tool: Shopify Get Customer Orders
→ Custom tool: Shopify Get Order Details
→ Deploy publicly on your website
Inventory Sync
Trigger: Schedule (every 6 hours)
→ Action: Shopify Get Products
→ Action: Update Taskade project table
→ Action: Alert if stock below threshold
Combine with Stripe
Use Shopify and Stripe together for full commerce automation. Shopify handles order creation and inventory while Stripe manages payment processing and more.
💡 Note: See the Stripe Integration article for Stripe-specific setup.
Frequently Asked Questions
Can I connect multiple Shopify stores?
Yes. Connect each store separately in your workspace automations.
Which Shopify plans are supported?
- All Shopify plans that support API access (Basic and above).
Is there a rate limit?
- Taskade respects Shopify's API rate limits. High-volume stores may want to use scheduled triggers instead of real-time triggers to stay within limits.
Learn more about automation workflows in Automations: The Execution Pillar.
Example Workflow: Order to Fulfillment
Related guides
- Stripe — Companion payments integration
- Custom AI Agents — Order-handling agents
- Automation Triggers — All Shopify triggers
- HubSpot — Sync customers to CRM